Posted on July 7, 2008
Filed Under For special occassions, Holiday cooking
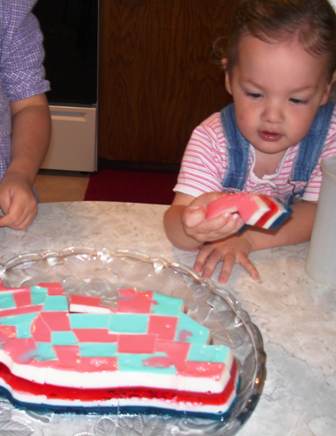
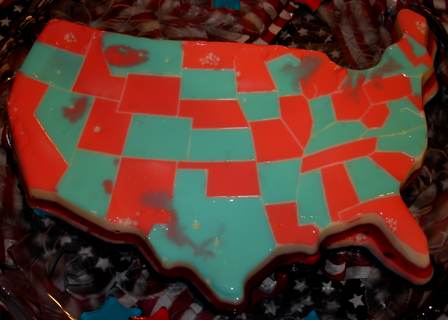
First off, about the USA jello. I used a jello mold that’s the shape of the US.


The mold has teeny shallow lines between each state, so to get the different colors effect, I mixed up the blue and red jello, then used a medicine dropper to drop it into the different sections. (I don’t keep a medicine dropper around, I took a bottle of infant Tylenol out of the medicine cabinet, took out the dropper, washed it really good with hot water, used it to color the states, washed it good again, and put it back in the bottle.) In some states, there’s a mixture of both blue and pink. That happened when the dropper dropped before I was over the state I wanted or when I got too much in the state and it went over the little ‘walls’ between each state. It was a little tedious, but I thought it would look a little blah with just all one color on top. After I got all the states filled in, I put 1/2 of the white mixture in, then layered red, white, and blue from there.
To cut the jello, I followed the lines and cut it apart into states (except some of the New England states!). It was kinda nice because then you could pick your size. Lexi was declaring that she was gonna get Florida and that she’d get Wisconsin out for Tiffany. But when I finally gave them the go-ahead to dig in, she saw the size of Texas and changed her mind about Florida. Then, Tiffany wanted the biggest one too, so to save a fight, we suggested California and she was happy with that. They each ate about 1/4 of their piece, then said it was too big. Sigh. I was thinking, “So, then WHY did you guys have to get the biggest pieces?!” but instead I said, “Just wrap them up in Saran wrap and put them in the fridge. You can finish them later.”

 ——————————————————————————————————————————————————————————————————————————————————————————————————————————————————————————————————————————————————————————————————————————————————————————————————————
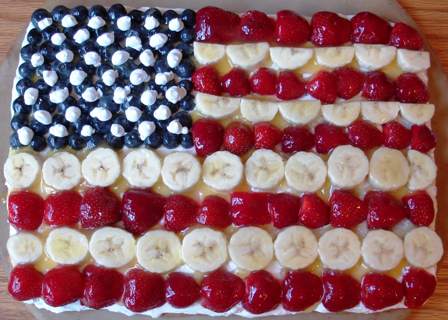
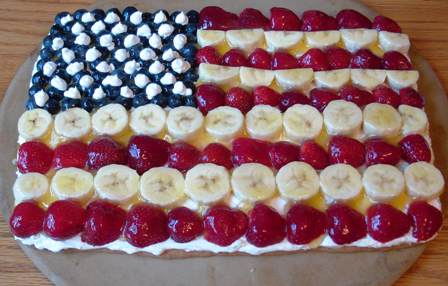
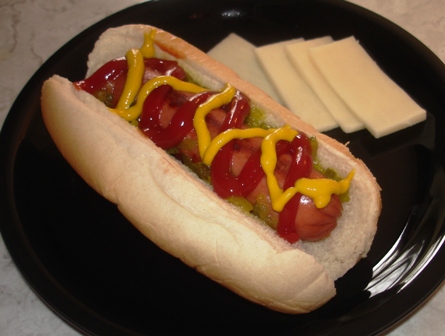
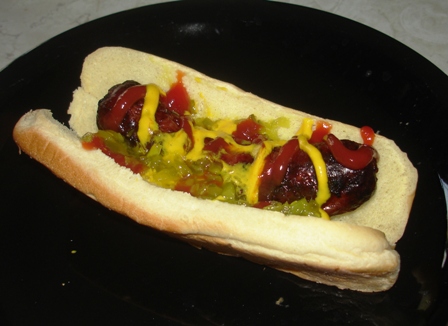
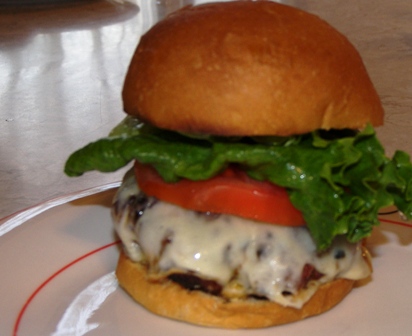
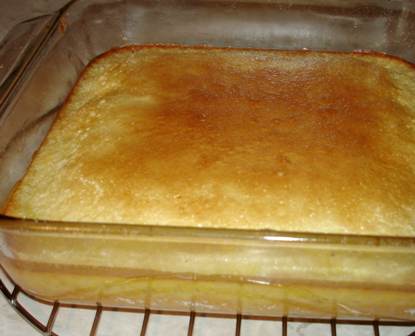
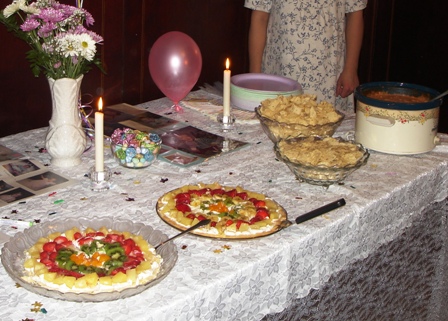
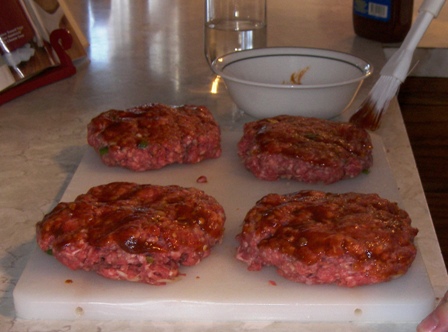
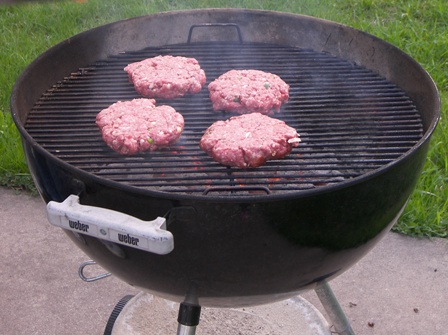
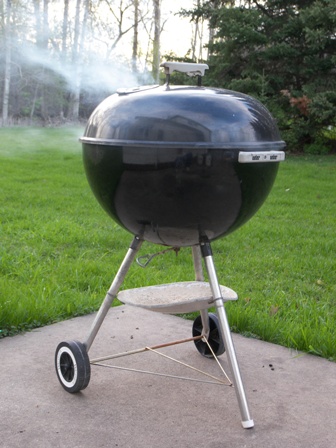
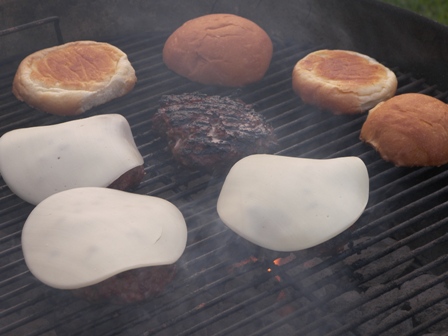
We got together with some friends Friday night and grilled burgers and hot dogs before the fireworks. I made a fruit pizza for dessert. It’s this recipe, but I cut back on the amounts because it wasn’t gonna fill up the whole pan since it was shaped into a rectangle, a flag. Oh, it was so good. I didn’t count how many pieces I ate. Fruit pizza is one thing I crave, especially in the summer.
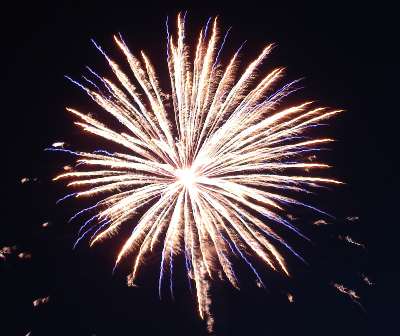
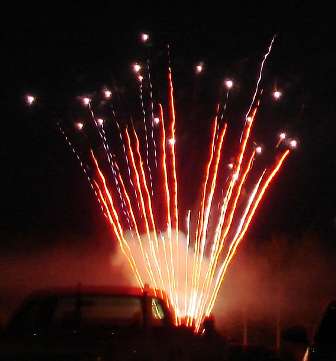
I have a few fireworks pictures, but other than that, nothing. I was lounging in my lawnchair thinking, ‘I should go get my camera and take a picture of Shannon grilling and of the kids playing and of the adults talking and capture the party atmosphere around us’ and then as I kept lounging, I lowered my standards and started thinking, “I should at least get my camera and take 4 pictures because that would make a pageful for when I scrapbook this event’, but I just kept sitting there, living the moment instead of capturing it. I actually don’t like taking pictures at social events. BUT the only thing I hate worse than taking pictures is not having pictures, so that’s what drives me to take them. Except for this time.
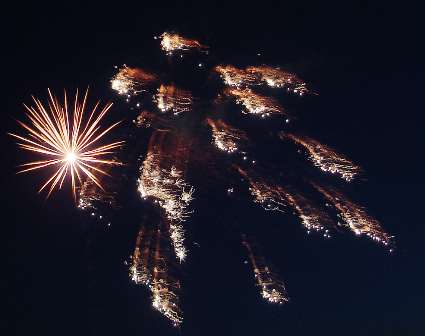
And with that I leave you with a little fireworks show…

Comments
7 Responses to “July 4th follow-up post…”


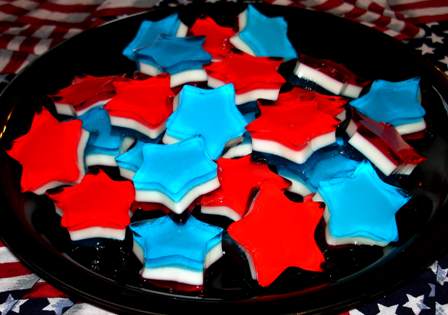
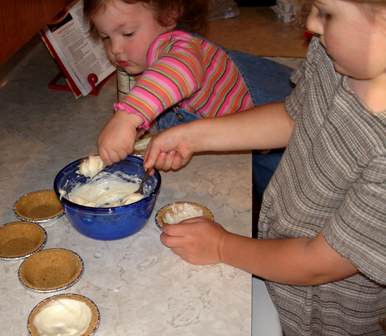
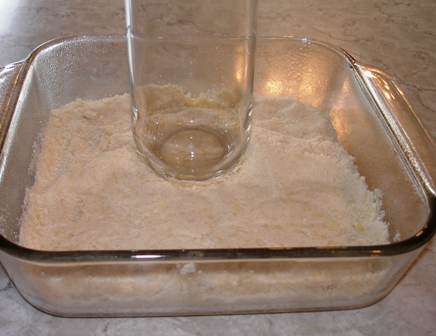
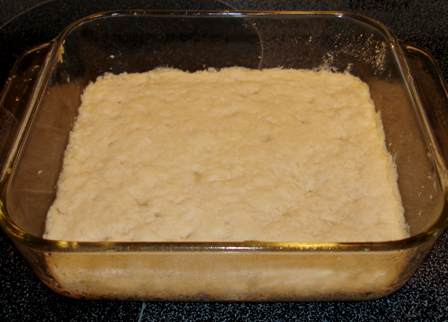
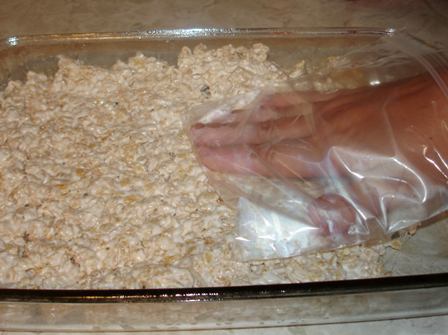
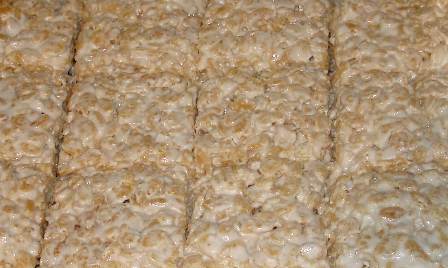
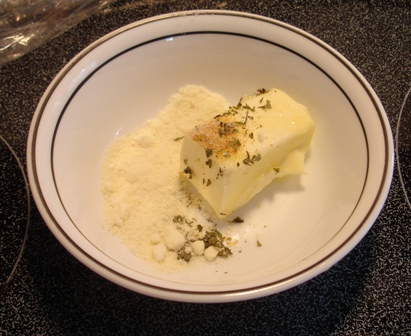
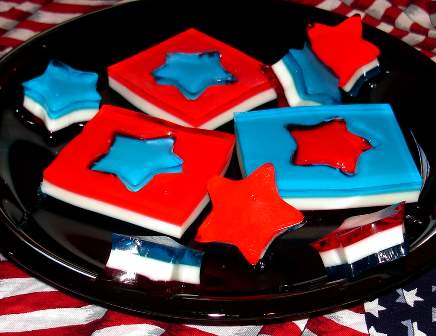 And then you can play around with it a little more and makes squares and cut a star out of the middle, flip it over, and put it back into the hole.
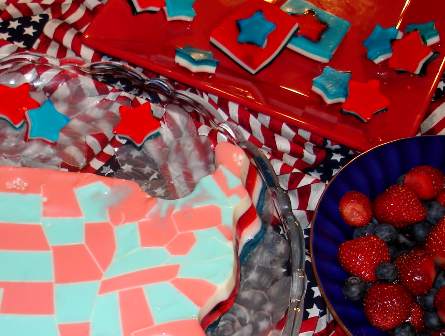
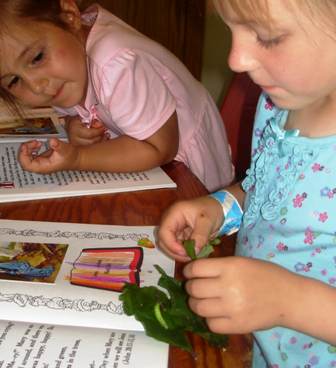
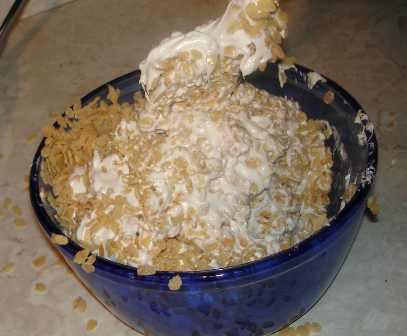
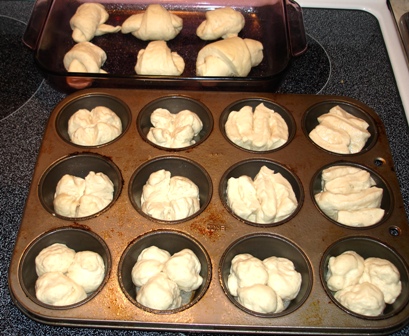
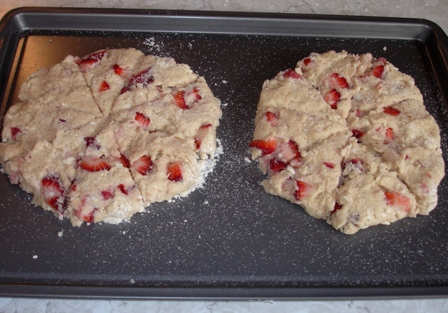
 My main job was using a rag before the messes took over my kitchen. Lexi (5) and Tiffany (2) did all the work except for the little bit that I did to show them how to do it. I’m not sure how long this will last as being weekly… hopefully I’m not burned out by the 3rd week!
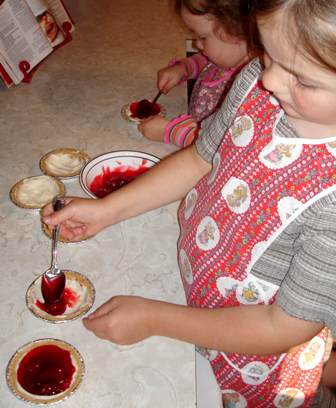
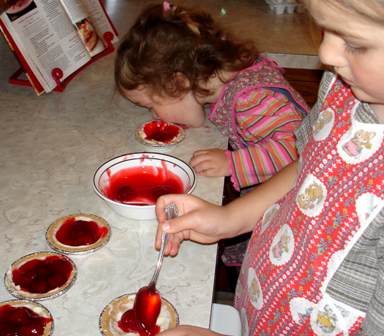
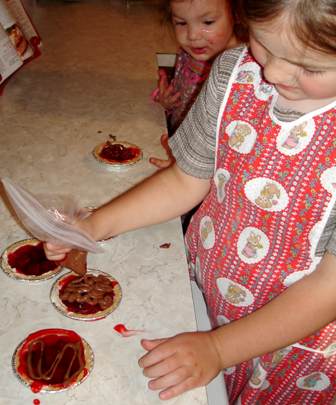
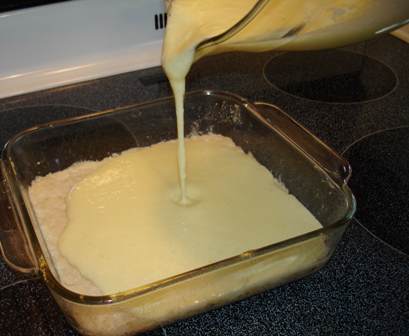
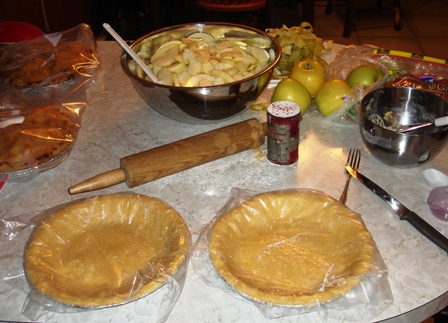
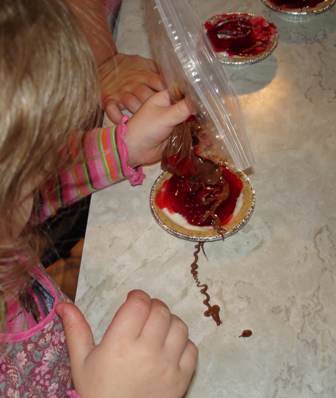 And, uh, try not to let the bag drop into the pie. That would get cherry filling on the bag and then might get your hand messy.
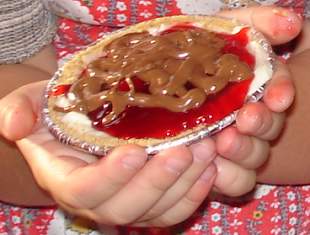
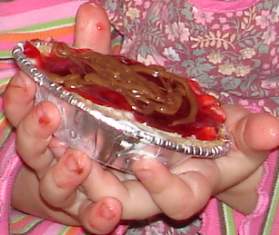
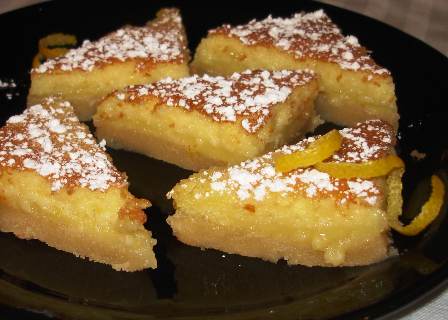

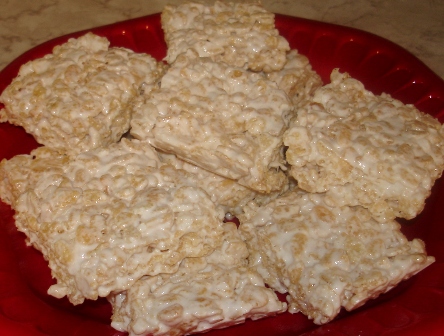

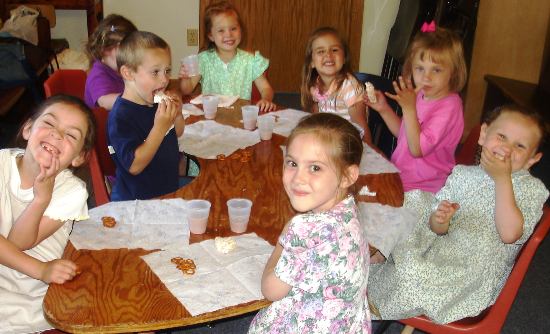
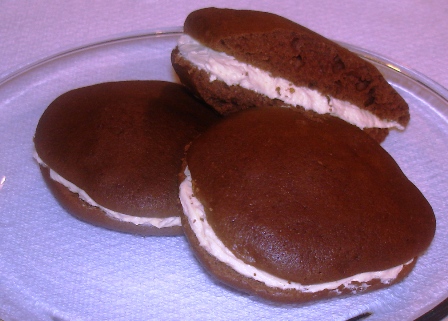
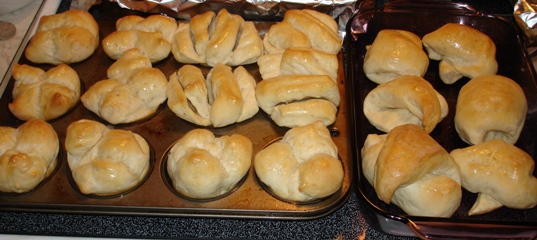
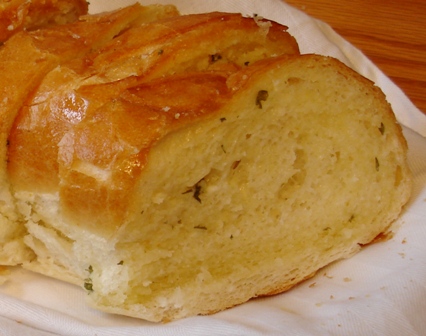
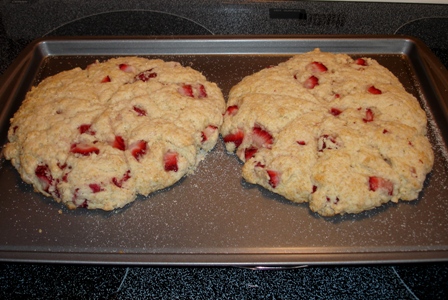
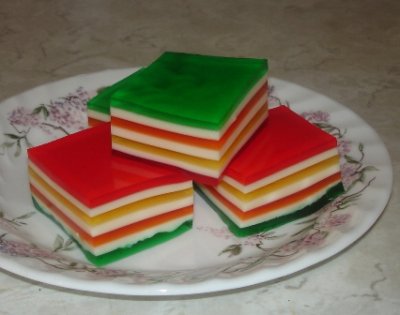
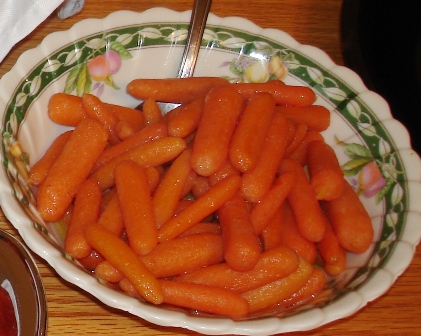 Mmmmmmm! Delicious!
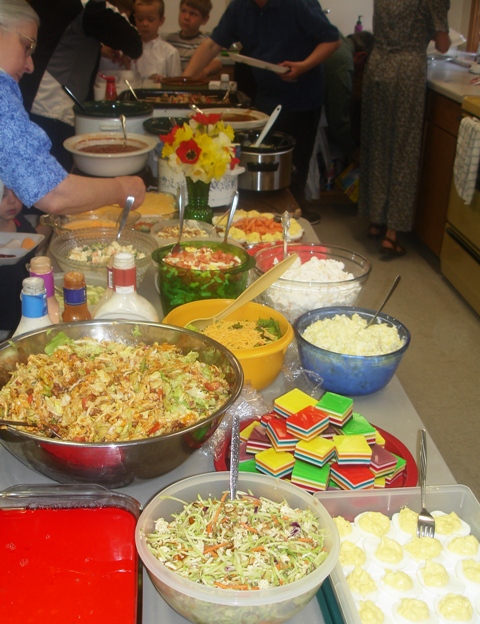
 That fruit pizza was great!
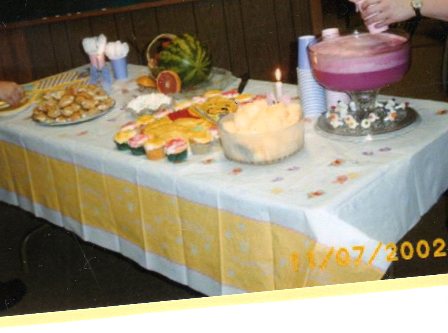
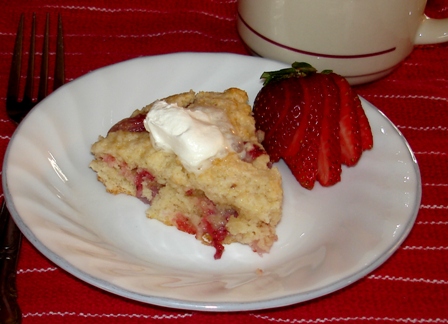
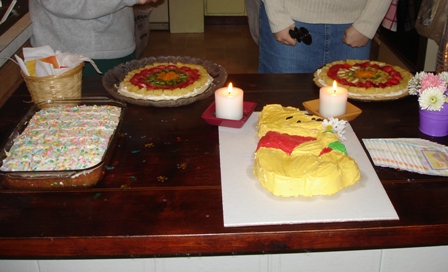 The ice cream wasn’t out yet on this picture. We also had hot chocolate made with melted candy bars. It was SO good. I need to get that recipe from my friend who made it.
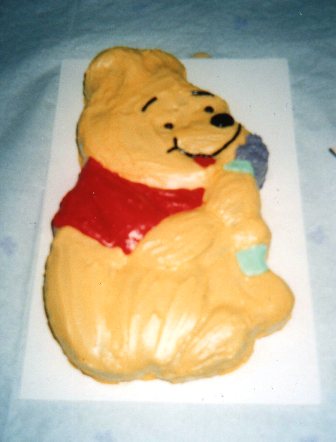

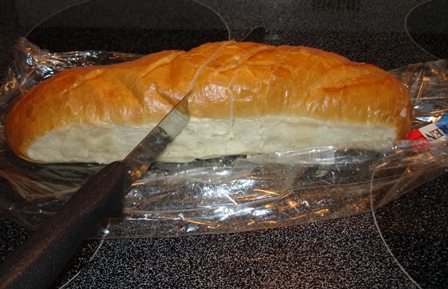


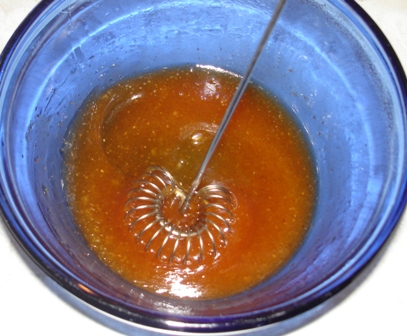

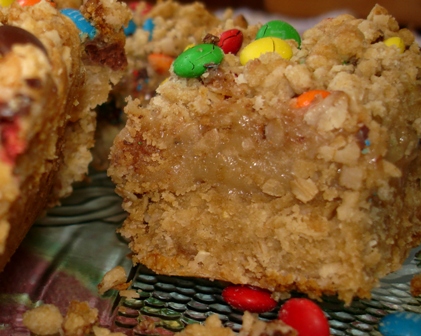


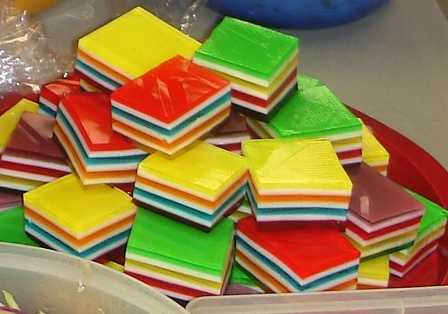


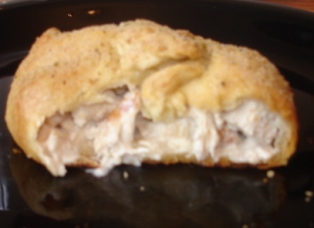 It bugged me that the ‘cut-away’ view pictures all got blurry, but here is one anyway. I hope it doesn’t make you rub your eyes or squint.

Kay — Thanks for the explanation! I was wondering how you did the states!! Great fireworks pics!!
I bet my state would’nt fill anyone up! (Rhode Island!)
To cool. Not sure I’d have the patience to fill all the states in. I’d be very hungry for fruit pizza right now too. Might have to make some.
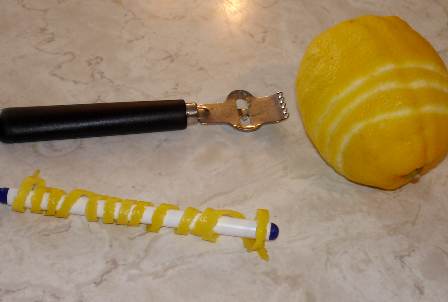
That fruit pizza almost drives me to my kitchen right now. Oh my, that looks wonderful! I appreciate this blessing on here you give to us so very much – THANK YOU! I did wonder how you keep the bananas nice? Do you dip them in lemon juice? P.S. When Bernice drops you a note…..must tell you she also is a wonderful cook….we’ve had brunches at her place…often celebrating someone’s birthday. She loves to give everything an extra special touch. It is not only a wonderful experince with friends but she gives the whole time we’re together a meaningful start as she lifts our time together to our Lord.
Isn’t the family of God more than precious!!
Thanks for clueing us in on your USA finger jello. It looks cloo, but I doubt I will ever try it. Not nearly enough patience on this end Fruit pizza looks refreshing too.
Cordy, to keep the bananas nice, I glazed them right away as soon as I put a row of them on. The glaze keeps them from browning for awhile. I made it in the afternoon and the next morning, the bananas on the leftovers were just getting a hint of brown, not too bad, but if you’d make it a day ahead, you’d want to save the bananas to put on later for the freshest look.
Btw, the ’stars’ on top of the blueberries are just little dollops of Cool Whip.
I love fruit pizza, and that flag is just so neat. Also thanks for explaining the USA jello. I was wondering how you did it. With you showing all these neat things it makes me want to thow a July 4th party next year.