Posted on January 5, 2011
Filed Under Birthday cakes
For over 3 years, Lexi’s favorite candy bar has been Snickers. Usually, the reason a food is your favorite kind is because you’ve tried some variations and one was head and shoulders above the others. Well, not so with Lexi and Snickers bars.
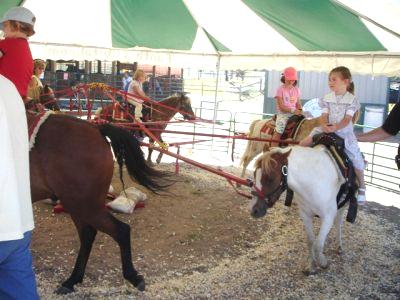
Here is how Lexi came to like them… Once upon a time, when she was 4 years old, we went to our small hometown county fair, a county fair in which there are veggie races (“Will the corn beat the cucumber? Oh look! The potato is taking the lead!”) and a cornbox (as opposed to a sandbox) and pig swimming races (I didn’t even know pigs could swim, so that I had to see!) and, of course, pony rides. Like all good dads, Lexi’s dad gave in to her big brown eyes when she asked for a pony ride. There was a line of kids and a circle of ponies. When Lexi was at the front of the line, her dad helped her up on the next pony as the man in charge of the pony ring told her with a smile, “YOU can ride on Snickers!”. It was surreal, a dream come true, she was sitting on a REAL pony… and she wasn’t even dreaming!
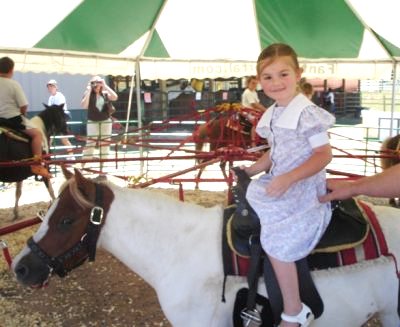
Sure, she had sat on ponies before, but they were always hard cold pretend ones on a carousel, and wow, this was more fun than a carousel! It was a little scarier too, but sometimes scarier goes with funner, like ponies vs. carousels.
She talked about Snickers for days. One day, I said, “Did you know there’s a candy bar that’s Snickers?” The poor Snickers-candy-deprived child said, “No! There is? What does it taste like? Can we get one?” I said, “Sure. Remind me next time we go to town.” She did remind me and during her first bite, she declared it her best candy. And they lived happily ever after. Just between you and me, I’m pretty sure Snickers knocked M&Ms out of the favorite candy slot BEFORE she even tasted it… beloved ponies can have that effect on little girls.
On to the cake…
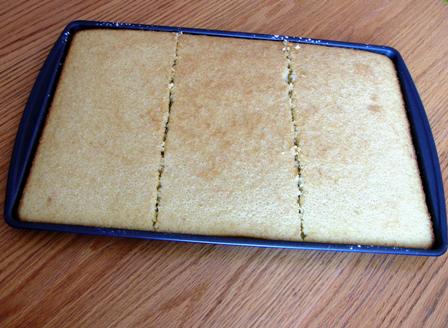
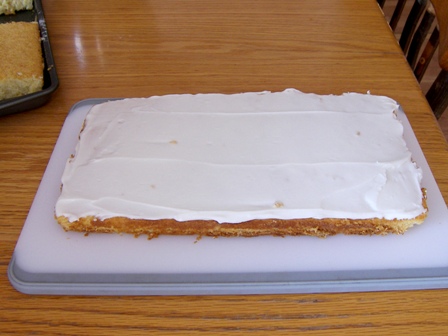
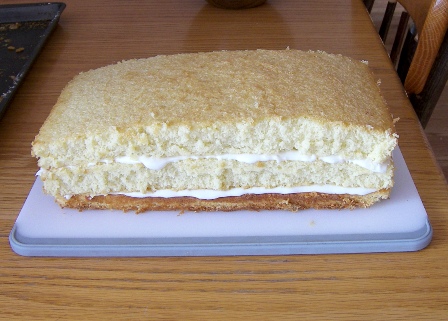
First, I baked a sheet cake and then cut it in 3rds and then stacked it up with frosting between the layers. The reason I did that is because a 9×13 would’ve been just the wrong dimensions to get the length and height I wanted.
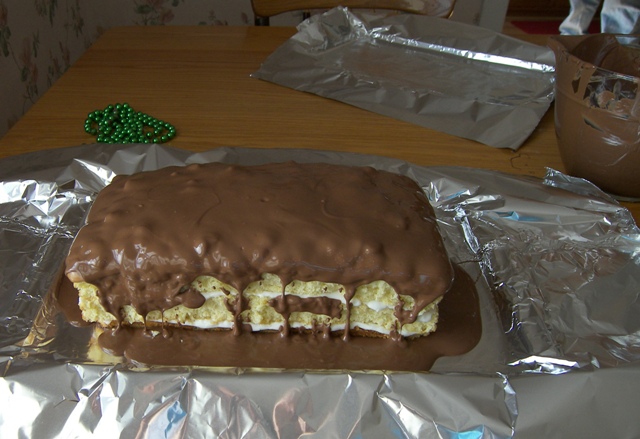
Next, I melted caramel (just plain caramel, I didn’t mix any milk or anything in). It was a caramel loaf (consistency of wrapped candy caramels) from a bulk foods store. Then, I mixed peanuts into it. Then I waited til it was still soft enough to spread, but hard enough to not drip down over the side of the cake.
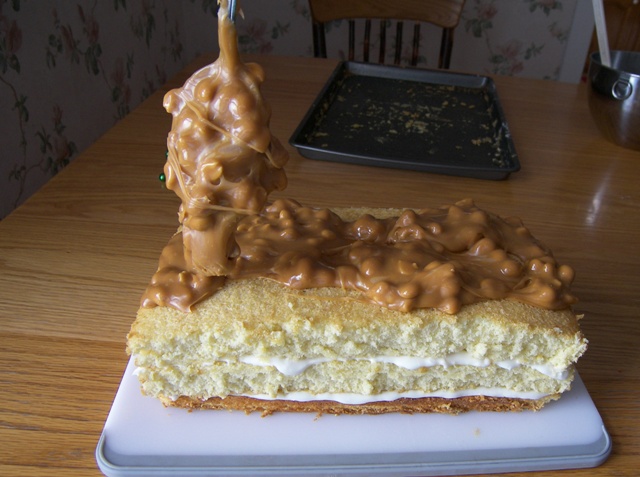
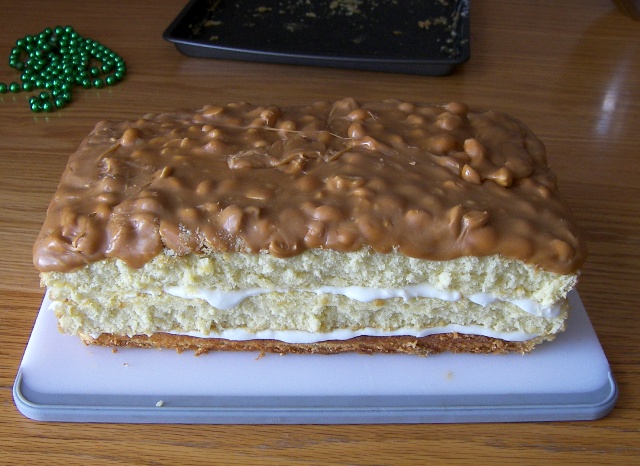
And there it is. All spread out. And not dripping out over, although some was kind of threatening to at the ends.
Now, it’s time for…. THIS!!!
*be still, my beating heart*
It’s 2.7 lbs of pure milk chocolate, which I chunked up and melted.
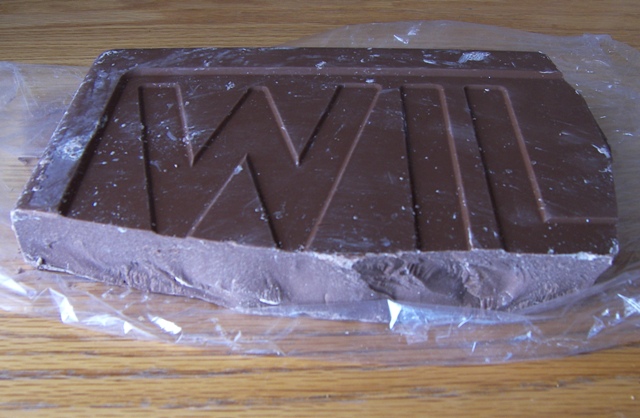
Side note: I purposely chewed gum during this cake project so I wouldn’t gain 10 lbs from snitching!
I lined a cookie sheet with tin foil because it holds its shape when bent, which will come in handy in a bit. I made a chocolate pond on it, then set the cake on top, then poured some over the top.
Then, I bent up the tin foil, which made the pooled chocolate have no place to go except up the side of the cake… exactly where it was supposed to go.  I let it sit there for a bit til the chocolate hardened, which didn’t take long because I had put it in the fridge for a bit while I took care of my baby, with the hardening faster idea in mind.
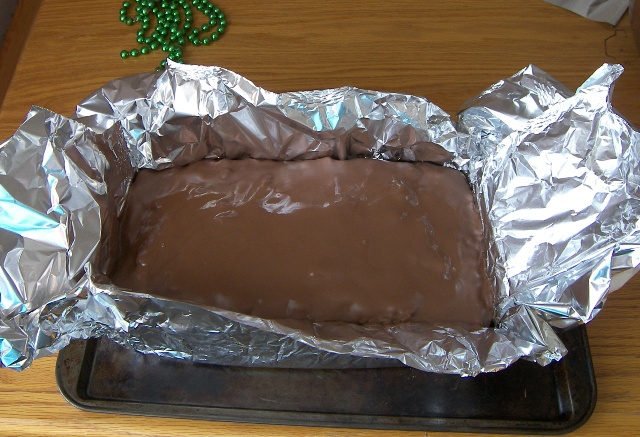
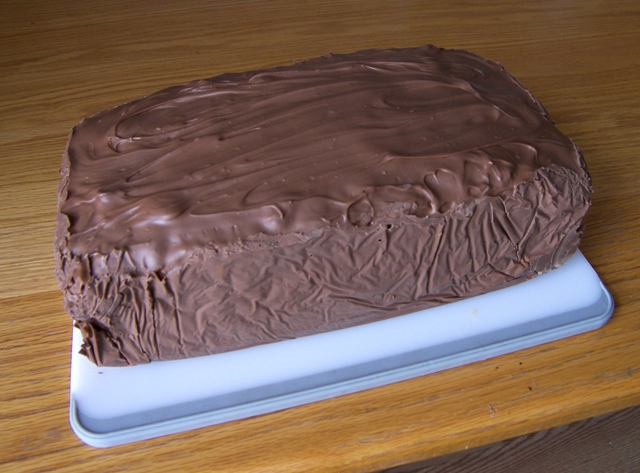
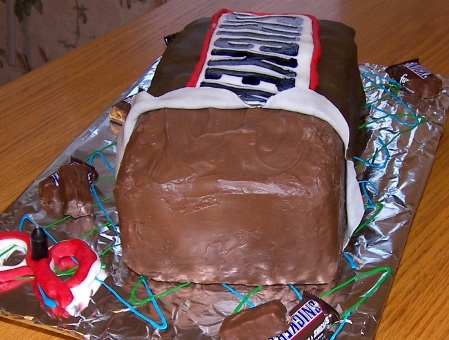
When I pulled the foil down, this is how it looked…
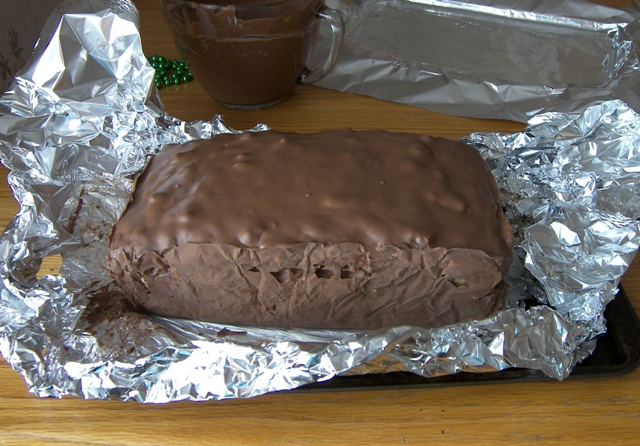
Then I repeated the process, but used tin foil AND Saran wrap. Not sure why the Saran wrap. It was just a whim. And when it hardened and I took it all off, it looked like this. Oh, before it hardened, I swirled the chocolate on the top. I did smooth out the chocolate on the side a bit between this picture and the next one, by using a hairdryer on Low to soften it WHILE smoothing it with a knife.
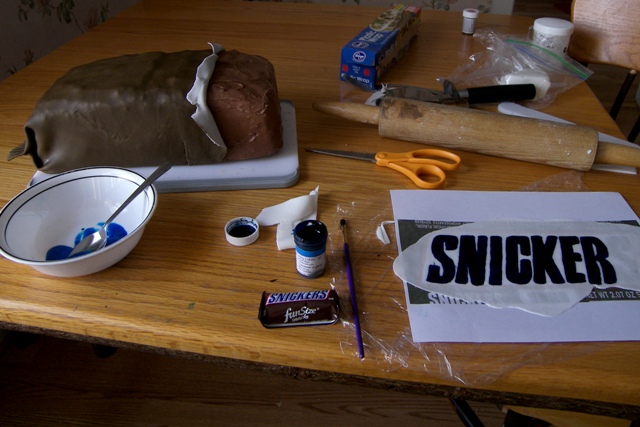
Now, let the fondant fun begin. I colored the fondant brown and rolled it out. Then, I rolled out some white and laid it on top, which was actually the underside… because I wanted to flip the wrapper back and wanted it to be white inside, not brown. The ‘glue’ for fondant to stick together is water. Easy enough.
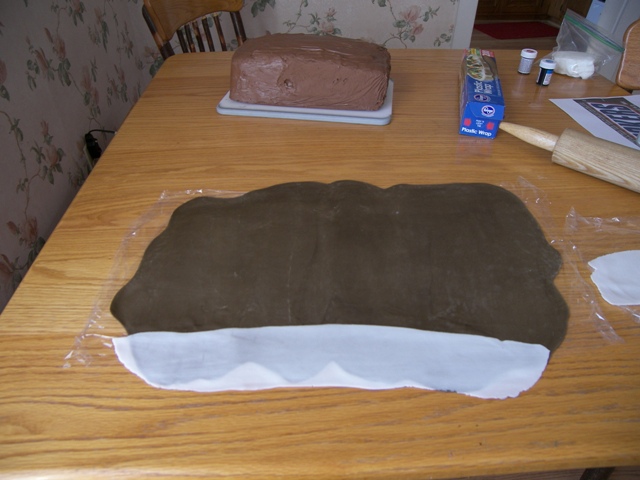
Then I put it over the cake, with enough extra to wrap underneath too.
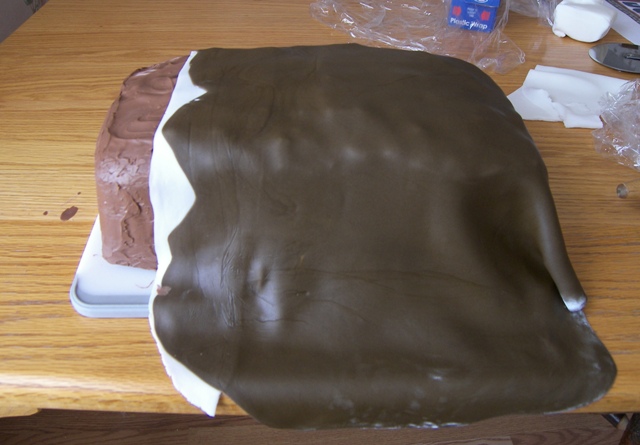
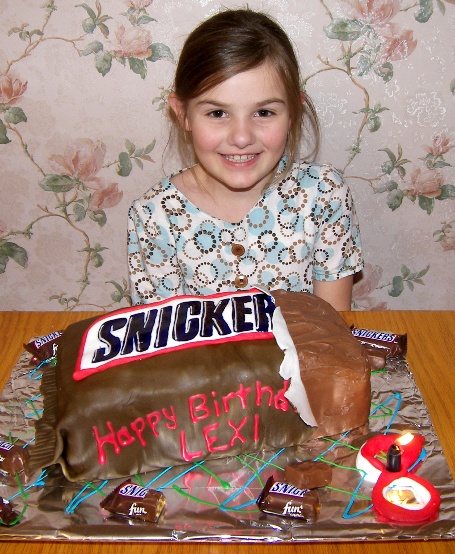
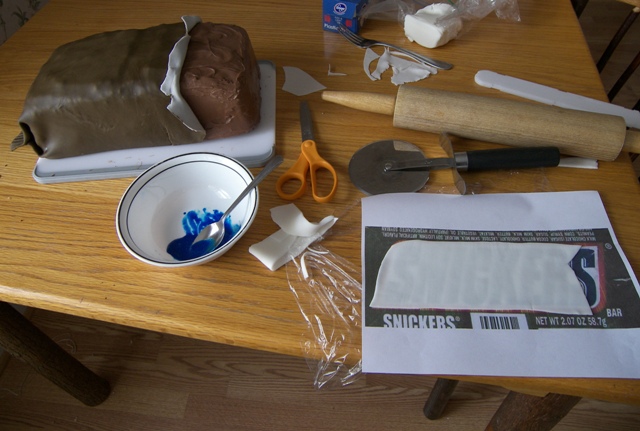
Next, I tucked it underneath, folded it in the back, trimmed it evenly, and crimped it with a fork. Fondant is pliable until it dries out, and I wanted that back part to stand out, not point down, so I poked a few toothpicks into the cake in under there to hold it up. Then, I trimmed it unevenly in the front and pulled it back a bit. What you can also see here is how I did the lettering. I printed it out and could actually sort of see thro the fondant to trace it on. I mixed up some watery blue mixture, but it was too light, so I just ended up doing it right out of the food coloring paste can. I used a small paintbrush.
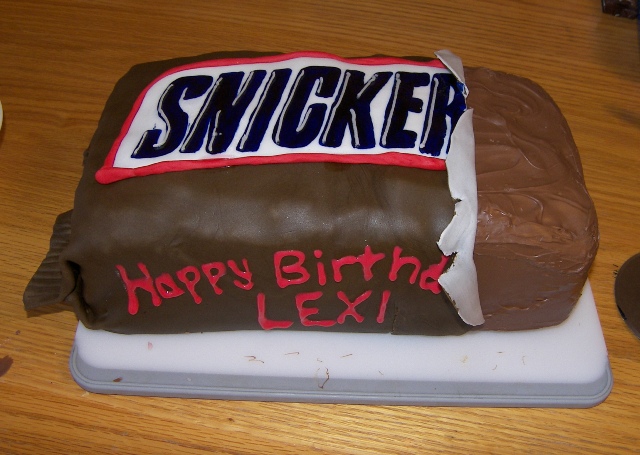
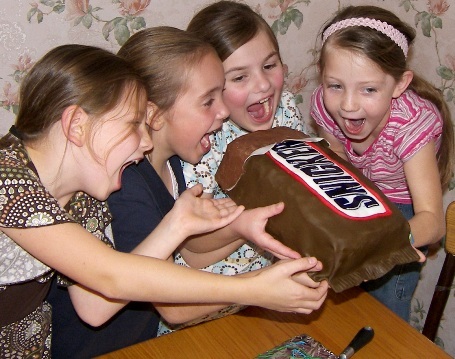
Then, I put the white part on (with water ‘glue’), piped the white ‘shadowing’ on (that REALLY made a world of difference! Compare the writing on these 2 pictures.), and made a ‘snake’ with red fondant and put it around the white (‘gluing’ it with water). Then, I piped “Happy Birthda LEXI” on it. Yup, there’s no Y, but an A is hiding under the wrapper.
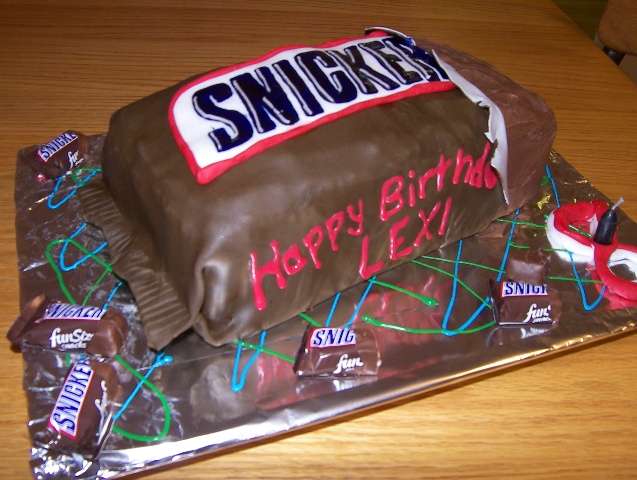
Then, I laid a paper towel on a cooling rack, covered it all with tin foil, ‘scribbled’ blue and green on it for a festive/kid look, and made an 8 out of fondant and put the top of a taper candle in the middle (yeah, I know, cheesy, but in all my cake-ingredient shopping, I didn’t think to put candles on the list and I didn’t have 8 on hand and I didn’t think it was worth running for some. I did get a pack of 8 little Snickers though, which were each going to hold a candle, sitting around the cake like they are.) This is a view from towards the back so you can see the crimping on the back of the wrapper.
There’s nothing on the back of the bar. I could’ve written “Hungry? Grab a Snicker bar!” or some other slogan that they have on wrappers, but I decided not to mess with it anymore. Plus Tiffany ate some of my frosting and there wasn’t enough left to pipe it.
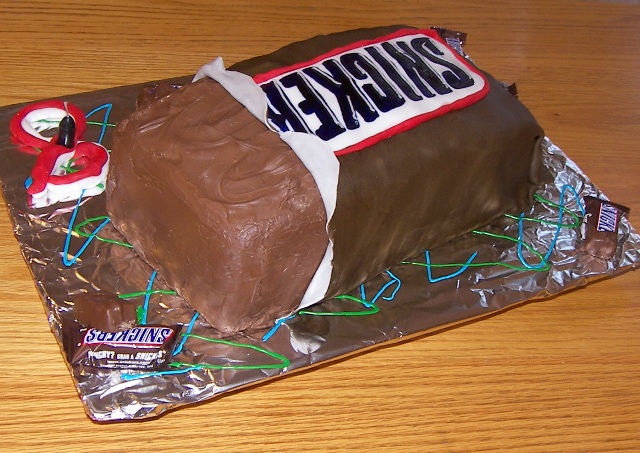
Here’s my FAVORITE picture of all!
Comments
I like your analogy. “Pancakes and blueberry syrup!”
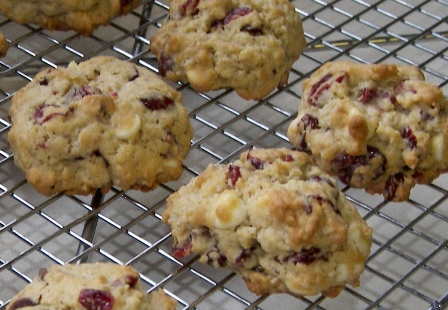
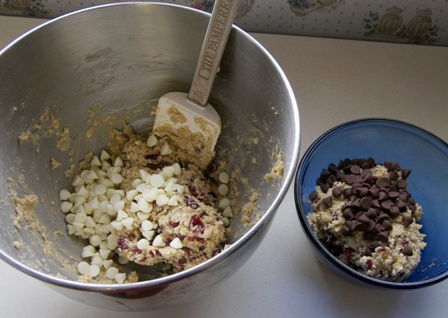
Shilah made these for us (with white chocolate) when we were in Idaho. I’ve been craving them ever since.
Just so you know, I’m laughing out loud! ????
I’m usually a milk chocolate kind of girl too, but I love white chocolate macadamia nut cookies. thanks for the recipe