This isn’t going to be an entertaining post with pictures and all. It’s more of a helpful post. We need to have some balance here. Not all fun and games and eating and pictures.
I guess I’ve never really put a game on here… I could though, one time I saw a bar recipe and a letter was piped on each bar and they made a crossword out of it. And I’ve also seen a meat and cheese checkers game. And one of the neatest looking things I’ve seen was square cakes frosted white and oreo cookie halves stuck on them in a pattern so the cakes looked like dice.
Warning: Sudden change of subject. I used to cook pasta and be dumping the uncooked stuff into the water and then dump in more, thinking it surely wouldn’t be enough. As it cooked, it grew and GREW and I’d end up with enough pasta to feed an army! Then, I found this info, and I haven’t cooked way too much pasta since. But I still dump in the uncooked stuff and think ‘Surely that won’t be enough’, but it always grows and sure enough, it’s enough! I know, it says on the package how much cooked uncooked makes, but it seems to always have it in ounces!
Or I would be crushing crackers crumbs with a rolling pin and empty the crumbs into a measuring cup, crush more, empty them, until I had enough. And then sometimes I crushed too many and had to decide what to do with the leftover crumbs… throw them away or throw them in.
Or I’d need 1/4 cup of lemon juice and want fresh-squeezed juice, so I’d go to the store and not know how many lemons I’d need to make 1/4 cup. So I’d buy 4 or so, just to be safe (I only did that one time, then I had a better idea of how much juice one lemon makes after that).
So, I hope this info helps you as much as it helps me! These measurements might not be exact, but it gives a ballpark idea anyway.
Macaroni 1 cup (3 1/2 oz) uncooked = 2 1/2 cups cooked
Noodles, med 3 cups (4 oz) uncooked = 4 cups cooked
Speghetti 8 oz uncooked = 4 cups cooked
Popcorn 1/3 – 1/2 cup unpopped = 8 cups popped
Rice, long grain 1 cup uncooked = 3 cups cooked
Rice, minute 1 cup uncooked = 2 cups cooked
Bread 1 slice =3/4 cup soft crumbs
= 1/4 cup dry crumbs
Graham crackers 7 squares = 1/2 cup crushed
Ritz crackers 12 crackers = 1/2 cup crushed
Saltines 14 crackers = 1/2 cup crushed
Bananas 1 medium = 1/3 cup mashed
Lemons 1 medium = 3 Tbsp. juice
Limes 1 medium = 2 Tbsp. juice
Oranges 1 medium = 1/4 – 1/3 cup juice
Lettuce 1 head = 5 cups shredded
Carrots 1 pound = 3 cups shredded
Celery 1 rib = 1/2 cup chopped
Corn 1 ear = 2/3 cup kernels
Green pepper 1 large = 1 cup chopped
Mushrooms 1/2 pound = 3 cups sliced
Onions 1 medium = 1/2 cup chopped
Potatoes 3 medium = 2 cups cubed
Almonds 1 pound = 3 cups chopped
Pecan halves 1 pound = 4 1/2 cups chopped
Walnuts 1 pound = 3 3/4 cups chopped
And while I’m at it, I might as well throw in some more equivalents that I’m sure you all know. But these still come in handy when your mind goes blank… blank like mine did this morning when I made coffee and after awhile was wondering why I didn’t smell it and when I looked at the coffee pot, there was clear water in it instead of coffee! Shannon said ‘the problem with coffee is that you need it first in order to be awake enough to make it’, or something like that… it didn’t sound as confusing when he said it.
I actually forgot what I was supposed to be writing here and had to go up and check… more equivalents:
3 teaspoons = 1 tablespoon
4 tablespoon = 1/4 cup
5 1/3 tablespoons = 1/3 cup
8 tablespoons = 1/2 cup
16 tablespoons = 1 cup
2 cups = 1 pint
4 cups = 1 quart
16 cups = 1 gallon
4 quarts = 1 gallon
And from there, you’re on your own.
I just finished eating a fresh strawberry scone… delicious! I’ll post the recipe later. Do I mean fresh as in fresh strawberries or fresh as in fresh-baked? Yeah.
Comments
6 Responses to “Equivalents – this chart will make your life (in the kitchen) easier”


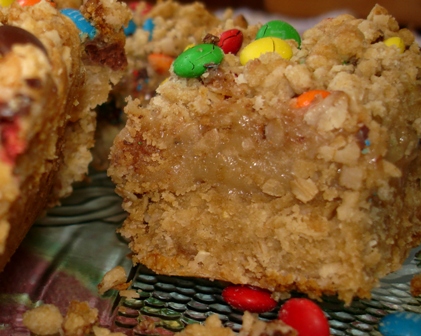

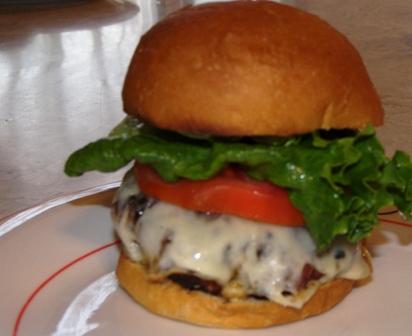


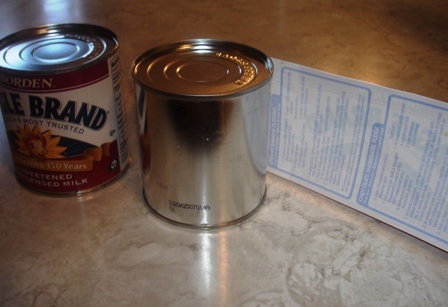
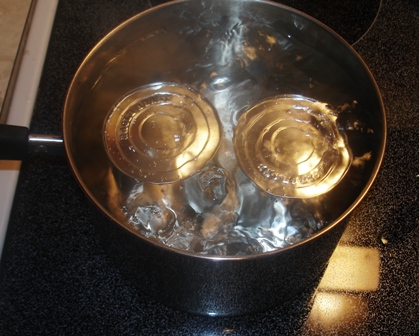
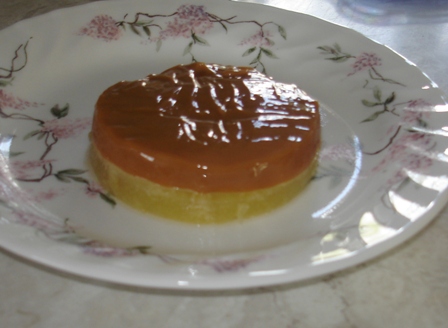


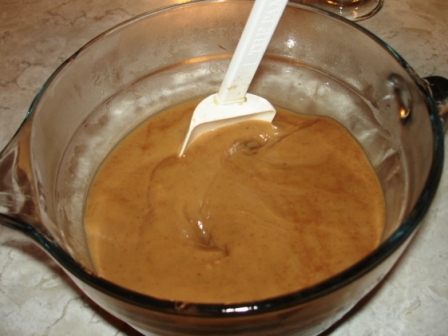
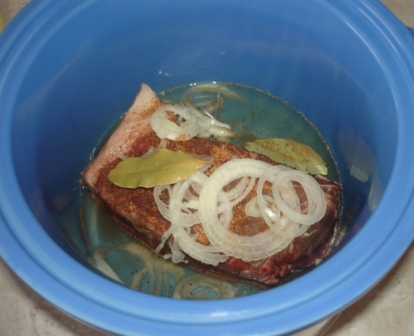
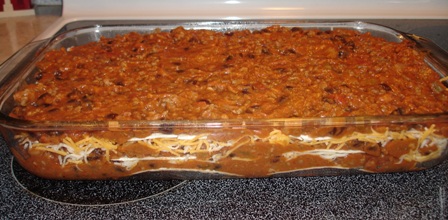
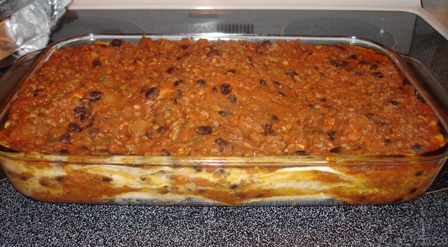
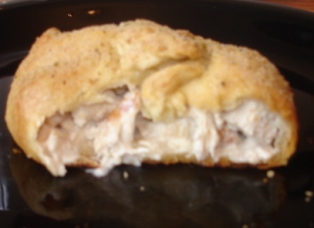 It bugged me that the ‘cut-away’ view pictures all got blurry, but here is one anyway. I hope it doesn’t make you rub your eyes or squint.


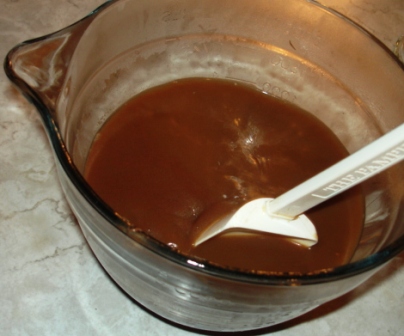
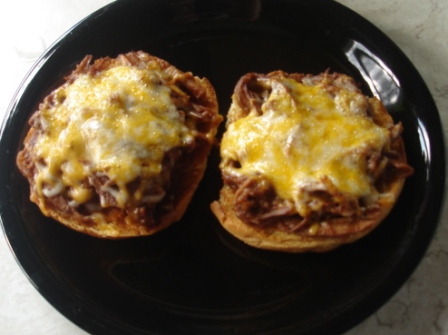
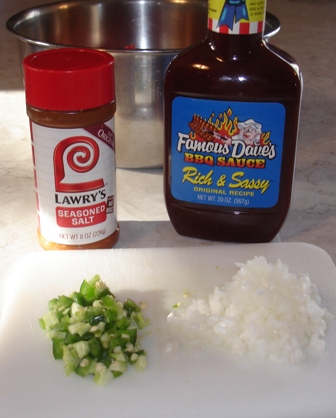
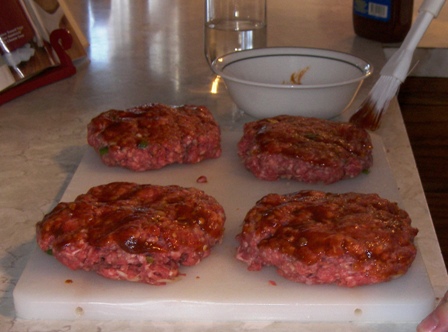
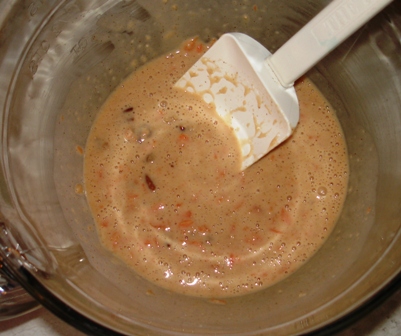
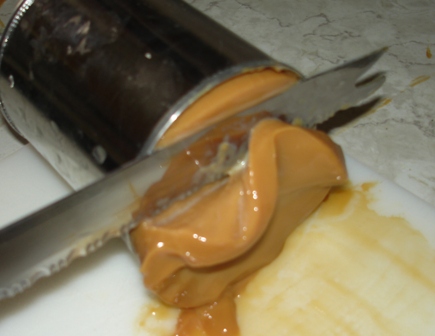
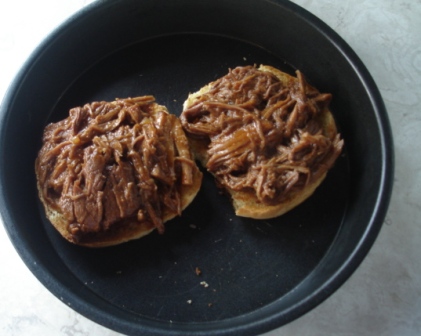
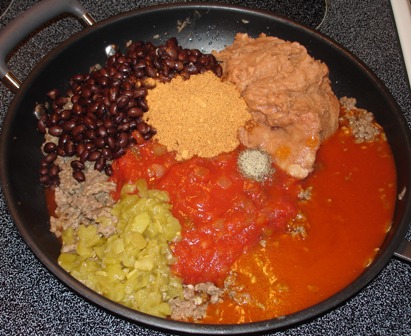
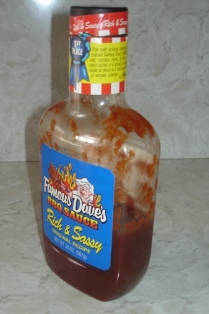 This is how much barbeque sauce I used. I dumped it in, then put a little water in to rinse out the bottle (I know, so thrifty… I’ll bet I kept from throwing away a whole Tablespoon of sauce!) and dumped that in too. A little more barbeque sauce and a little less water would’ve been ideal for more flavor, but I guess that’s the thing of always just doing it without a recipe… it’ll always get a little different. Plus, to do that, I’d have had to break open a new bottle of sauce, just to get a little more. Oh, what a bother.
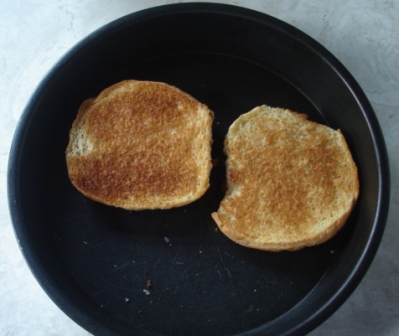


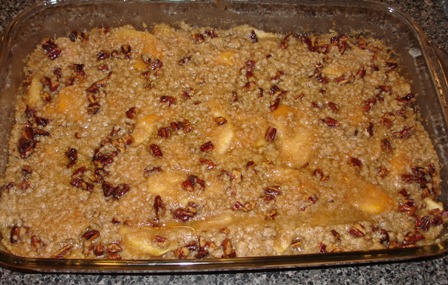

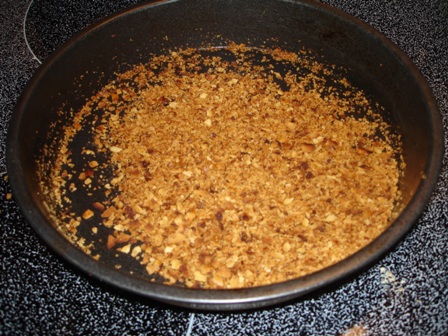
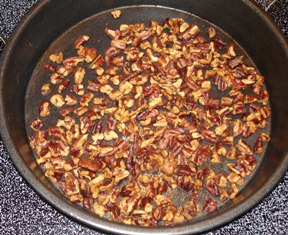 Spread in a round baking dish. Preheat the oven to 350 degrees. Bake for 13 minutes or until lightly toasted, then cool.
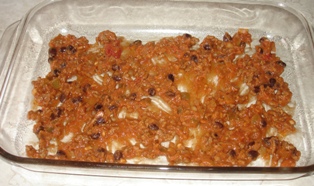 Spread 1 cup sauce in a greased 9×13 baking pan.
  Layer with 2 tortillas,
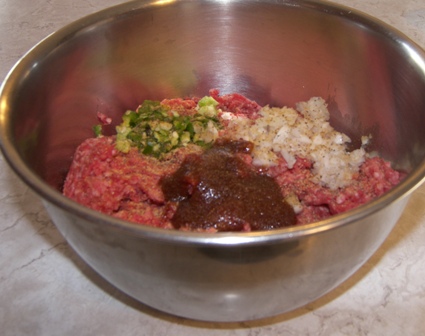
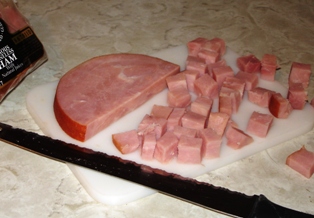
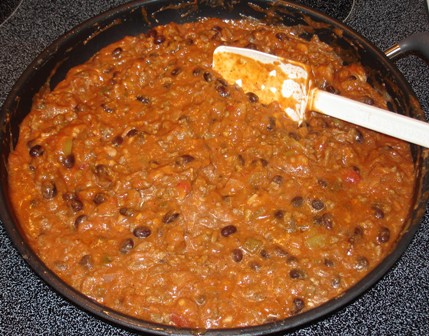
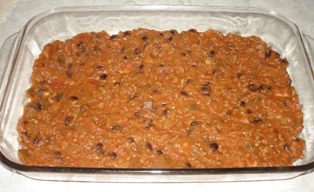 a third of the meat mixture,
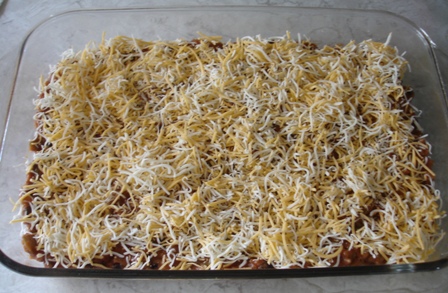


 they’re going on sale pretty often at Marketplace, so I can’t resist keeping them around.

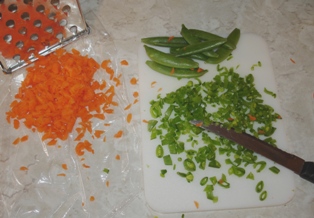 Shred carrot.

Awww, couldn’t you give at least one picture? Like maybe inside your spice cupboard. It’s fun to see how other people organize thiers. I use the tupperware ones. Anyway I’m just kidding about that picture.
Great post, I need those charts in a bad way.
I’ll email you the soft pretzel recipe later today.
i LOVE this site!
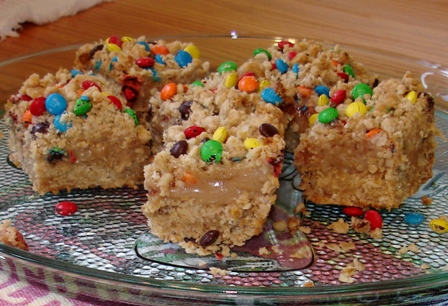
the parmesan potatoes have become our new favorite dish. don’t know how many times i’ve made them the last month. and just today i made the oatmeal squares =) from the last post. marc was hugely impressed with them.and that recipe for meatloaf has made marc admit it can actually be good, or even delicious!
just thought i would let you know.=)
Would shredded lettuce be the same equiv. as shredded cabbage? I need to know how many heads i need to buy for 5 gal. of shredded cabbage. (for cole slaw for a school auction)
Okay…stop hinting around…now I can’t wait for the strawberry scones…fresh or fresh baked. GRRR!
Amber, I researched it and yes, a head of lettuce is very comparable to a head of cabbage, but the lettuce is about a half cup more. That little bit can vary though in the size of the head. One place said that 1 pound of cabbage yields 4 cups (not counting the core that you’d take out). Hope that helps! And I hope the auction goes well!
Sharon, strawberry scones recipe coming bright and early tomorrow morning.
Barb, no thanks on the spice cupboard picture! Not until some organizing goes on anyway! I don’t buy bulk, mine are the regular ones you’d buy at a grocery store.
Lisa, thanks for the feedback! That meatloaf is one of my favorites!
It would help if you also added metric equivalents. Not every blog reader is American!
Kate