So, what happened then is that Kitchen Scrapbook ended up totally missing Christmas! I was living the moment, er, moments, surrounded by family and making food and snacks without blogging about it.
You know how when you get a whole bunch of Christmas cards in a row, 4 one day and 5 the next, and then it tapers off towards the end of December and then no more cards and then the 2nd week of January, you get another Christmas card? Well, that’s how this post is… the other blogs you read have posted Christmas now and are switching from red & green colors to January blue and New Year’s resolutions, but here, we’re pulling you back to Christmas…
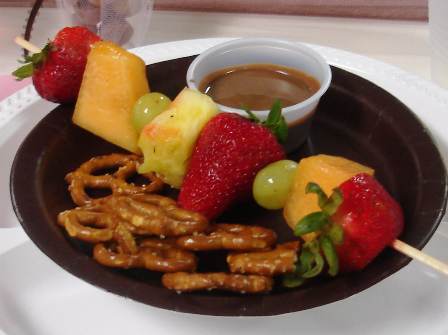
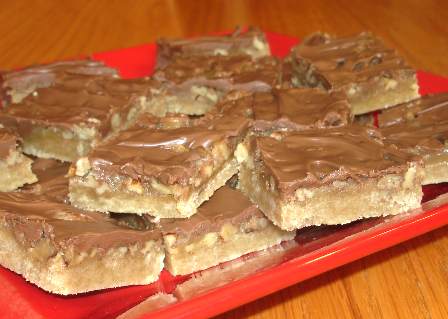
First, we have Pretzel Turtles
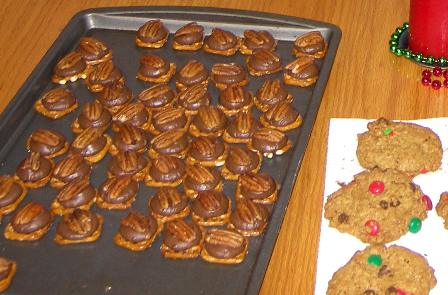
I got this idea from Judy on a message board that I frequent. Take small pretzels and put a Rolo candy on top of each one. Then, put them in the oven for a couple minutes at 350. When you get them out, immediately press a pecan half on top of each Rolo. Yum! They went over very well here!
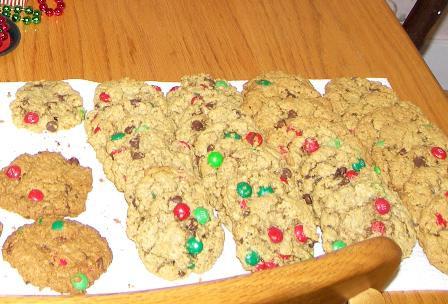
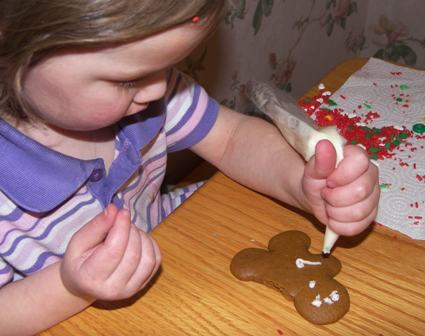
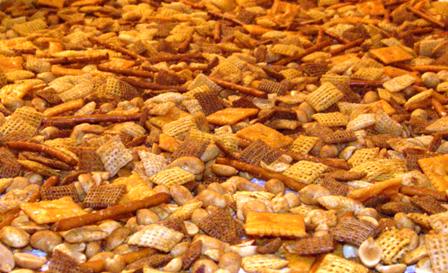
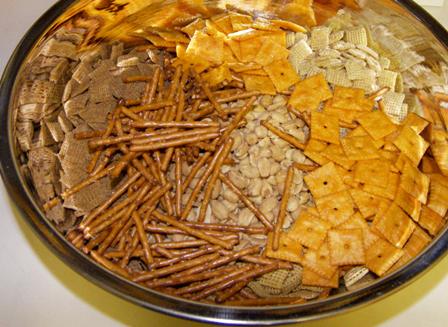
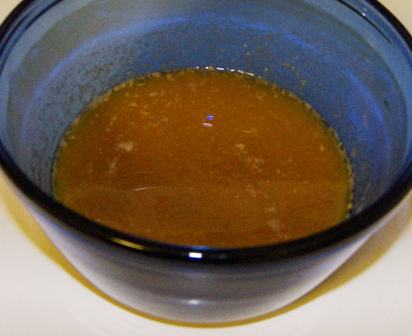
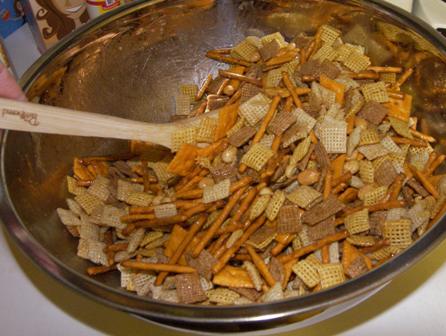
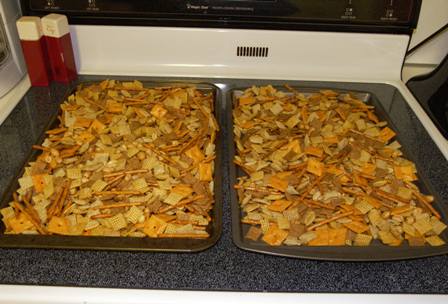
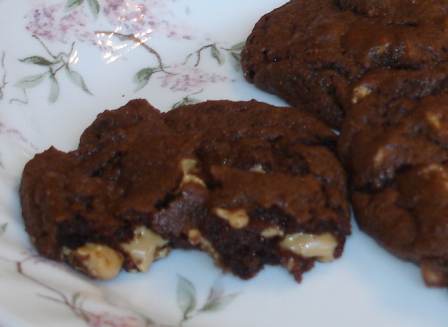
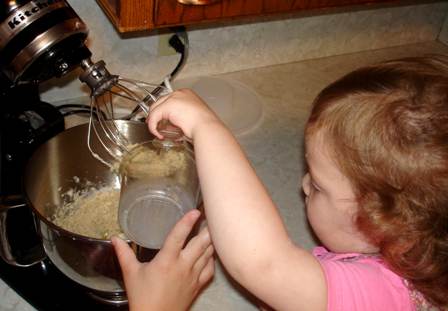
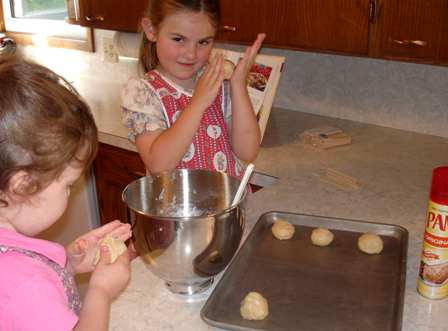
We also had monster cookies, party mix, and gingerbreadmen:
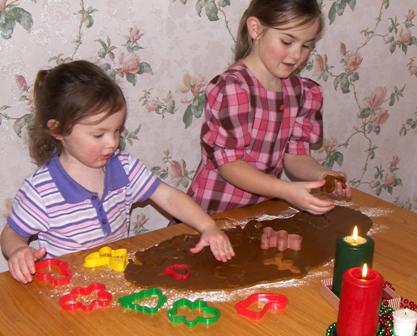
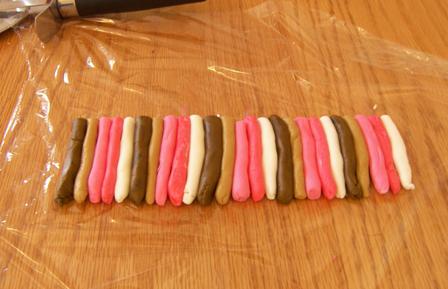
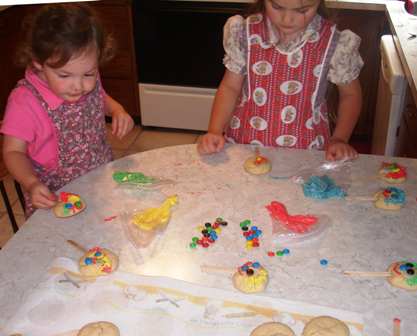
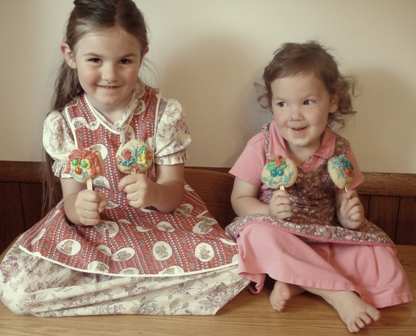
Lexi said, “Mom, look! I made twins!”…

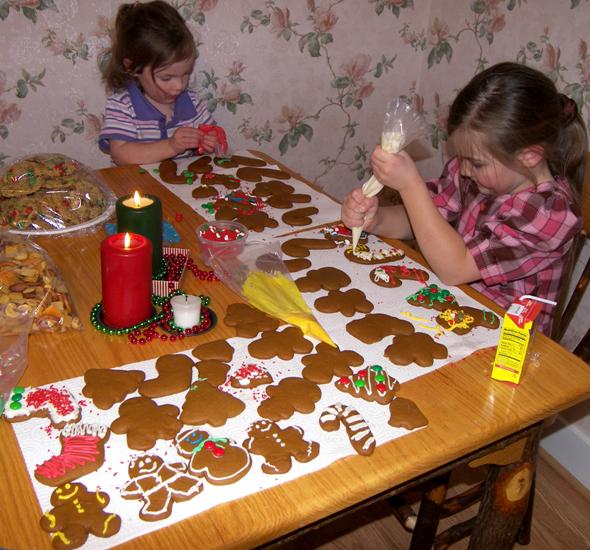
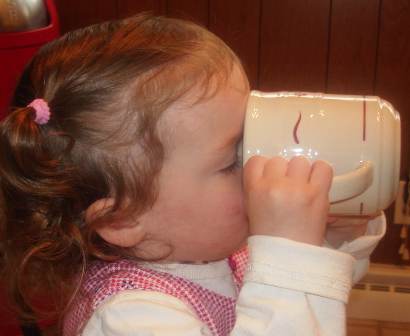
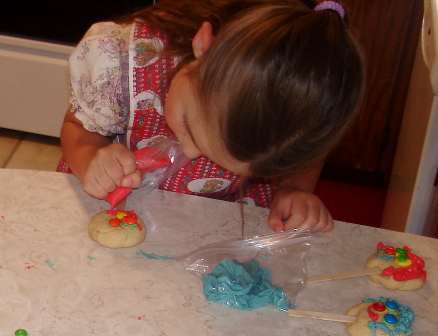
Hmmm, someone samples cookies as she decorates…
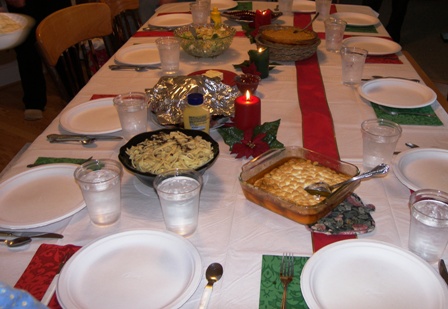
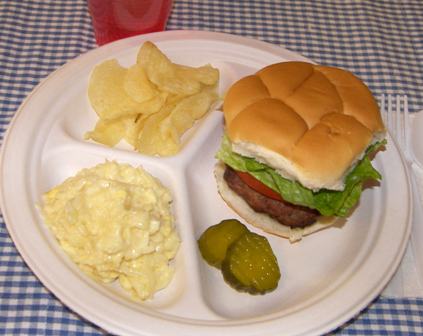
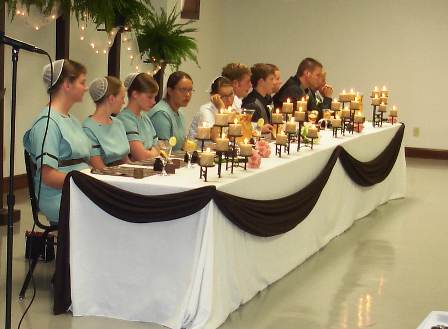
And then onto our Christmas meal…
Here was our menu:
–Mashed potatoes and gravy
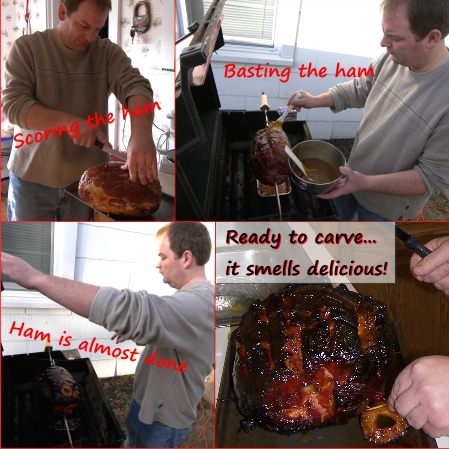
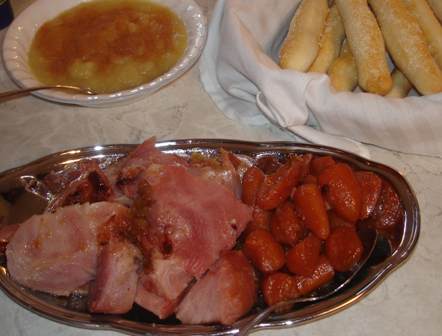
–Ham, rotisserie on the grill
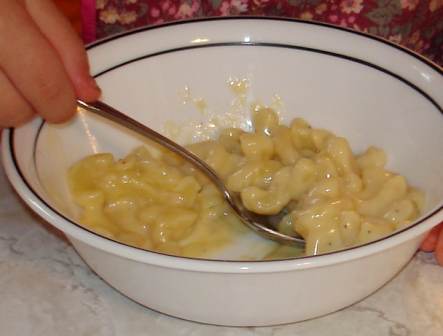
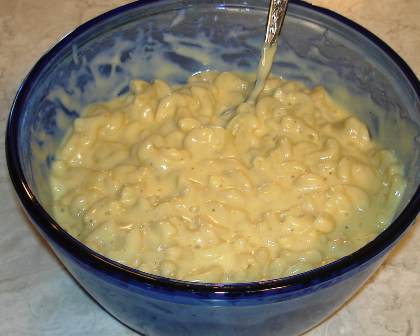
–Noodles
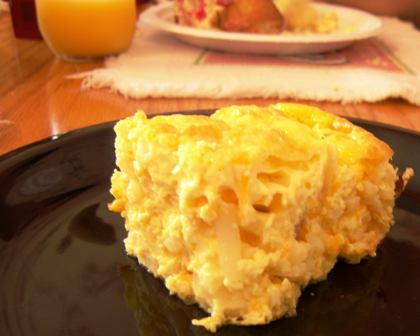
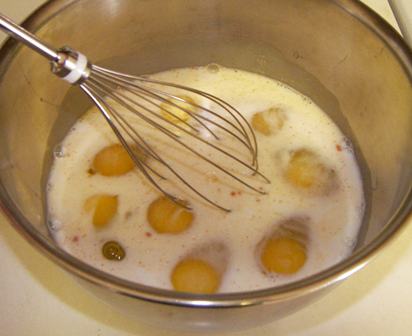
–Baked corn
–Candied sweet potatoes
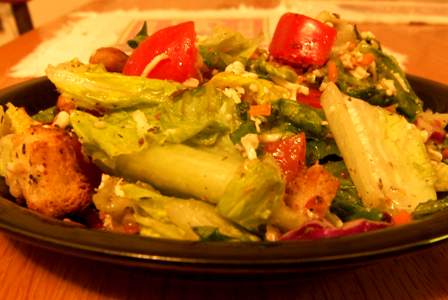
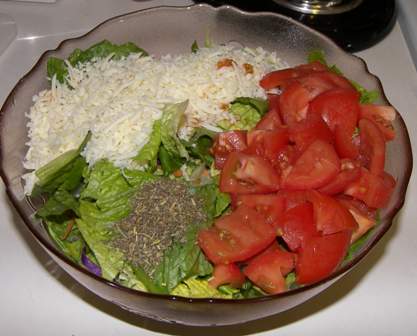
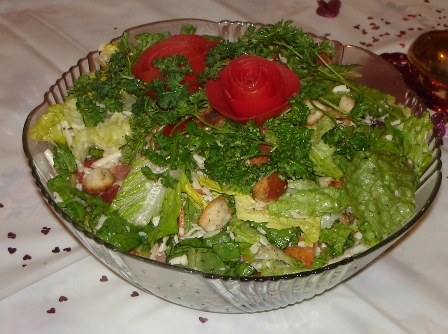
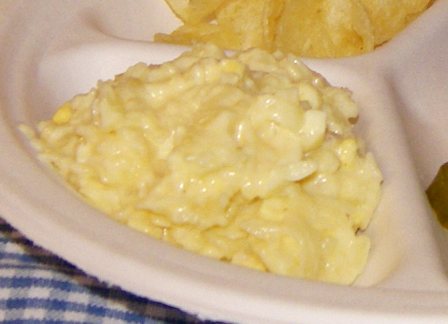
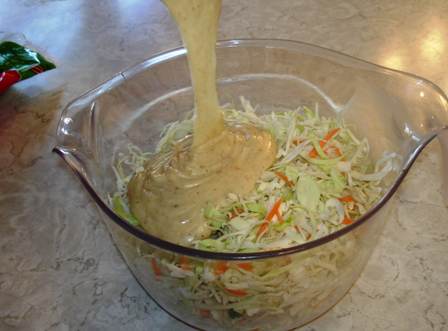
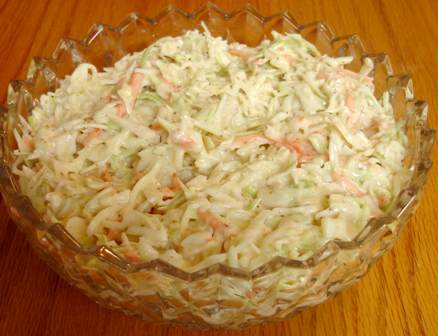
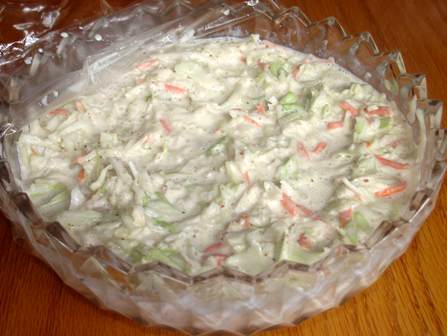
–Corn chip salad
–Rolls
–Jellied cranberry sauce
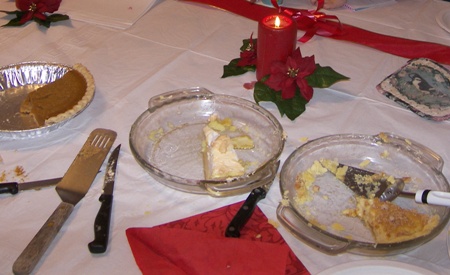
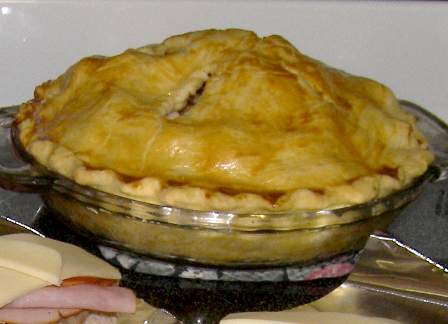
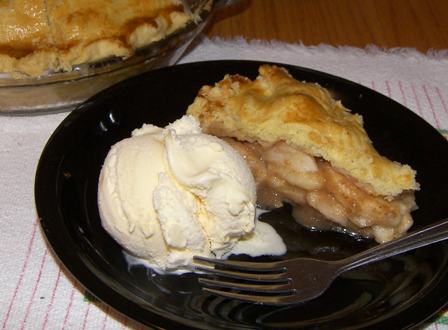
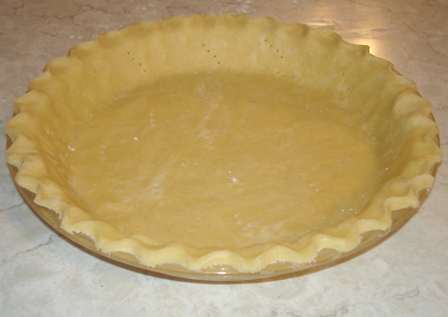
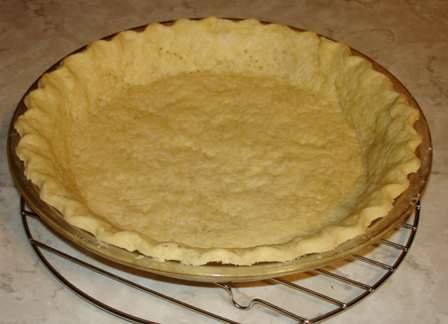
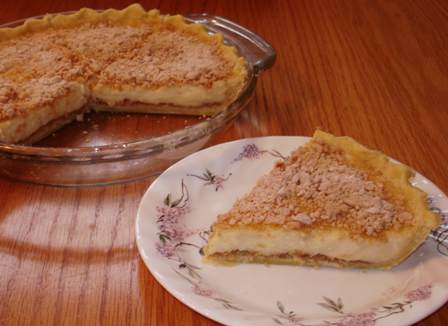
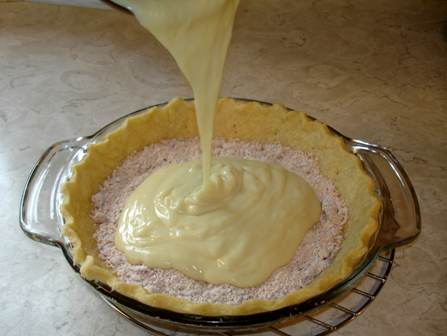
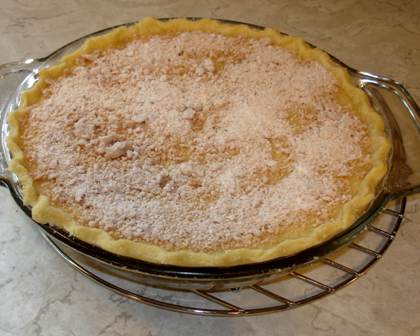
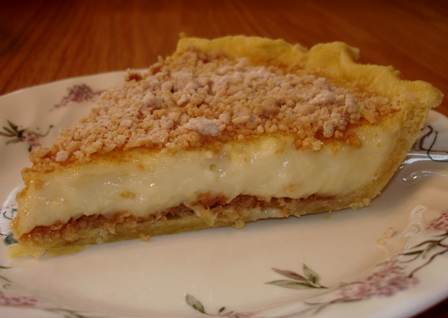
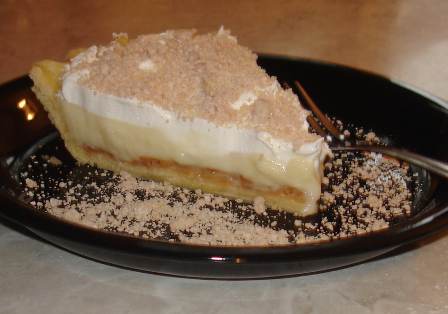
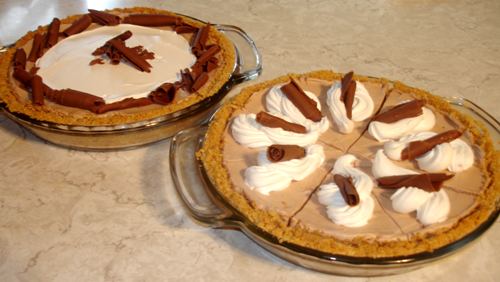
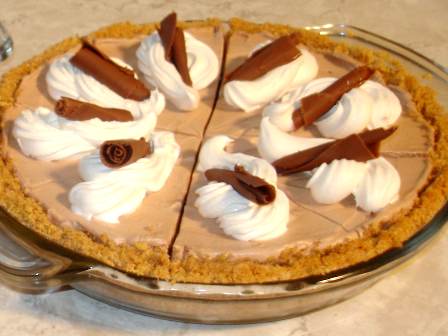
–Pies (pumpkin, lemon meringue, and peanut butter)
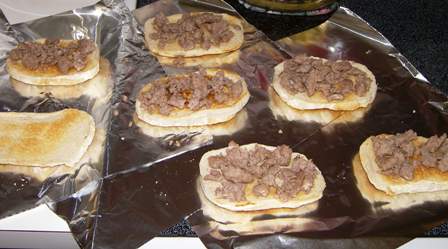
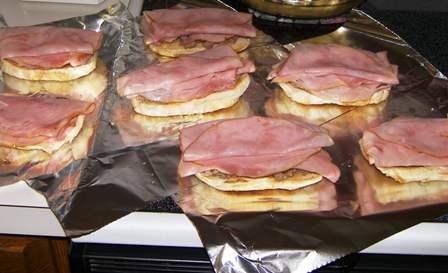
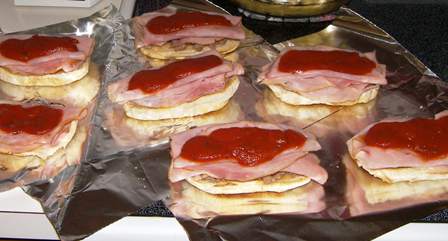
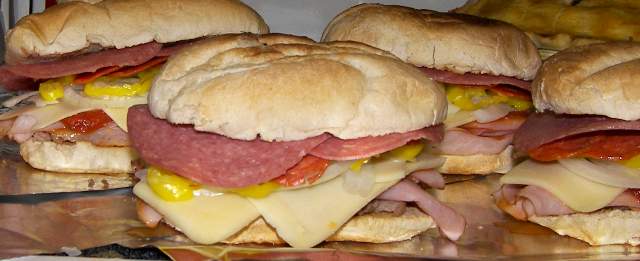
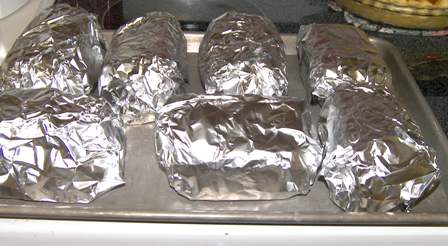
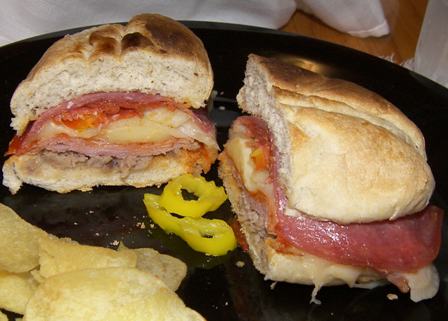
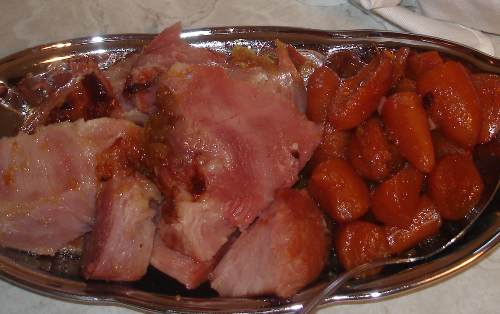
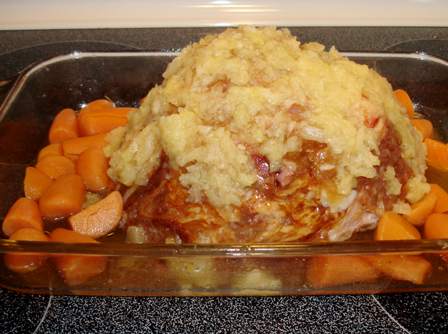
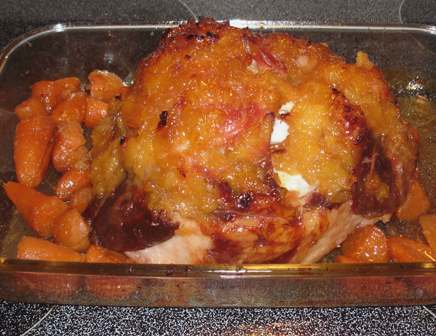
This is my husband, making some awesome ham…
Missed the pies before they were eaten…
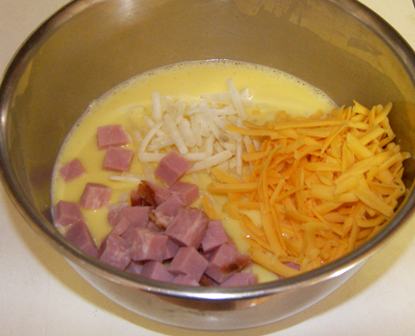
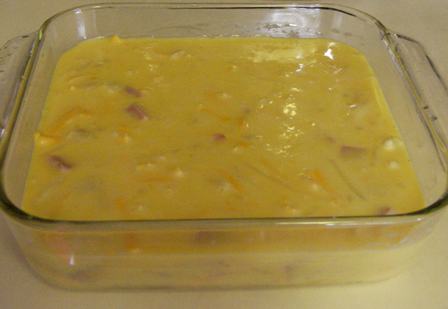
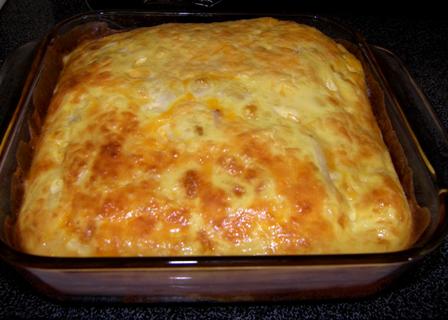
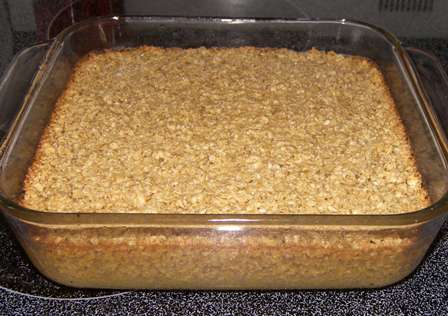
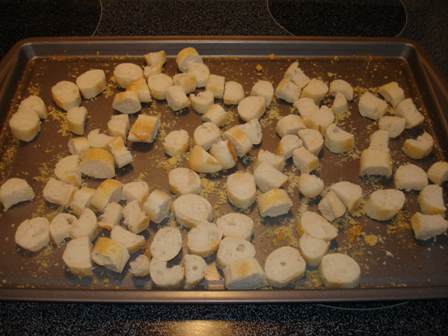
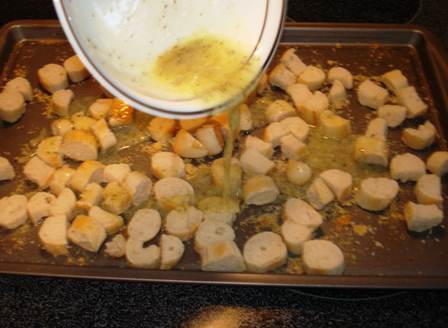
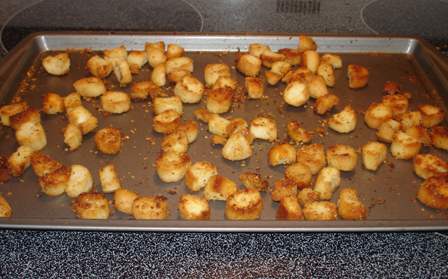
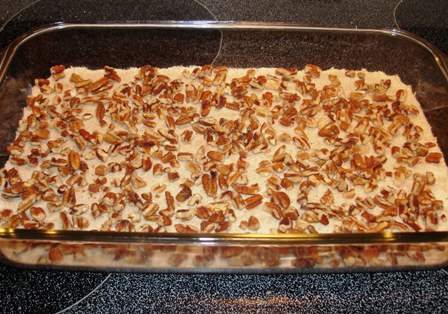
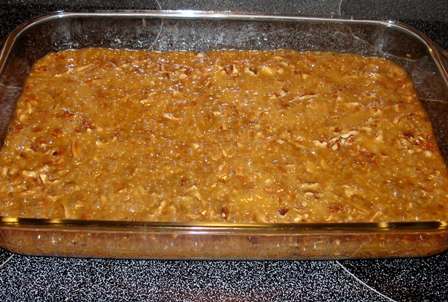
Pictured in the picture right under the ham collage is the candied sweet potatoes. I was trying to make a knock-off of Texas Roadhouse’s loaded sweet potato. I baked 3 sweet potatoes, peeled them and put them in an 8×8 pan and mashed them with a fork. Then, melted a stick of butter and stirred in some cinnamon and about 1/2 cup of brown sugar, poured it over the potatoes, put a layer of marshmallows on top, then baked it at 350 until the marshmallows were browned. It was GOOD!!!
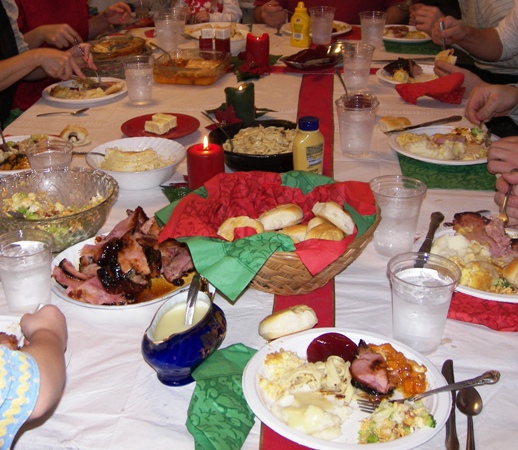
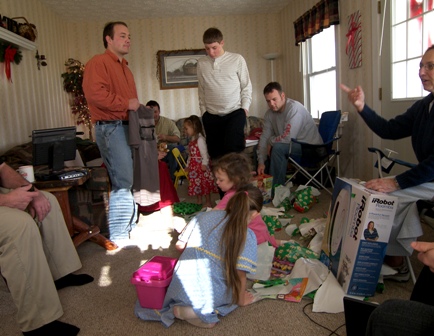
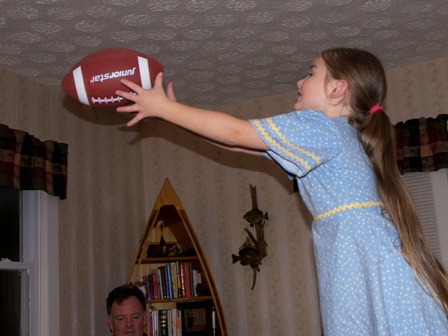
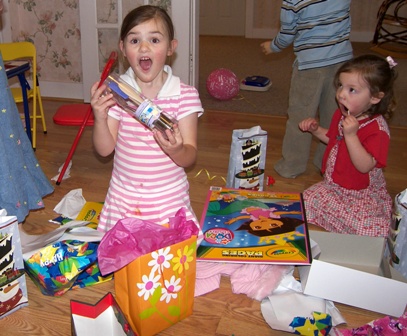
In addition to food, our Christmas consisted of gift opening, football throwing, baby holding, and much more…

Comments
6 Responses to “Our Christmas in pictures (and words)”


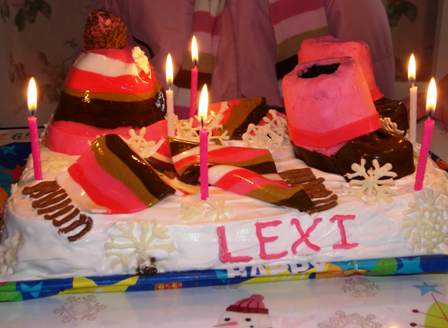

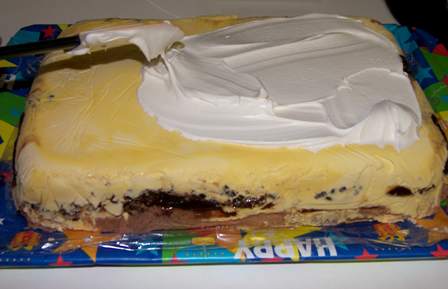
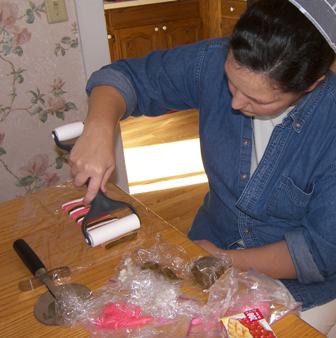
 The fondant is soft and pliable, but dries out pretty fast, so it was pretty easy to get a the-scarf-was-just-thrown-over-there look by lifting up one edge and putting a ball of tin foil under it and then flipping the other end over. Then, instead of covering it, I let it out to dry and it hardened in that shape. The fringes were piped on later.
 If you see that jar of jelly in the foreground, they say fondant holds to the cake better if you spread jelly on the cake first.


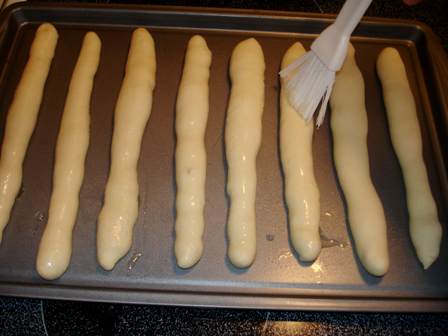
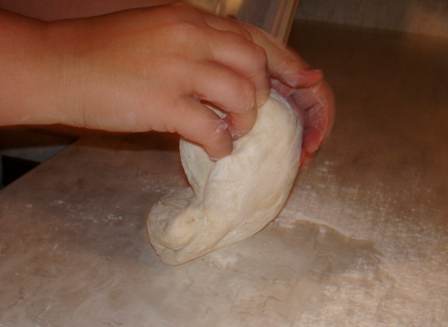 Cover; let rest 10 minutes. Coat 2 large baking sheets with cooking spray. Divide dough into 16 equal pieces. Roll each piece into a 12″ rope. Place on prepared baking sheets.
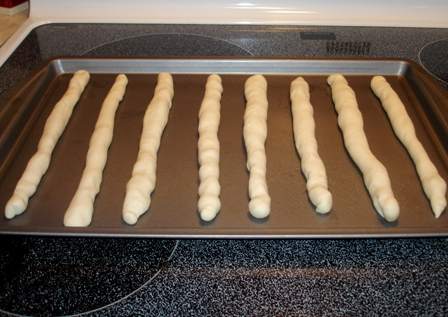
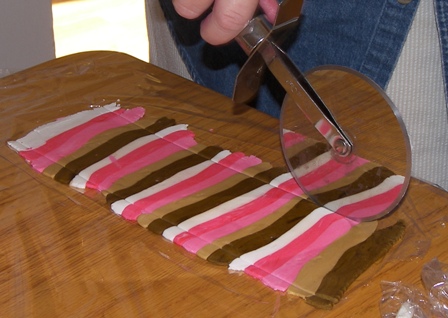
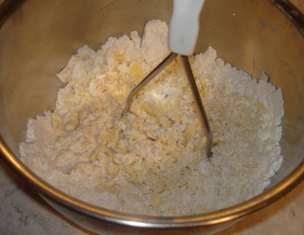
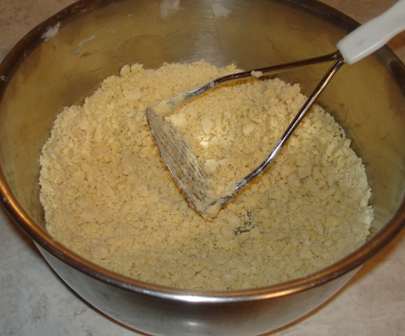
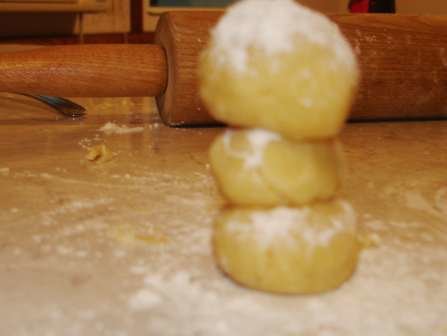
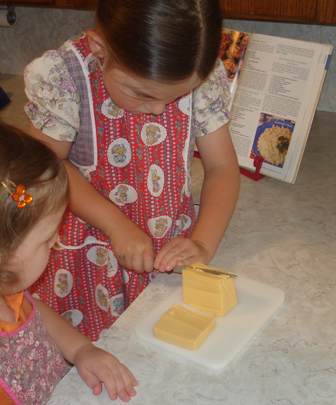
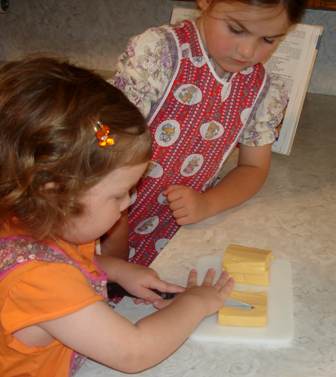
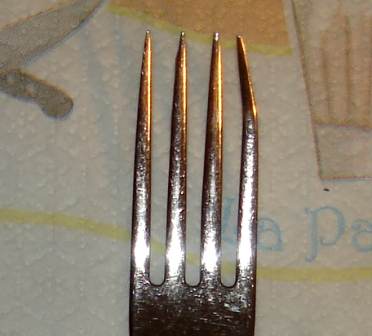
 I’ve tried a pastry blender, two knives, a fork, and nothing works quite as good as a potato masher.
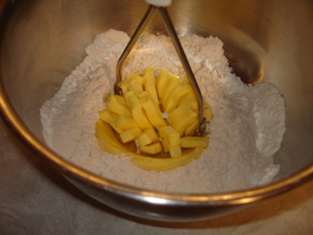


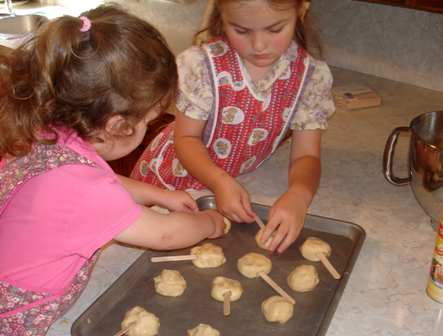

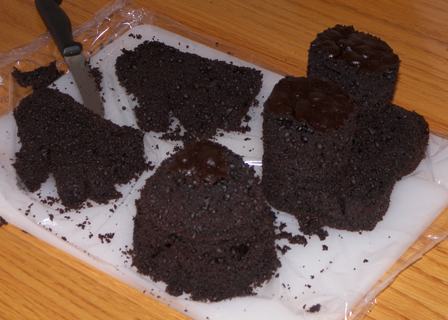
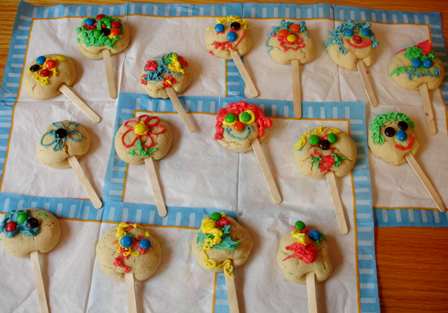 They would’ve been kinda cute poked into something and standing up, but I couldn’t think of anything around here that would work for that. 3 were eaten plain, we got 19 cookies out of the batch.
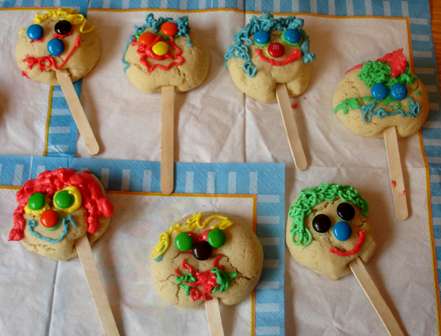 Yes, those are all smileys… use your imagination. Tiffany did that one by herself with the red mohawk. And the one with the yellow hair and green eyes has a beard… Lexi’s creation (before we even started decorating, she said she’s gonna make one with a beard, don’t know why she thought of that, she’s rarely around anyone with a beard). I made only one of these and I certainly hope you can tell which one.
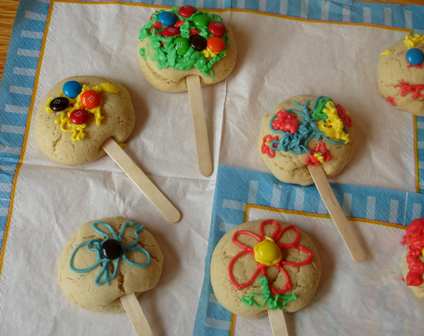

Aww it looks good! Fun fun fun with family isn’t it.
Food and family go together very well. Like someone told me tonight. One without the other is like a kiss without a squeeze!
NICE to see pictures of your family all together. The way it used to be… Happy New Year!
Looks like you had a wonderful time. How did your husband make the ham? It looks to die for!
Can we have a redo? Those couple of days were so MUCH fun!!!! The pictures of the ham makes me want to have some more and I would really love to have more candied sweet potatoes. At least you wrote it down so we can use the ‘recipe’ for next year. Happy New Year!
Looks like you had a nice holiday. The ham looks really good, and I love the pretzel, rolo candy. I want to try those.