Featuring tomato roses, lemon roses, and orange roses
This is actually easier than it looks.
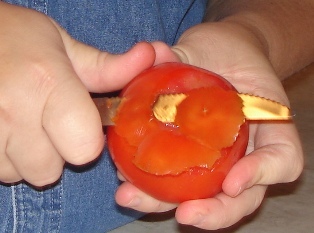
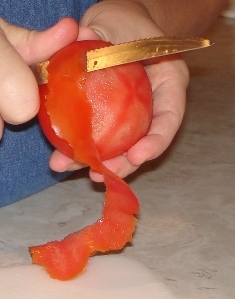
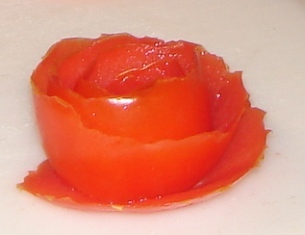
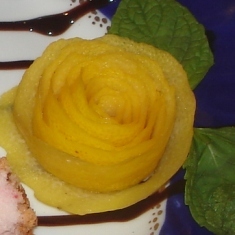
Starting at the end (whatever the opposite of the stem end is called), peel a tomato (or lemon or orange or whatever you feel like trying) in one long piece.
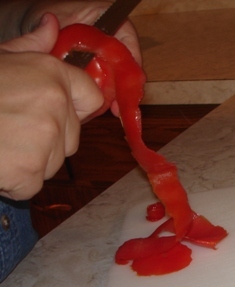

Lay the peeling out flat, skin side down. Now, as if you’re rolling up some left-over ribbon, start rolling it, starting at the end you cut last (the part closest to the stem).
It’ll kind of slip around while you’re rolling it, so it’s helpful to keep a finger or 2 on each side. When you’re at the end, tuck the wide end underneath and set your rose down. If it looks weird, flip it over. If it still looks weird, unwrap it and try again.
A couple tips:
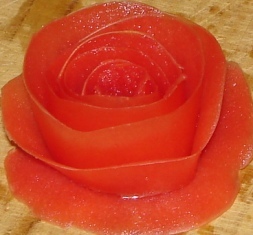
— Use firm tomatoes; they cut smoother and the skins don’t wrinkle as easily. Note: The 2 roses above… the first one was a firmer tomato, the second one wasn’t and kinda wrinkled as I was cutting it, making the edges less smooth.
— The thinner you peel them, the easier they are to work with because they curl around easier.
— For oranges and lemons, I’ve found it’s easier to use a potato peeler than a knife… it gets it thin and doesn’t break off as easy.
— If a peeling breaks off before you’re done, just finish peeling, then overlap the pieces an inch or so when you roll it up.
Ideas:
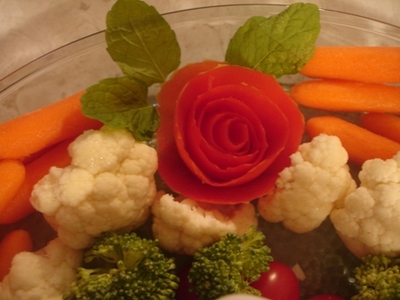
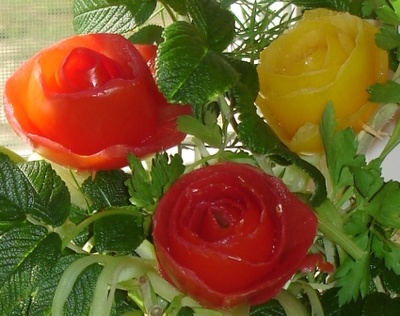
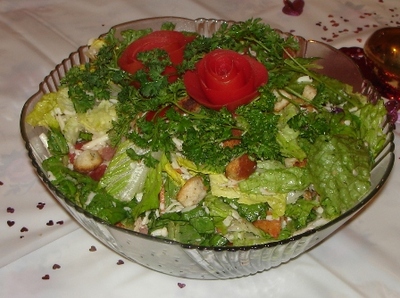
Tomato roses
—Garnish a veggie tray

—Set a rose or 2 on fresh herbs on a flat tray or board for a table decoration
—Make a bouquet

—Put on top of a salad (but you need to take them off before serving, or move them way over to the side)
Lemon and orange roses
—Garnish a fruit tray
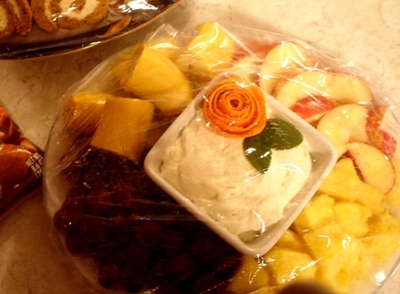
—Put on the side of a serving platter of meat or fish
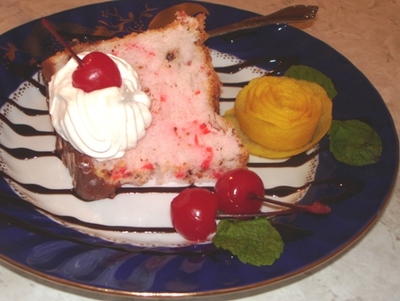
—Dress up a serving of dessert
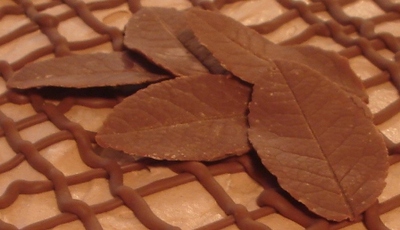
Chocolate roses and butter roses coming later… it’s a different technique to make them.

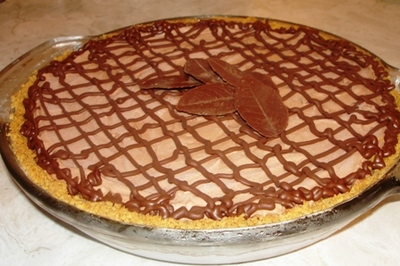
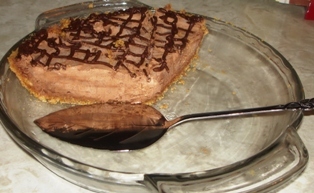 I had a bunch of melted chocolate left over and no more Cool Whip, so I just drizzled the chocolate over… it does need garnish of some sort, looks very plain without!
 A $10 Starbucks gift certificate.
  They really do look real!