Probably most of you fit into 2 categories: rolling your eyes at all the red, white, and blue food and having “just grill me a juicy brown cheeseburger!” type of thoughts OR looking for red, white, and blue food ideas because you’re hosting or taking food to a 4th of July party.
This post is for the latter category. ????
If you want a cheeseburger, read this post instead (hmmm, not a bad idea actually, after looking at it to put the link here, makes me kind of hungry for a cheeseburger now!).
I bought a watermelon the other day. Among a few other fruits. It’s summer. I think there’s a rule that you need to have fruit on hand at all times during the summer. Or maybe it’s just a personal preference.
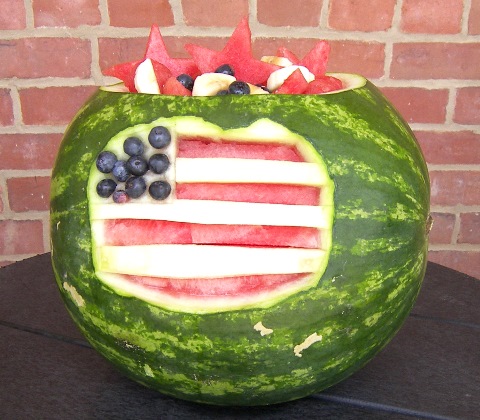
With the 4th of July coming up, I was also trying to think of something 4th of July-ish to make, just because I like excuses to play with food… ha. I always think of raspberries or strawberries (red), bananas (white), and blueberries (blue) when I make patriotic food. I wanted something different, and that’s when I thought of my watermelon I had just got. Watermelon actually has 2 of those colors! So, anyway, I ended up making a flag in the rind and used the watermelon for a fruit salad bowl.
I’ll show you how I did it. I’m sure this has been done before and there might be a better way, but this way was easy and quick. It was quick because I’m not a perfectionist. ????
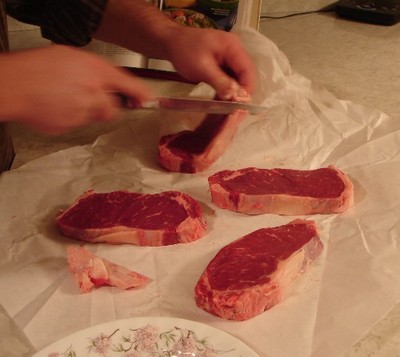
Slice off an area of green, the size you want your flag to be. Just a thin slice, you don’t want to go deep enough to see any red! Not to sound mom-ish or anything, but be careful with this step! The rind is tough and slippery and while I was doing it, my knife slipped aaaaaaaand… I’m currently sporting a cut on my thumb from it.
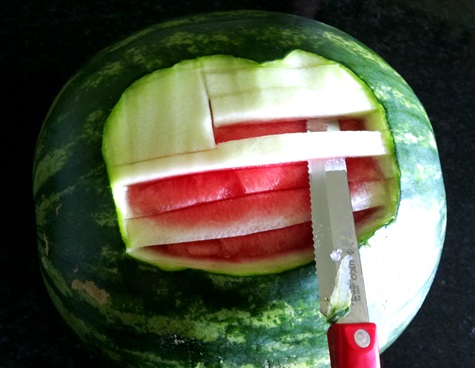
Next, section off a box in the upper left corner for the star section. Then cut stripes. Slice underneath the stripes. Where the red stripes will be, cut the ends and you’ll be able to lift the white rind out and tada! red stripe.
I know, I had to cut off a white stripe so I could get my knife in there, then I just secured it back on with toothpicks.
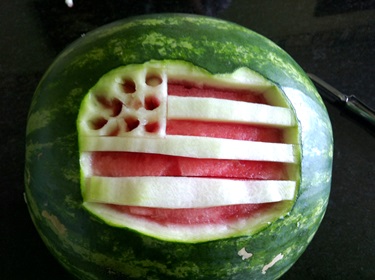
For the star section, I cut divots with the end of a vegetable peeler and then stuck blueberries in… some of them tucked snugly in and some of them had to be pinned in with a toothpick.
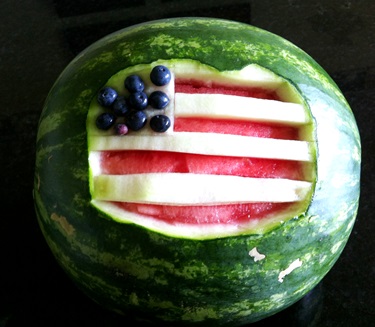
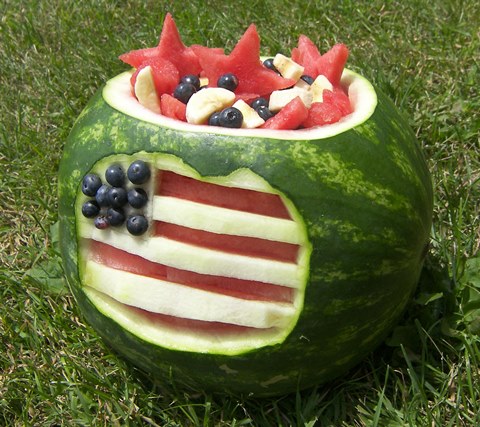
And there you go, a patriotic watermelon. 
To make a bowl, cut a thin slice off of the bottom so it has a flat spot to sit on.
Scoop out the watermelon (but don’t get too close to the back of the flag, it needs to stay solid red there).
Now, fill your homemade festive American bowl with fruit salad.
It could be any fruit mixture… I just added blueberries and bananas to the watermelon to keep it red, white, and blue, and cut a few stars out of some watermelon just for fun.
Comments
One Response to “4th of July Flag Watermelon Bowl”


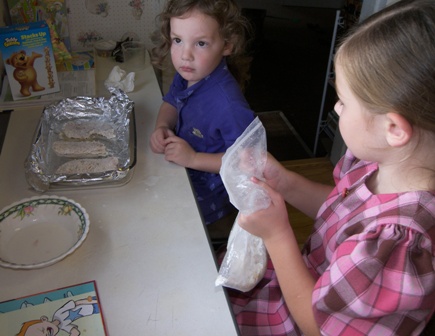
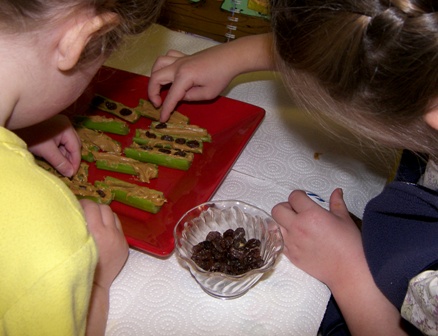
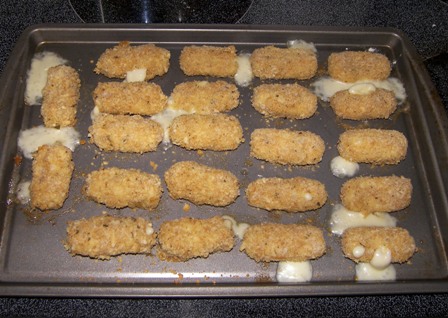
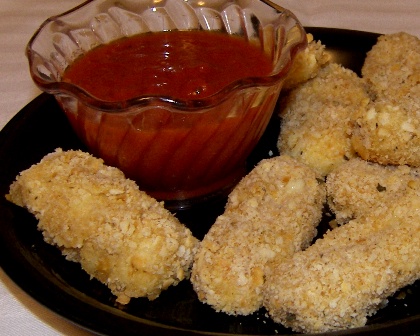
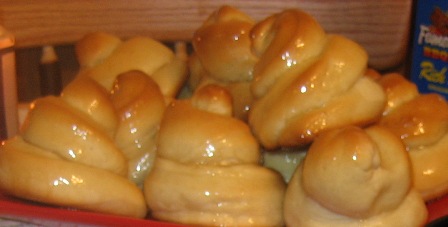
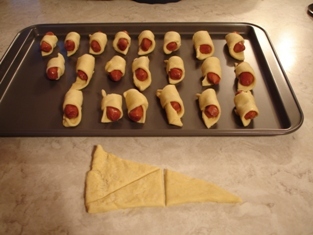
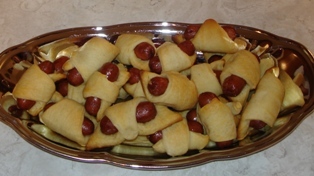
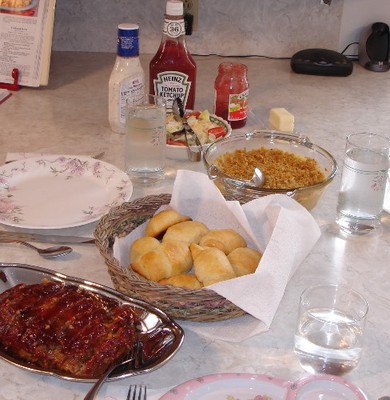
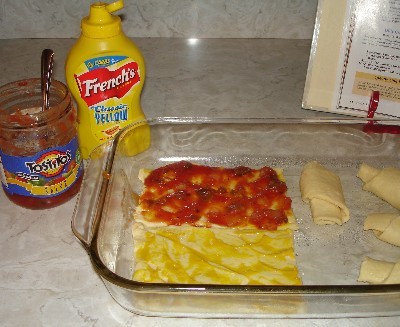
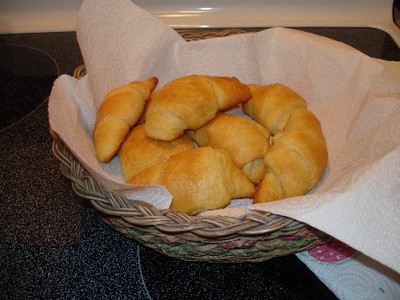
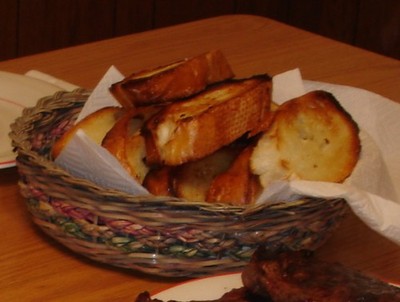
 Good stuff! We ate them with bbq sauce. I realize I didn’t get a picture of the rolling pin part… they had great fun with that!

 These were good, altho’ not as good as real ice cream. She made them right before she dished up the food and till we got done eating and were ready for dessert, the cones were starting to get a little soft already. So, they should not be made too much in advance!
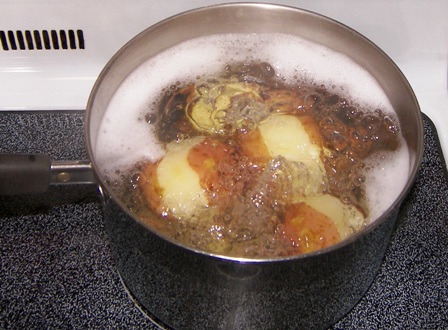

 But it is a really yummy 2 bites!
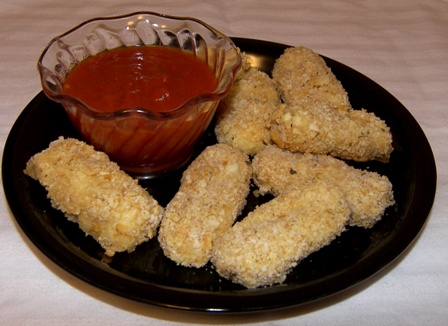

 Mmmmmmm! Delicious!
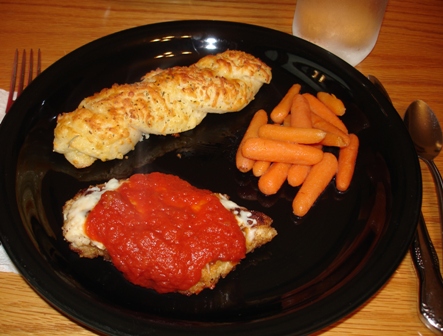


 Yield: 6 servings.
  Yield: 6 – 8 servings.
  Yield: 6 – 8 servings.
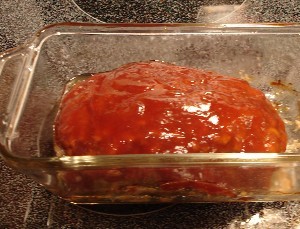
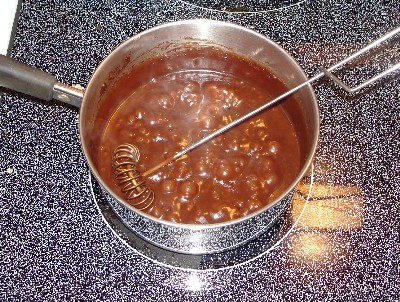
  Bake at 350 for 40 – 45 minutes or until cake springs back when lightly touched. Immediately invert pan; cool completely. Run a knife around sides of cake and remove from pan. In a saucepan, combine butter, chocolate, and corn syrup. Cook and stir over low heat until chocolate is melted. Stir in confectioners’ sugar and cherry juice until glaze reaches desired consistency. Drizzle over cake.
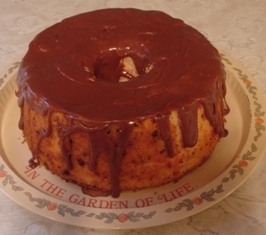
 Yield: 12 servings.

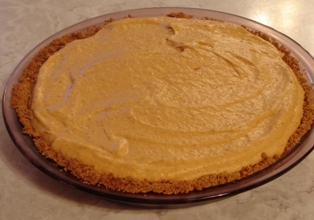
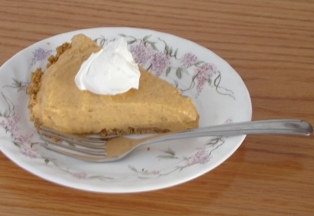 (That color change is the difference between no flash and flash… it doesn’t change colors once it’s refrigerated! LOL) I couldn’t have told this was a diet pie. Could probably be made though with non-diet ingredients. It was really good! Nicely spiced. Will definitely make again!
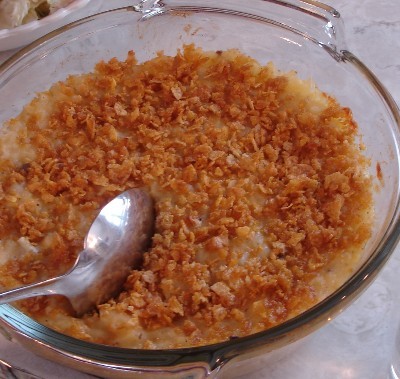


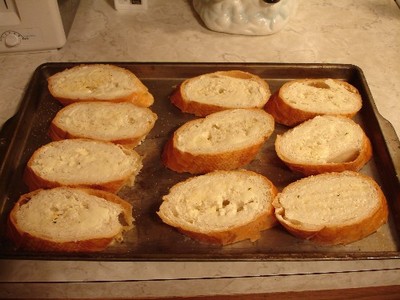
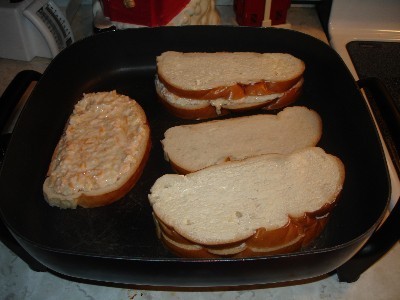 Top with remaining bread. Butter the outsides of sandwiches; cook in a large skillet over medium heat until golden brown on both sides. Yield: 5 servings.
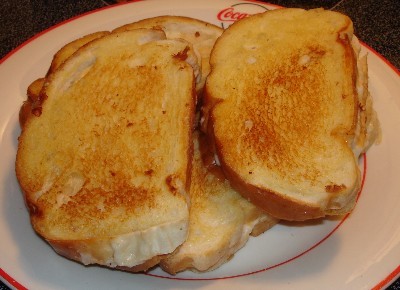
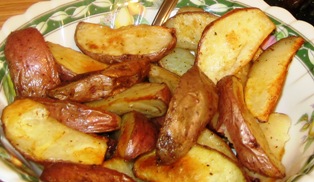
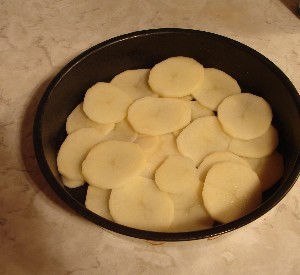
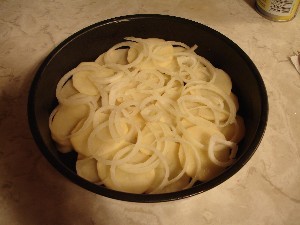
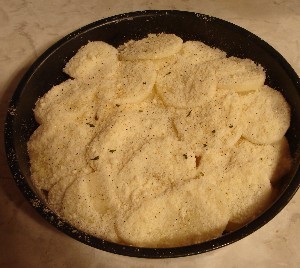
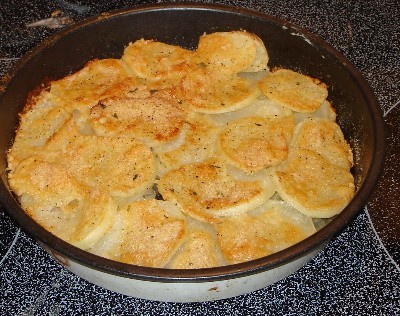
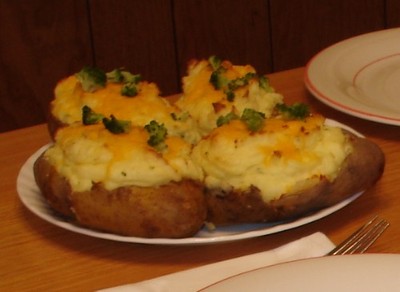
 Bake at 350 for 55-60 min or until tender. Yield: 6 servings.
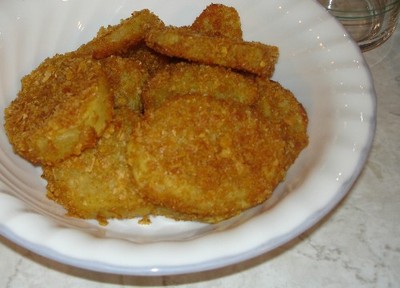
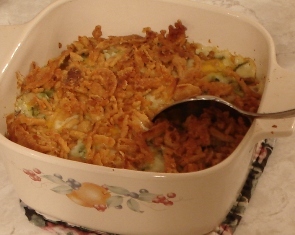
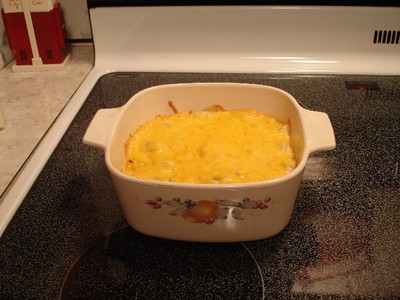
 Bake, uncovered, at 350 for 25-30 min or until bubbly. Sprinkle with the remaining chips. Bake 3 min longer or until chips are lightly toasted. Yield: 6 servings.
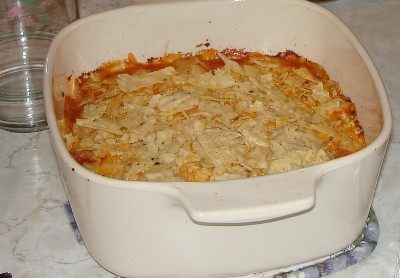

 Serve warm over ice cream. Refrigerate leftovers. Yield: 2 1/2 cups.
 Editor’s note: If desired, add 1 tsp vanilla extract or 1/2 tsp orange or peppermint extract. Stir into syrup after removing from the heat.
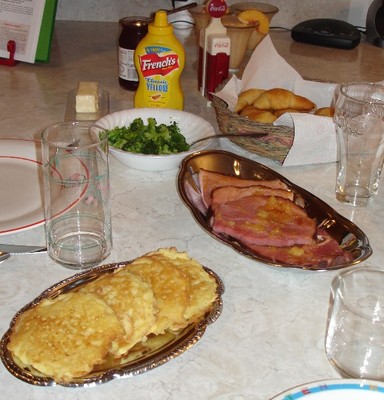
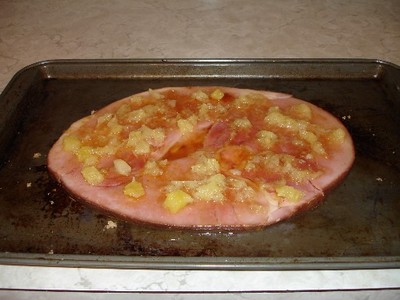
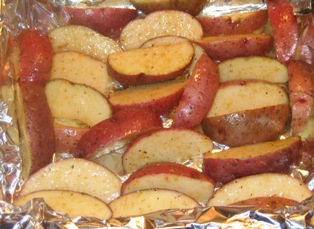
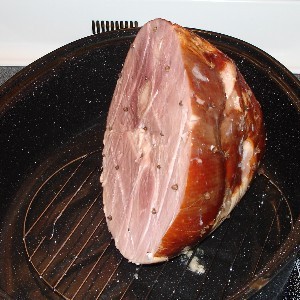
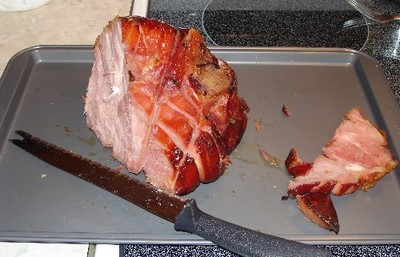
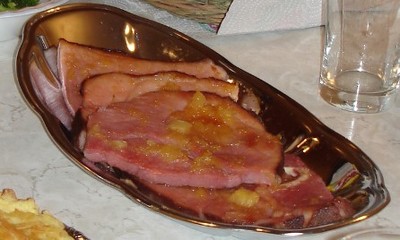 then broiled it with the Ham w Pineapple Salsa directions. Here is that recipe if you want to try it. I might try it sometime, but I didn’t this time because I only had 2 of the 6 ingredients on hand and also I thought the brown sugar one sounded better.
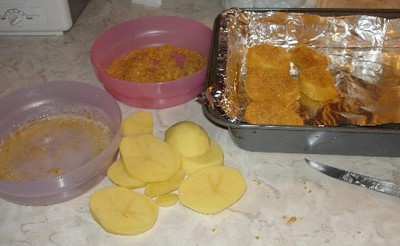
  fry until golden brown on both sides. Drain the pancakes on paper towels. Yield: 4 servings.
 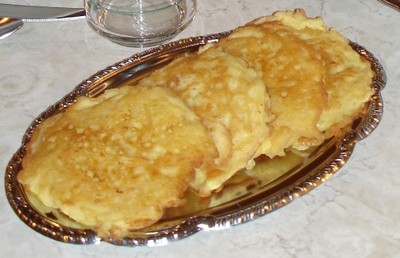 We had a problem knowing what to put on them because they seemed bland without anything. My mom used to make something like that for breakfasts and we ate them w syrup. I tried syrup, but it didn’t seem right. Ketchup didn’t seem right either. So, if I make them again, I might try to jazz them up with chopped peppers or spices. Tiffany LOVED them! I cut one up and she ate it as a finger food.
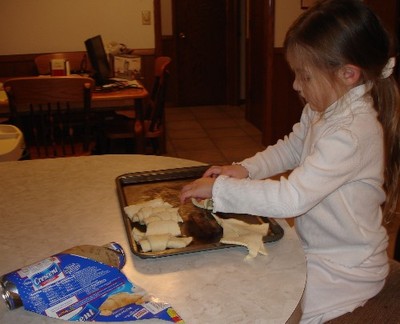
 cover and process till smooth.
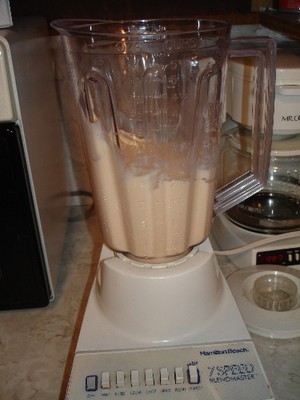 Pour the mixture into small freezer-safe dessert dishes; cover and freeze until serving. Yield: 4 servings
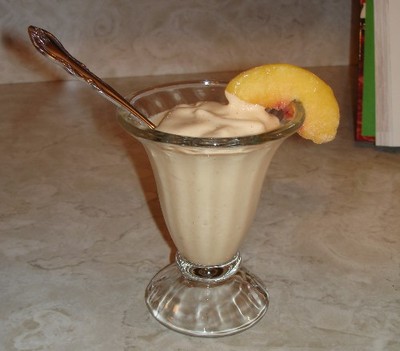


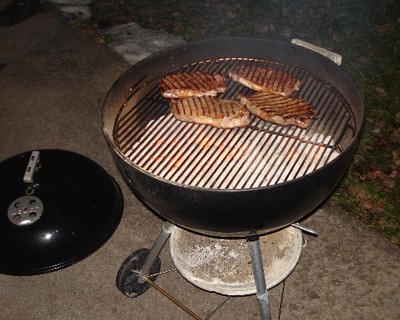 How long it takes depends on how much heat there is. Grill until steaks reach an internal temperature of 145 – 150. We like A-1 sauce with our steaks… ok, Ruthie, just some of us do.
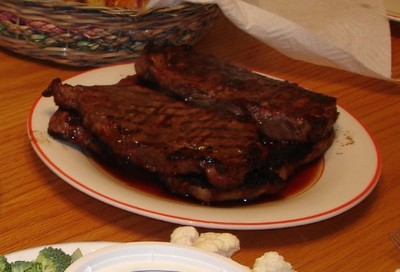
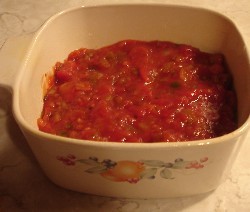
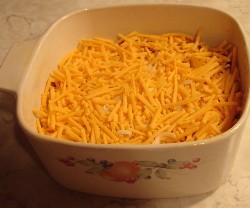
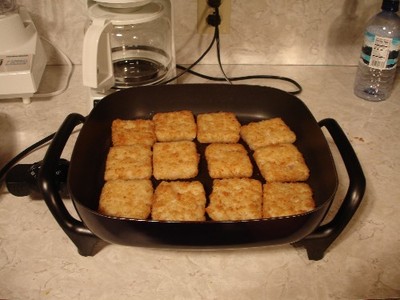 Meanwhile, in a lg saucepan, combine the speghetti sauce and horseradish; cook until heated through. Spoon over fish; sprinkle with cheese. Cover and remove from the heat. Let stand for 5 min or until cheese is melted. Yield: 4 – 5 servings.
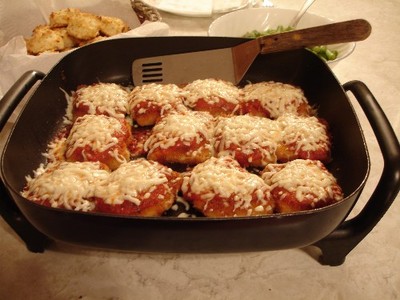
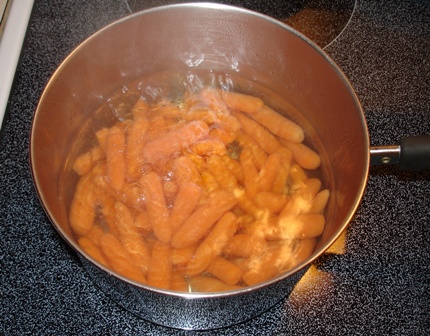
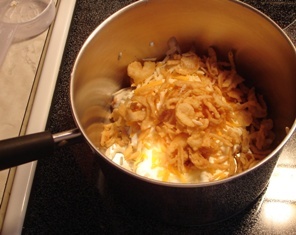
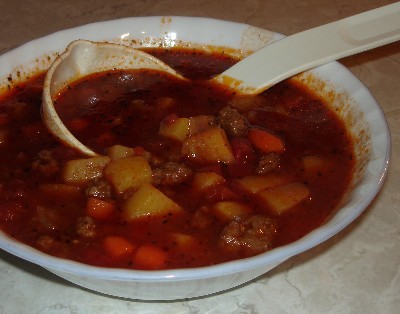
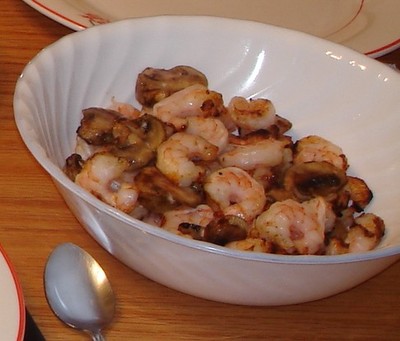
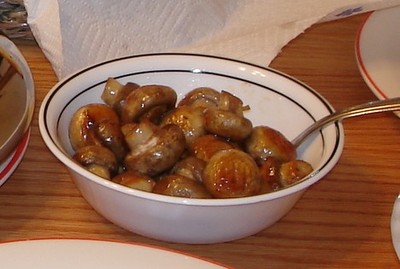
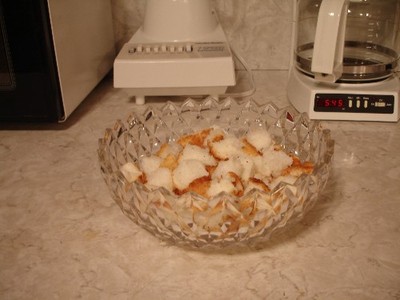
 Oops! I see I didn’t drain them!
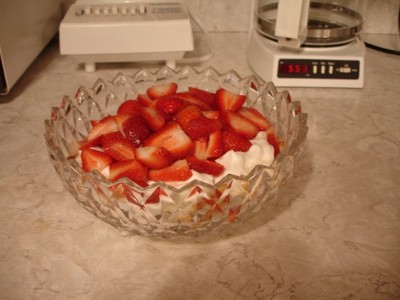 Top with strawberries and remaining whipped topping. Sprinkle with coconut. Yield: 4-5 servings.
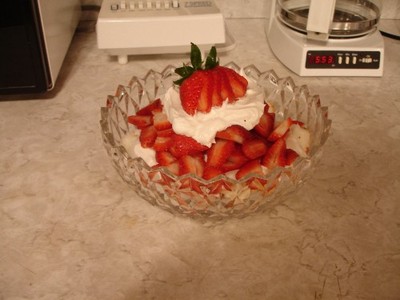
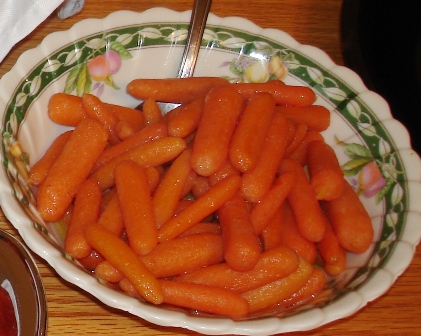
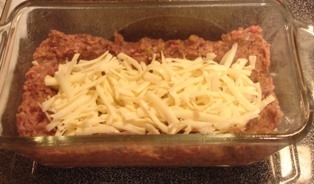
 In case you can tell, I made a half batch because 6 servings would’ve made way too much.
That is so cool! I know I’m a month behind, but it’s still cool! I want to do that sometime when I get big!