Posted on April 11, 2014
Filed Under Birthday cakes, Cakes
Tiffany turned 8 last week. Usually, the girls pick what they want for a cake, but this year Tiffany said, “I don’t want to pick my cake this year, I want you to surprise me. My only thing is I’d like something that has to do with princess-y”.
So, the morning of her birthday, Tiffany left for school and I got busy baking.
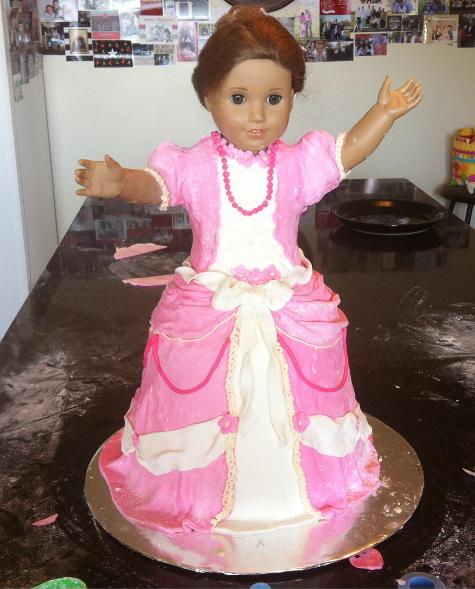
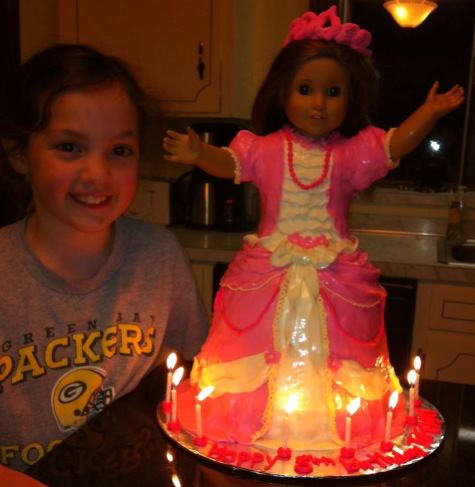
This is what was waiting for her when she got home.

Yes, I did put her American Girl doll Rebecca inside a cake. Yes, I know, it was a little crazy.
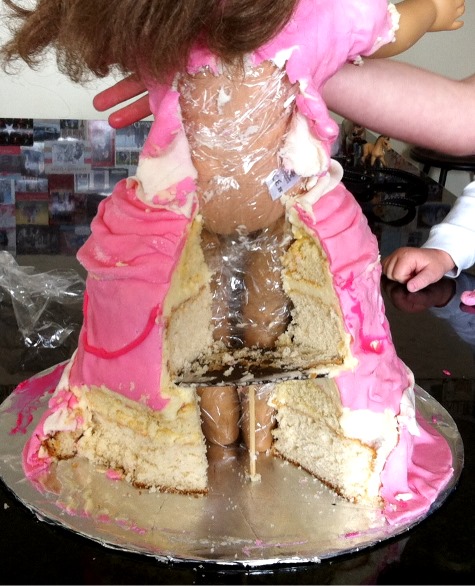
In all of Pinterest-searching for princess cakes, I never saw an American Girl doll in one… Barbie seems to be pretty much monopolizing the whole doll-in-cake thing. If you’re wondering how Rebecca’s cloth body fared, it was totally unharmed. Before putting her in the cake, I wrapped her in plastic wrap up to her chin and down her arms a bit. I did have to wash her hair afterwards, though, because it was against the back of her dress and the fondant tiara was sitting on it.
Tiffany loved the cake extra much because it wasn’t some random new doll… it was a doll she’d had for over a year and already knew and loved. Ok, that sounds weird talking like that about a doll, but if you were once a little girl with a favorite doll, you might understand how that can feel accurate. ???? I don’t know how many times Tiffany said, “I just feel like I have to pick her up and hug her!” and then sometimes adding the obvious “but I know it would get fondant and cake all over me”.
So, for the details, here is how I did it (not to be confused with the professional way to do it, ha). You’ll notice some winging it and some improvising and some lack of planning ahead and some details that didn’t get very good. But so what, my 8-year-old was speechless ….and yours would be too if you’d up n wing a cake like this for her. 
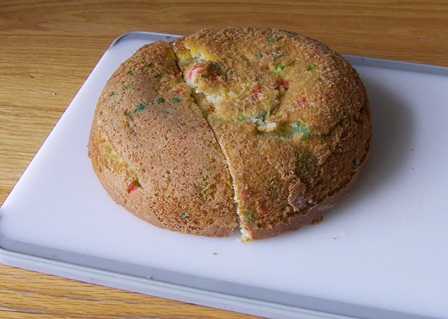
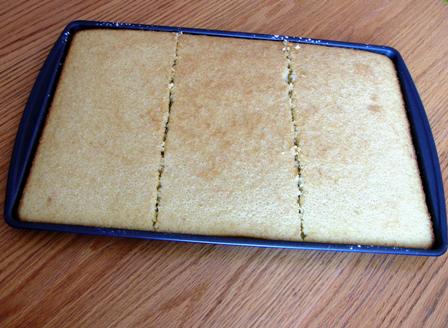
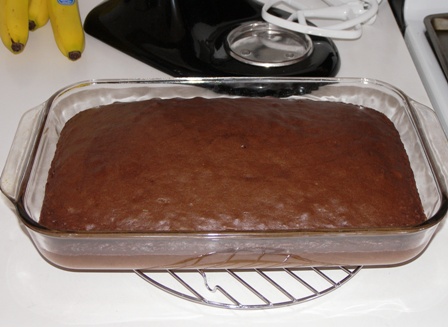
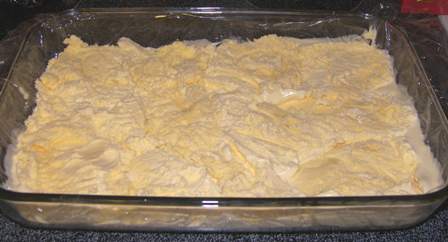
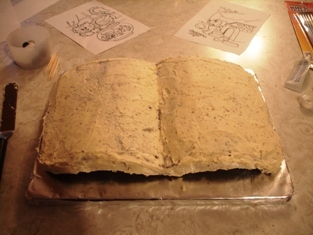
First is baking the cakes…
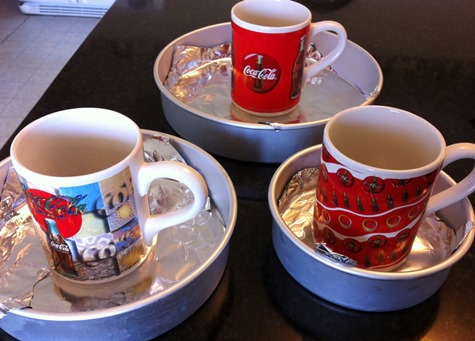
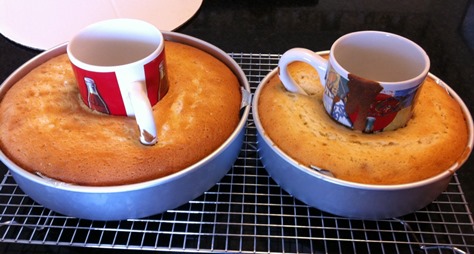
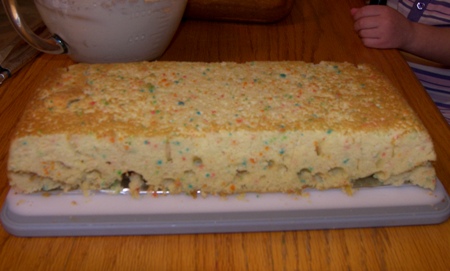
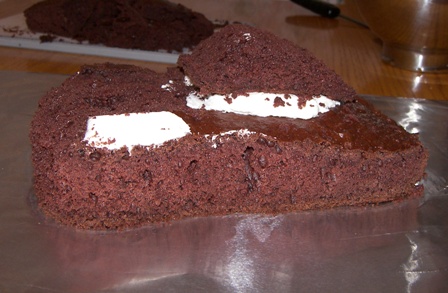
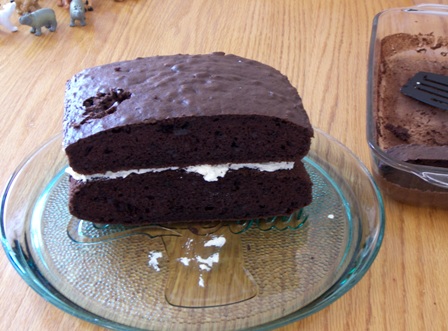
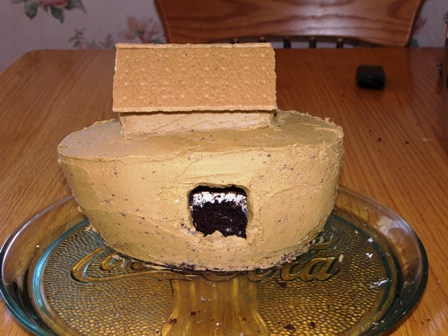
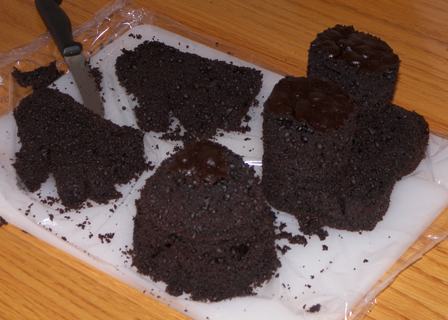
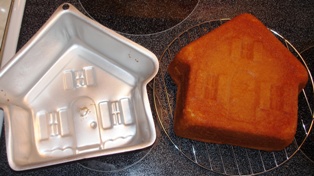
The cake part is white cake baked in 4 pans… a 10″, 9″, 8″, and 6″ pan. I needed a hole in the middle to put the doll down thro’, so I thought why not save on cake instead of cutting out the middles, so I put a coffee cup in the center of each pan and dumped the batter in around it. Can you say “wing it”? Worked great, though! The handles were kind of a pain to work around, but my drinking glasses aren’t big enough for how big I wanted the hole.
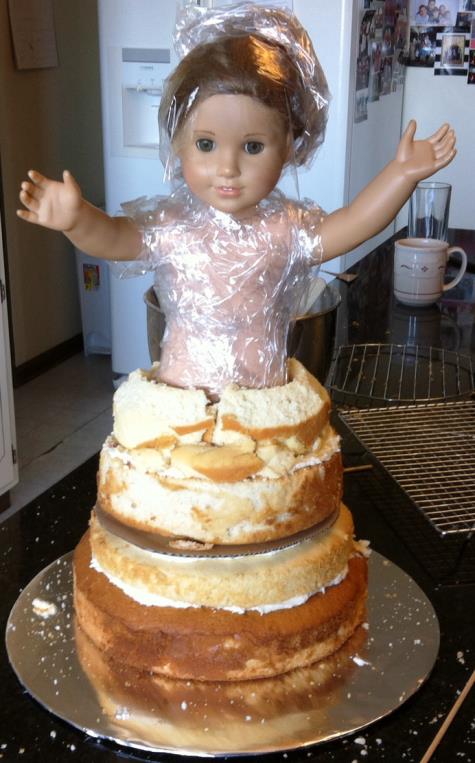
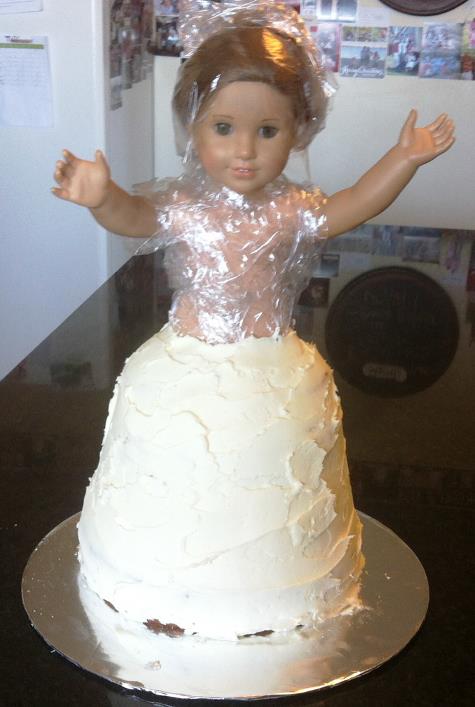
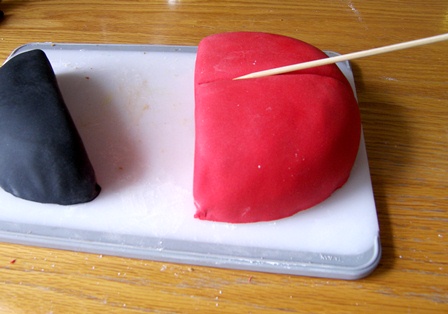
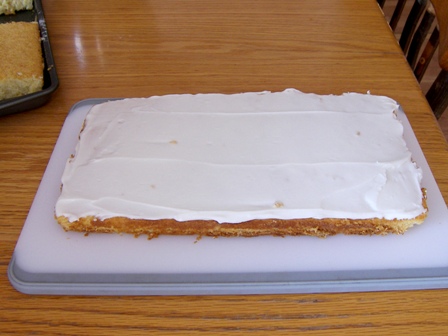
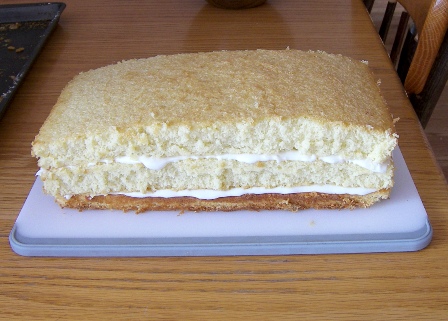
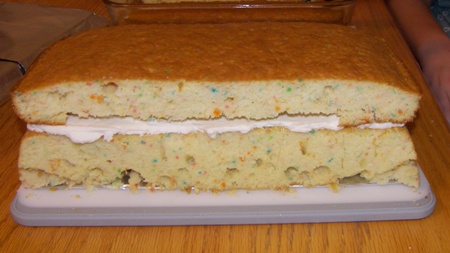
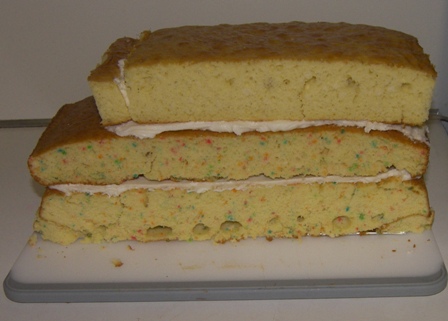
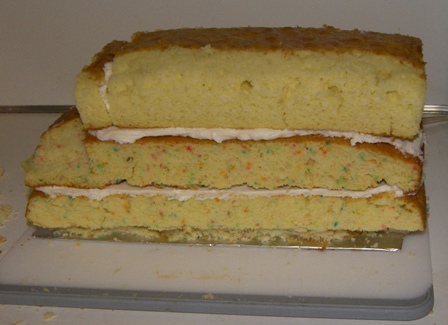
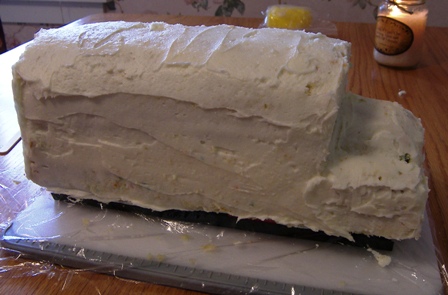
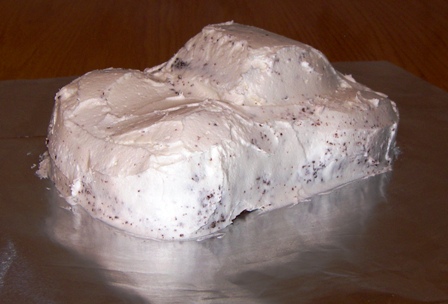
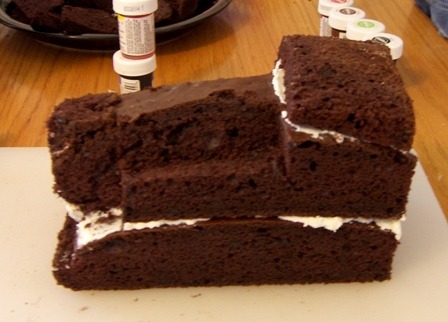
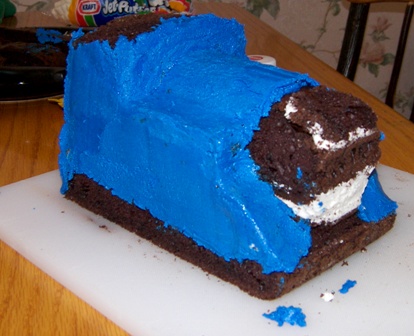
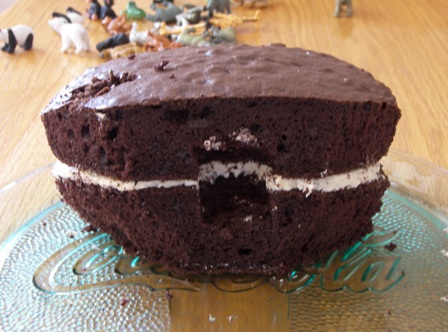
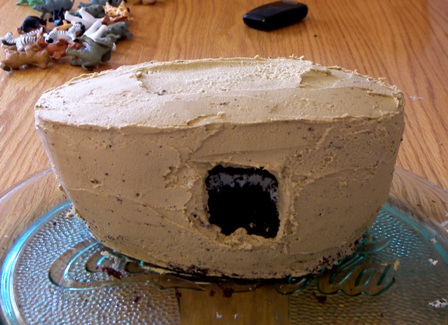
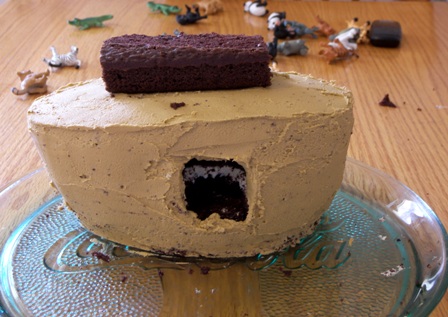
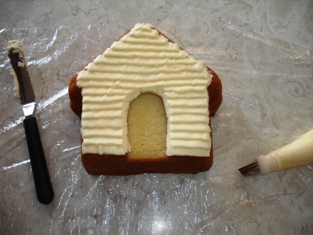
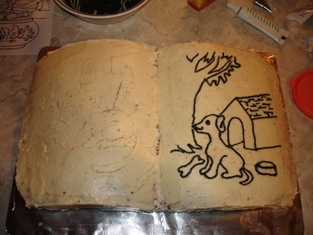
Next step was to layer the cakes, put Rebecca in, and cover the skirt with frosting. I did no skirt carving to make an even slant, except for the very top layer so it wouldn’t be quite as big of a jutting out. And yes, the top layer did sort of break in the trimming process, in case you notice it looks a bit pieced together. For the other layers, instead of trimming, I just put more frosting where needed to fill in the gaps. As you’ll see in the picture below, I put a cardboard between layers 2 and 3, and there are skewers going down thro layers 1 & 2 under the cardboard, just in case the cake and frosting would want to settle down into each other from the weight.
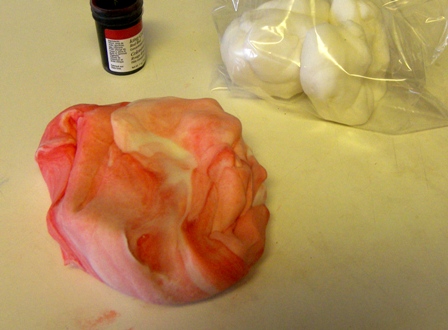
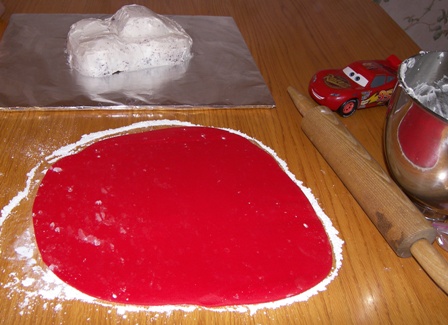
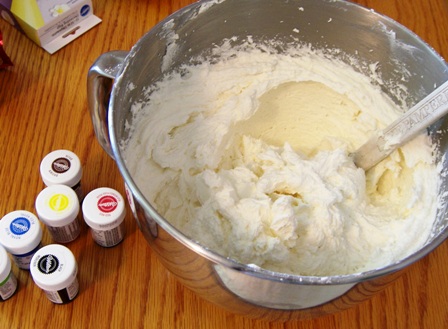
Now the fun part… fondant. For the first time ever, I MADE fondant. I got the recipe from Around My Family Table. It was more stretchy than store-bought (which can be good or bad, depending what you’re doing), otherwise it was pretty much the same. And it tastes a lot better, so I’m kind of thinking homemade from here on out. Not sure if it would work as well for figurines though, will have to experiment. For this cake, I made a double recipe of fondant and used almost all of it.
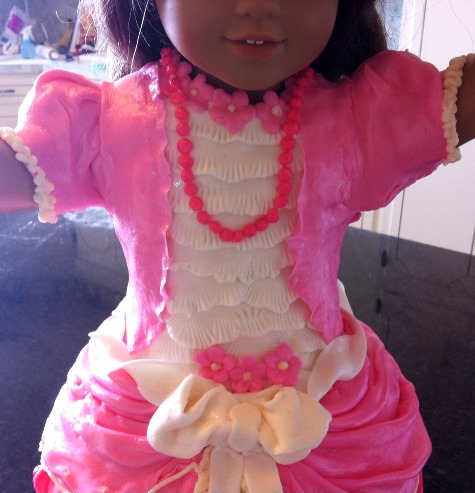
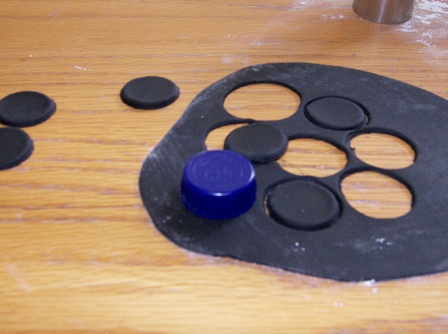
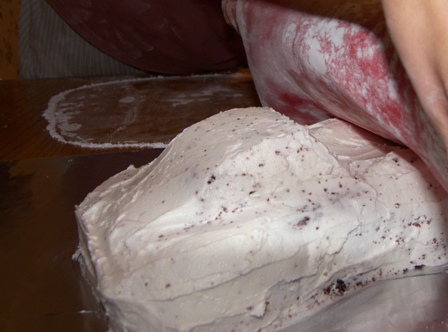
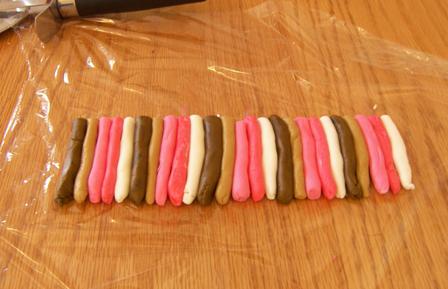
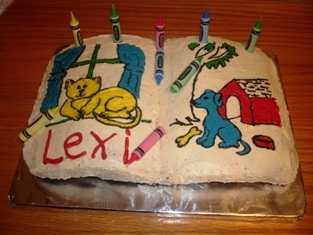
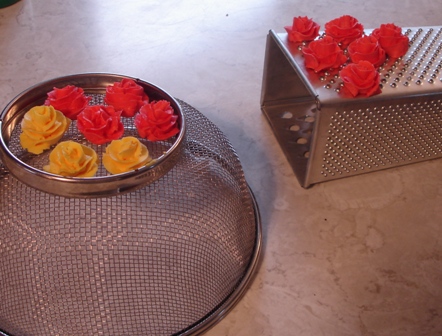
I did not have the dress visualized before making it, so it kind of just happened as it went… deciding it needed some white to break up all the pink and just kinda messing with and adding things here and there. I need to get better at folds in fabric, like at the top of the skirt. The flowers around the neck were to hide the plastic wrap sticking up, so the other flowers on the dress were to tie in with that. Btw, I have a flower cutter set that makes those so easy, my 3-yr-old can even make them. She was making some along with me here and we kept stealing cutters and presses from each other. I think she ate all the flowers she made, though.
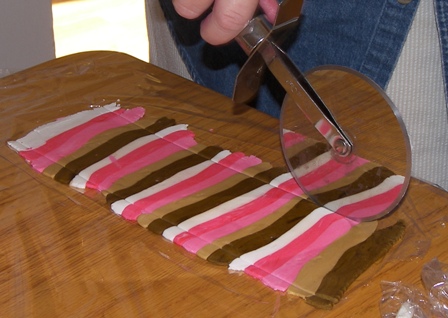
After this picture, I put some water in a spray bottle that sprays a very fine mist and misted the dress to give it the look of shiny fabric. Plus, it was an easy way to get rid of the extra powdered sugar on the dress (which is on there from rolling it out because you need powdered sugar to keep it from sticking to the counter and rolling pin).
Tip: If you want to get rid of the powdered sugar without getting the shine, carefully wipe it off with a barely damp paper towel or cloth.
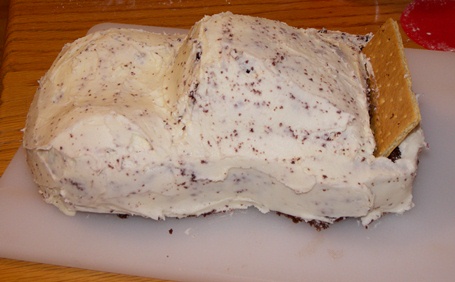
The lack of progress pictures is partially because I forgot, partially because my hands were always powdered-sugary, and partially because you can pretty much see everything in the done picture. For the sleeve puff, I put a chunk of fondant on each shoulder, then gathered fondant and shaped it for a sleeve. There is no cake on the top half of her… that is fondant directly on top of the plastic wrap that she’s wrapped in. The necklace is simply piped dots of frosting.
Just a few tidbits:
— Her arms got in that position when I was wrapping her in plastic. When I was done, I was about to put them down, but instead let them up in the air like that because it looked more festive or something rather than hands boringly at her sides.
— The tiara was a bit of an afterthought. She was done and I thought “oh dear, a princess needs a tiara! I should’ve made one 2 days ago so it could be dry and hard now!” I had to go with a chunky one because a delicate one couldn’t have stood up because there was no time for the fondant to harden. So I made a ‘snake’, looped it a few times, pinched the middle loop into a point, sprinkled it with granulated sugar, and put it on her head.
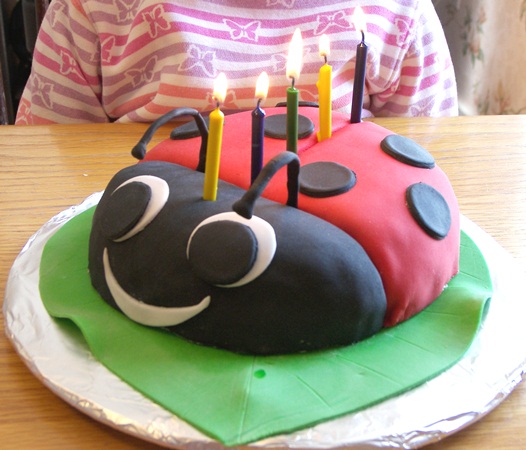
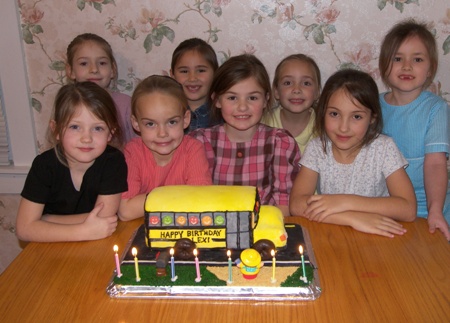
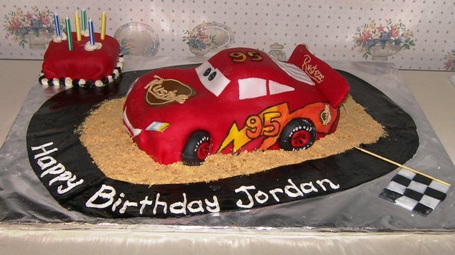
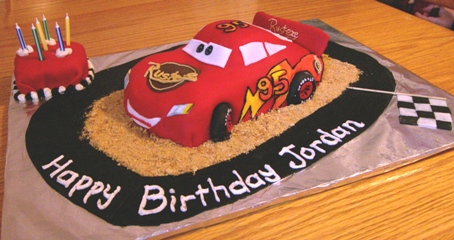
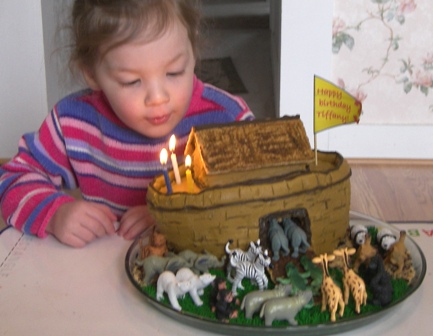
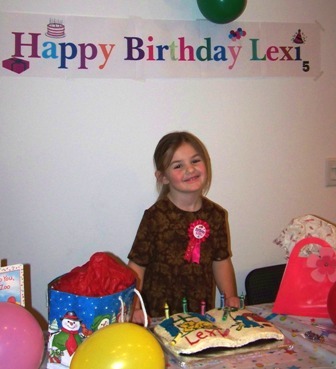
— The candles… we were ready to light candles and sing Happy Birthday to You, but I hadn’t put any on! We couldn’t think of a good place to poke them in (I mean, really, who wants their dress on fire?!). Just then a light bulb moment hit and I ended up piping 8 little piles of frosting on the cake board, and stuck the candles in. Worked great! You can kind of see it on the very last picture of this post.
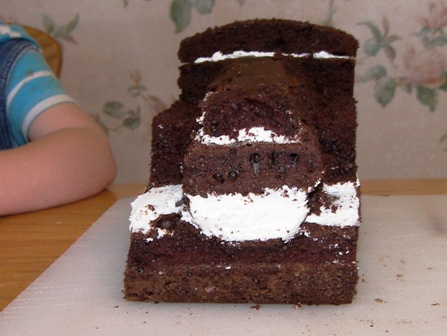
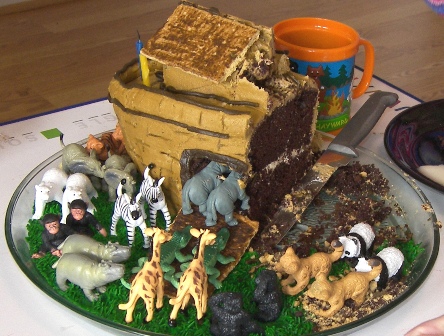
I’ll just add a couple pictures yet of a cut view so you can see how Rebecca was in there.
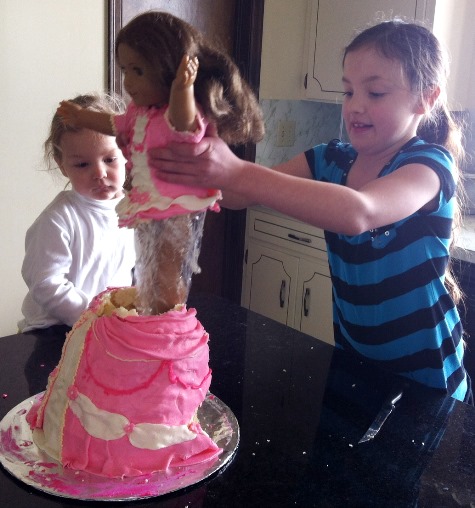
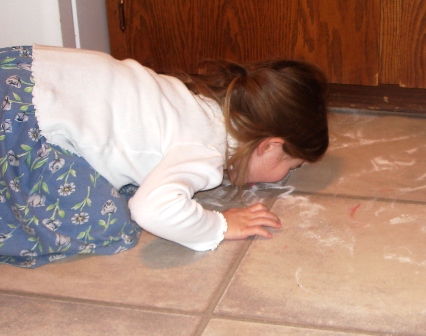
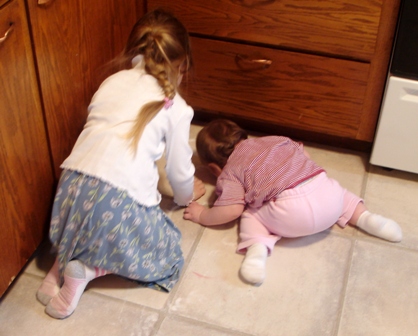
Rescuing the princess from the tower, er, oops, I mean, cake…
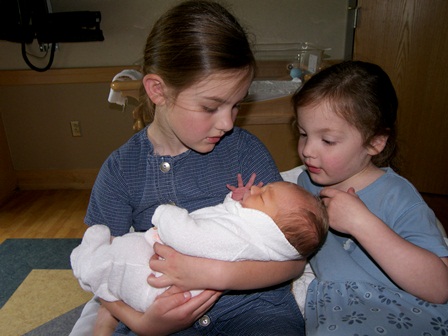
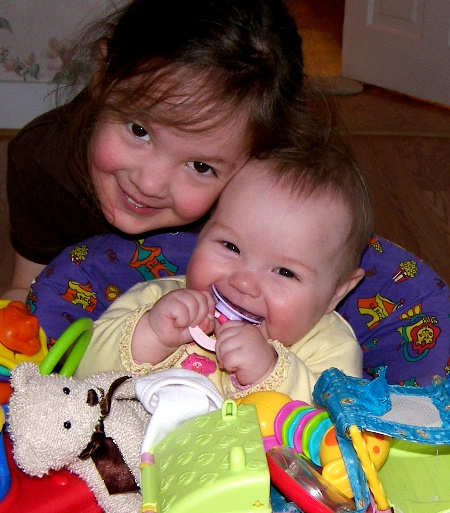
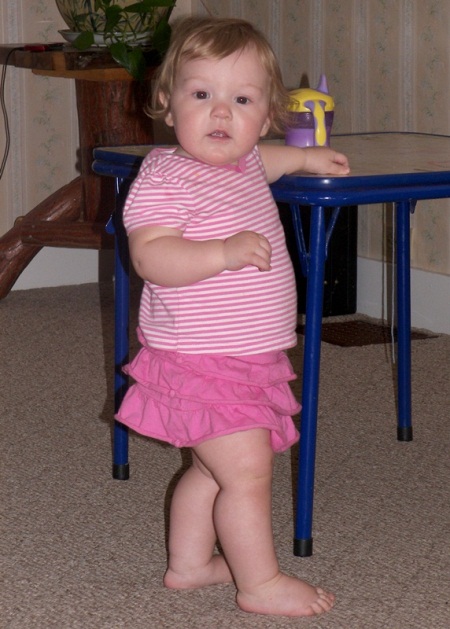
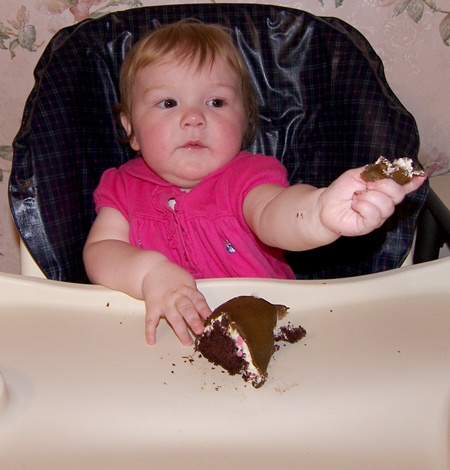
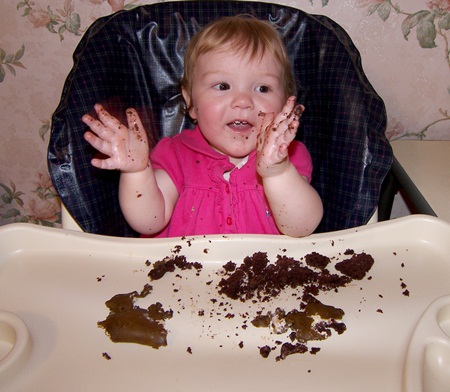
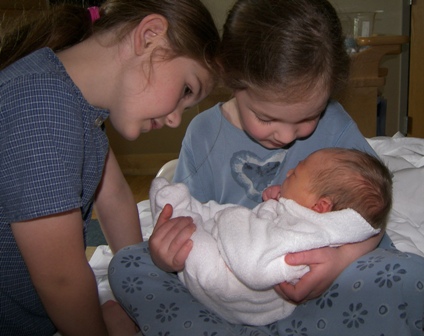
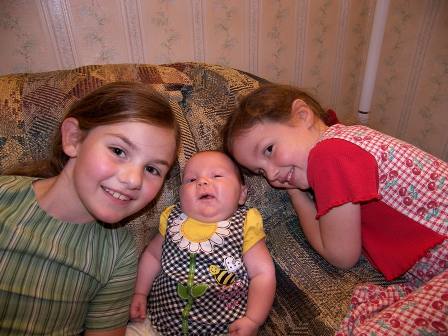
Happy birthday, Tiffany. Only 8 years ago, you looked like this:

How did you get to this already?!:
Comments
9 Responses to “American Girl Doll Birthday Cake”
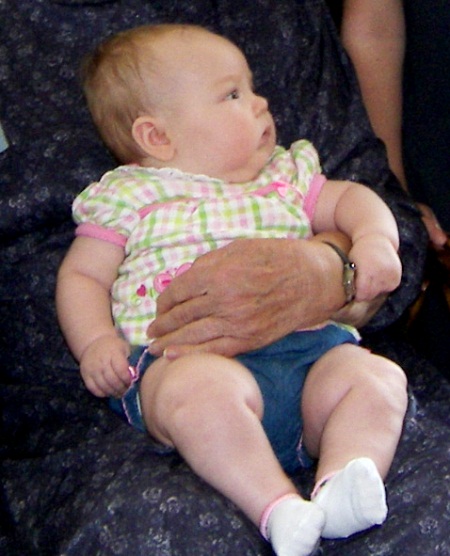


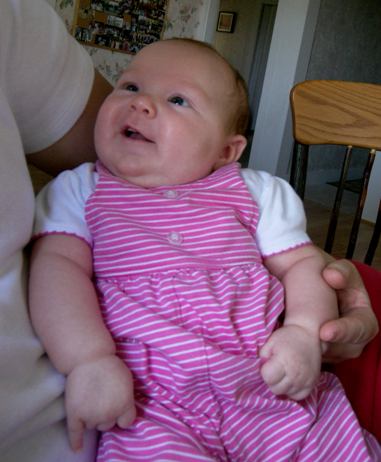
 Sleeping… she goes 5-hour stretches at night and a few times has slept ALL night! Not bad for 2 1/2 months! I’m quite proud of her!

 Sigh. Oh well, it all worked out great and the party was a success and was a lot of fun for all involved… well, maybe my husband wants to speak for himself on that one.
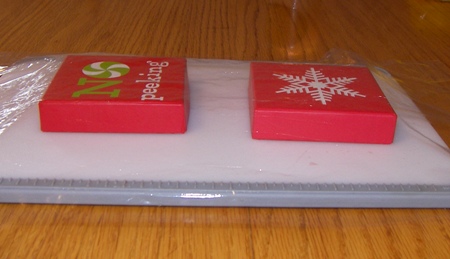
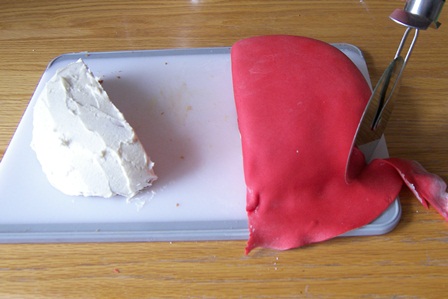
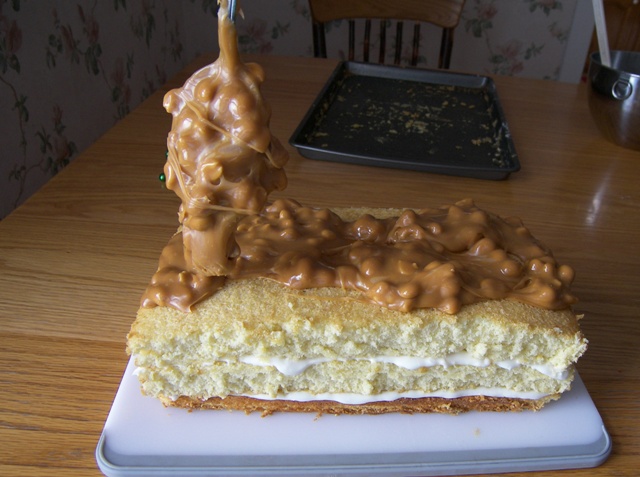
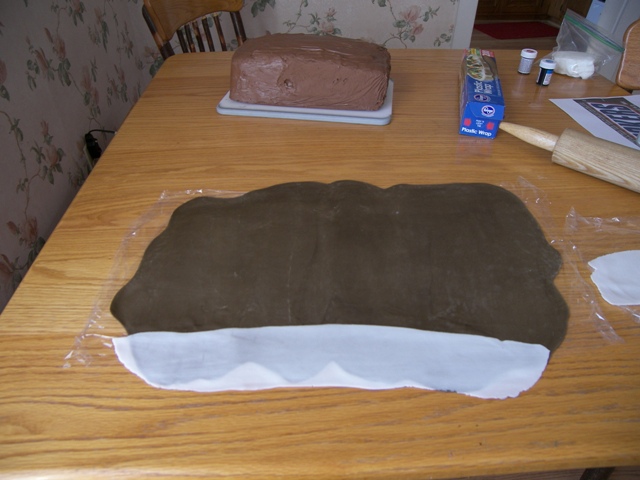
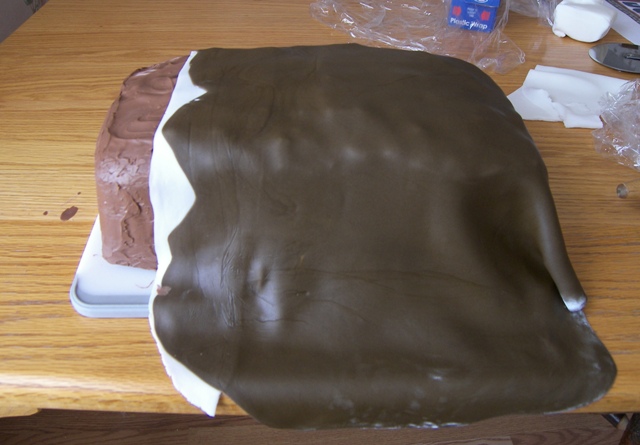
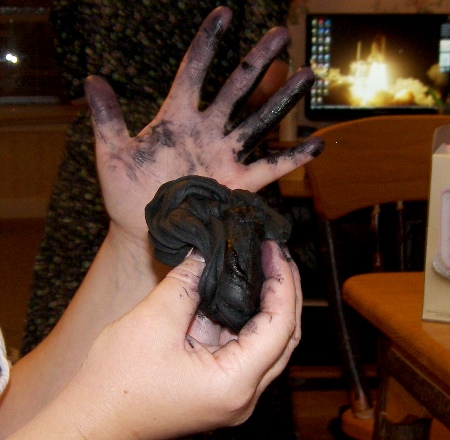
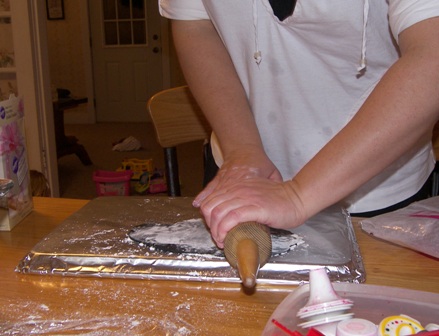
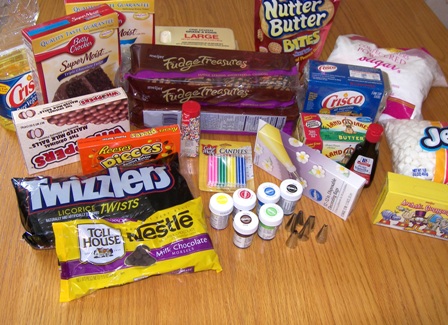
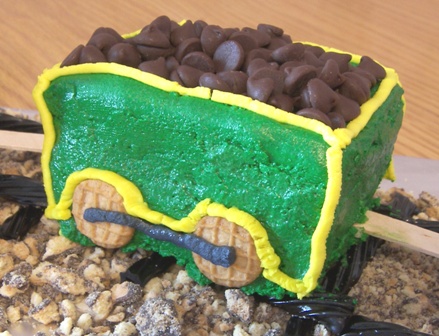
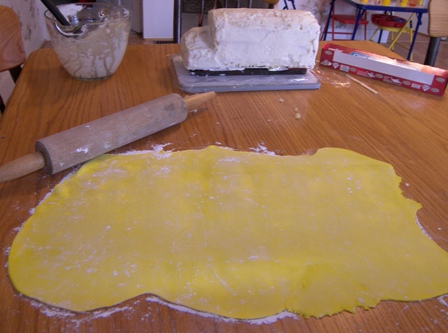 Sprinkle plenty of powdered sugar on the table/counter and on top of the fondant. Roll it out. Then roll it up around the rolling pin, take it over to the cake and starting at one end, unroll it off of the rolling pin onto the cake. By the way, to get yellow fondant, I bought white ready-to-use fondant and put yellow paste (NOT liquid food coloring) on it, then mixed it in by hand… you’ll see the messy process of doing the black soon.
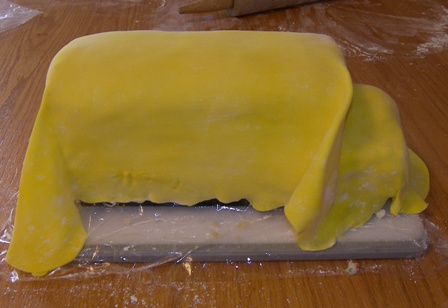
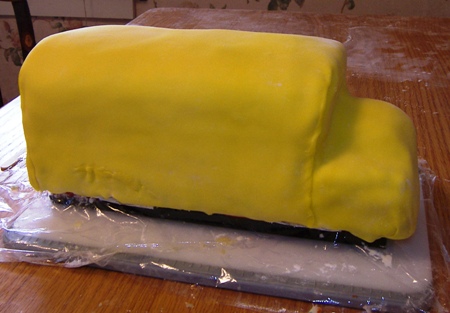
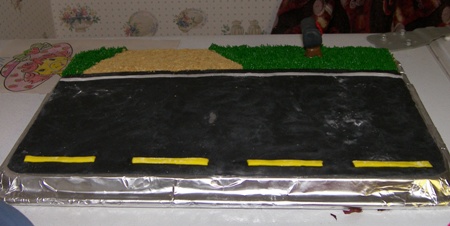
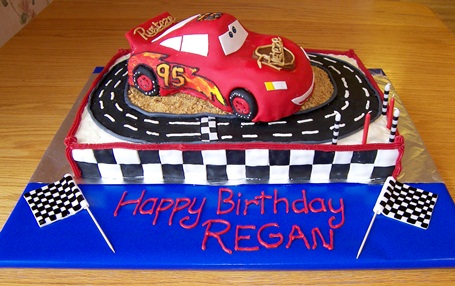
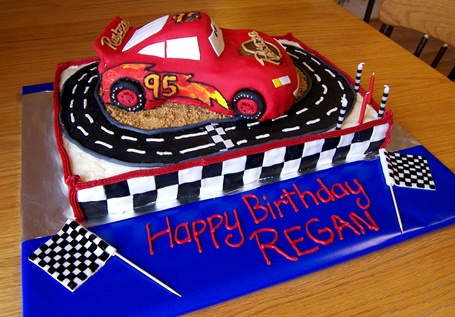
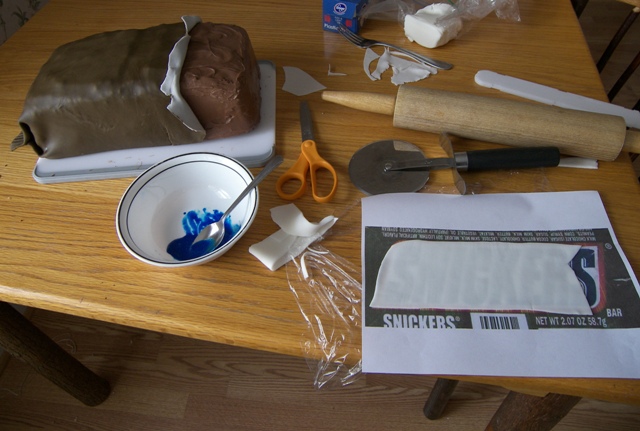
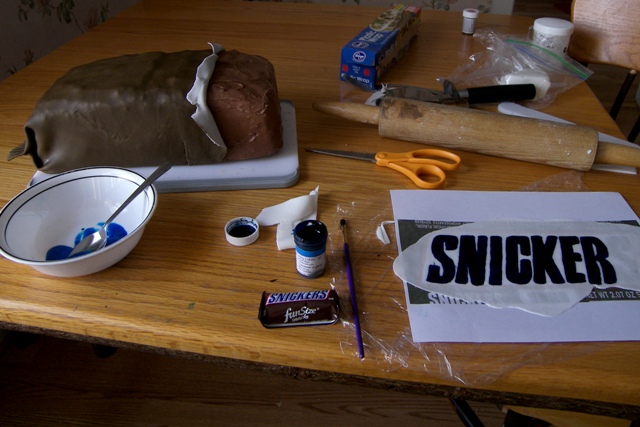
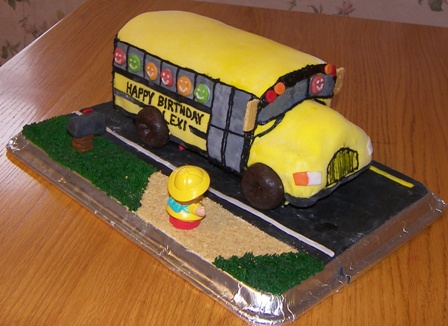
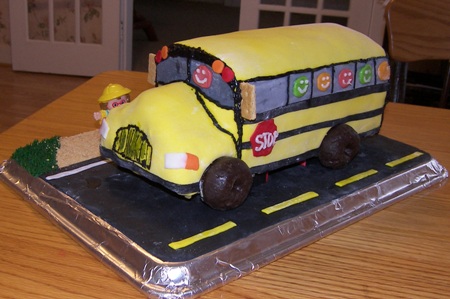
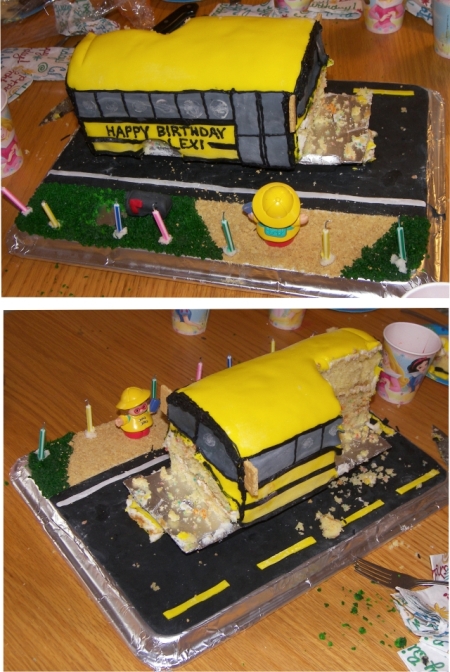
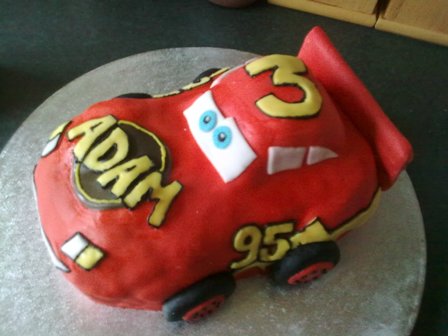
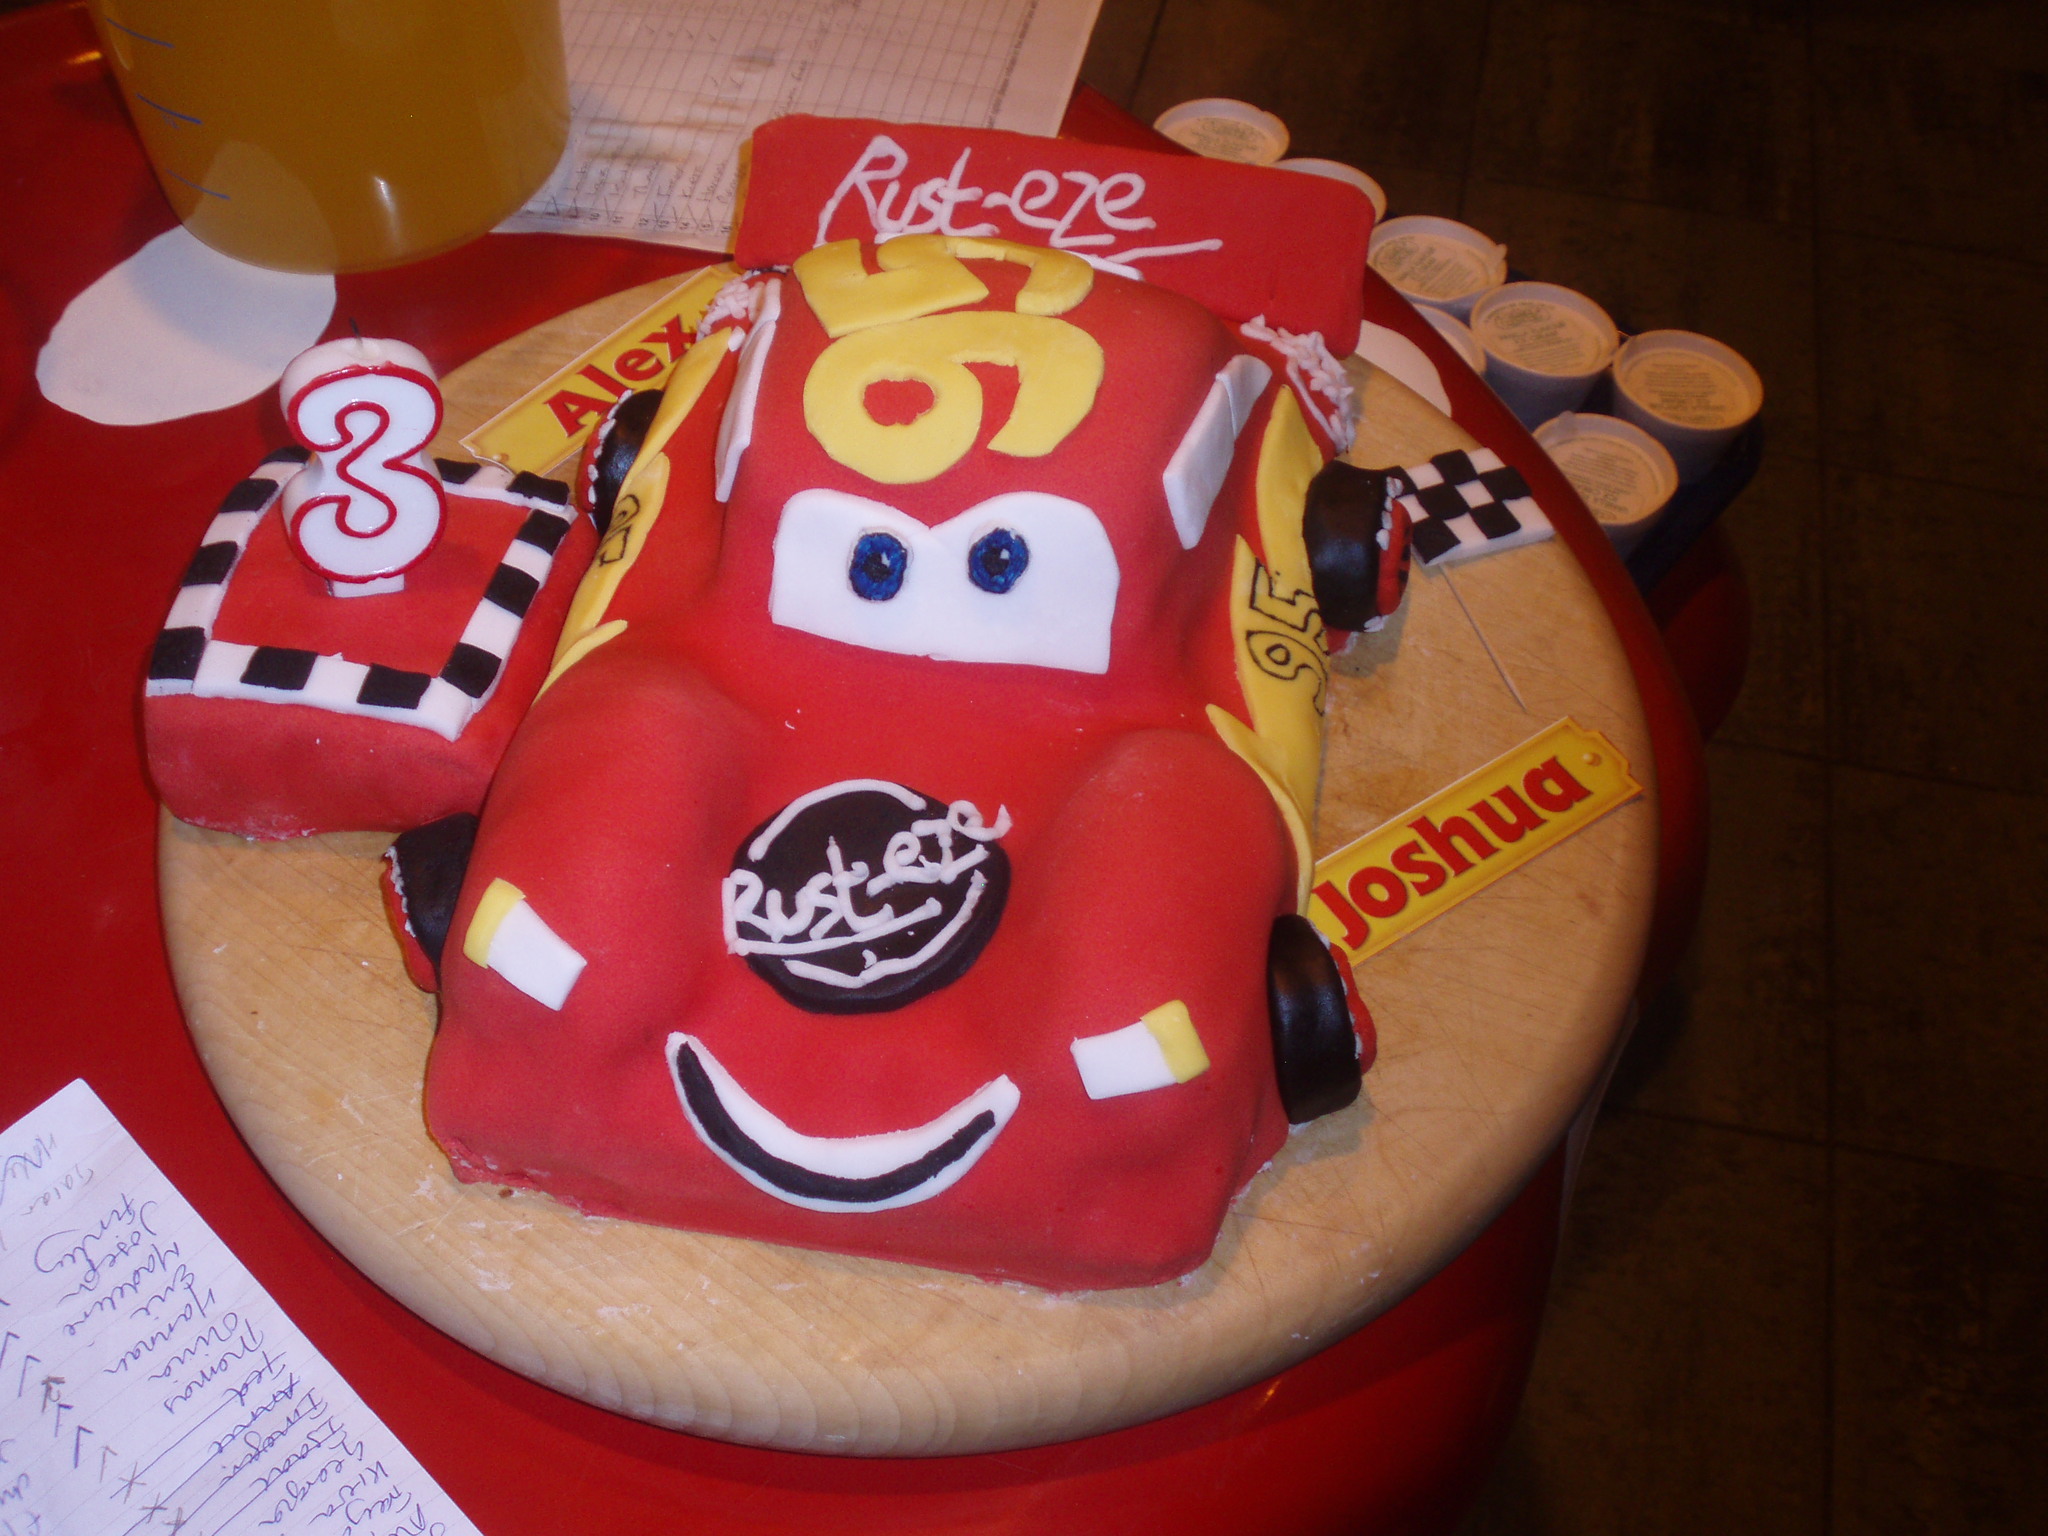
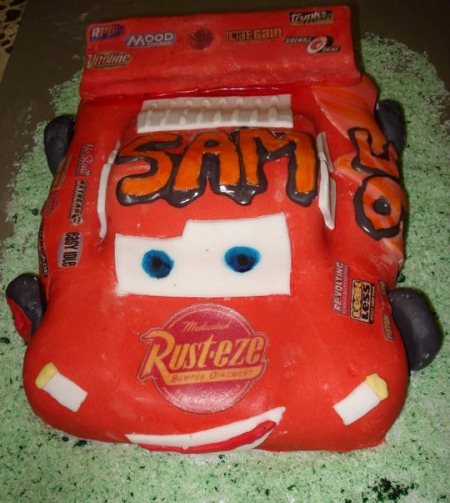
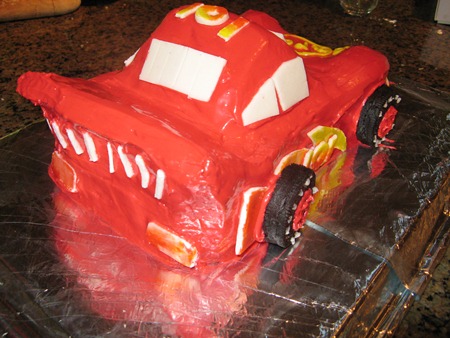
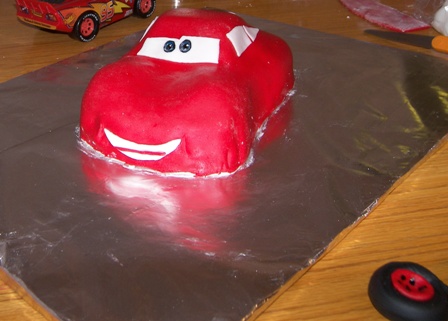
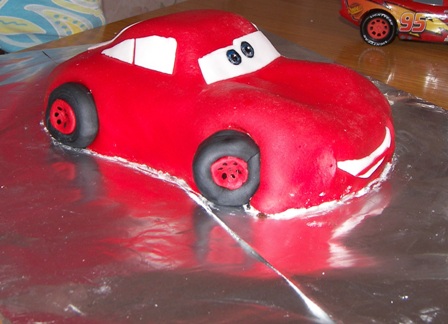
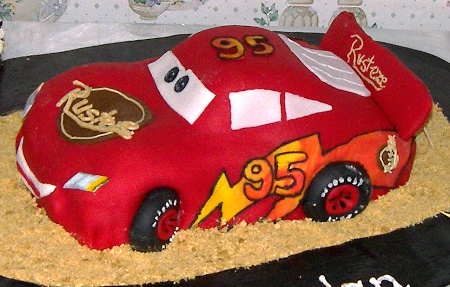
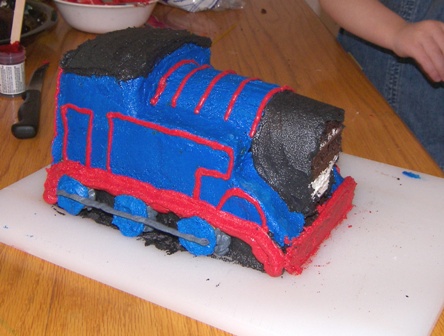
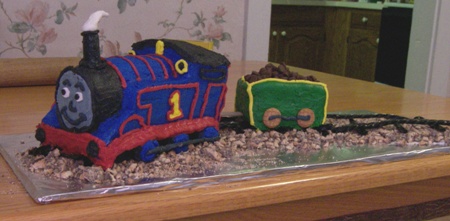
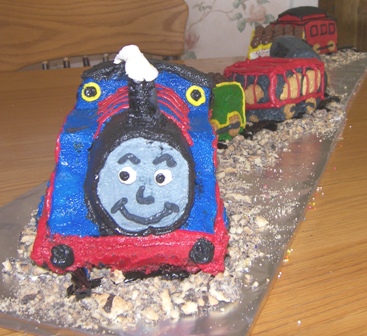
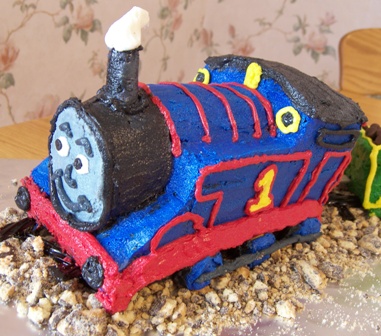
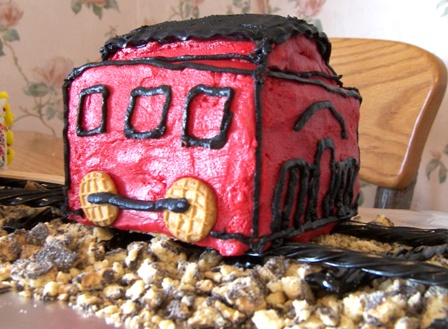
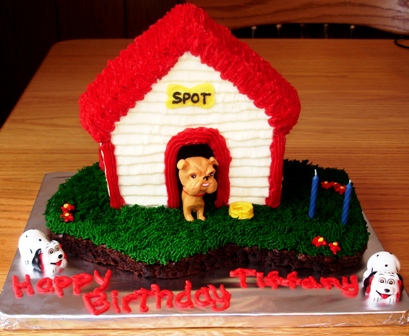
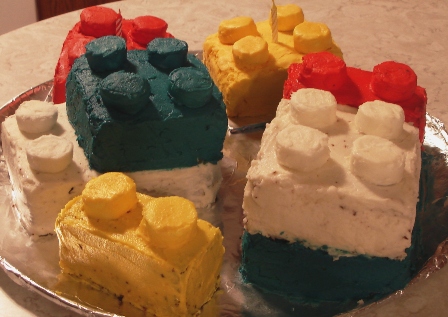
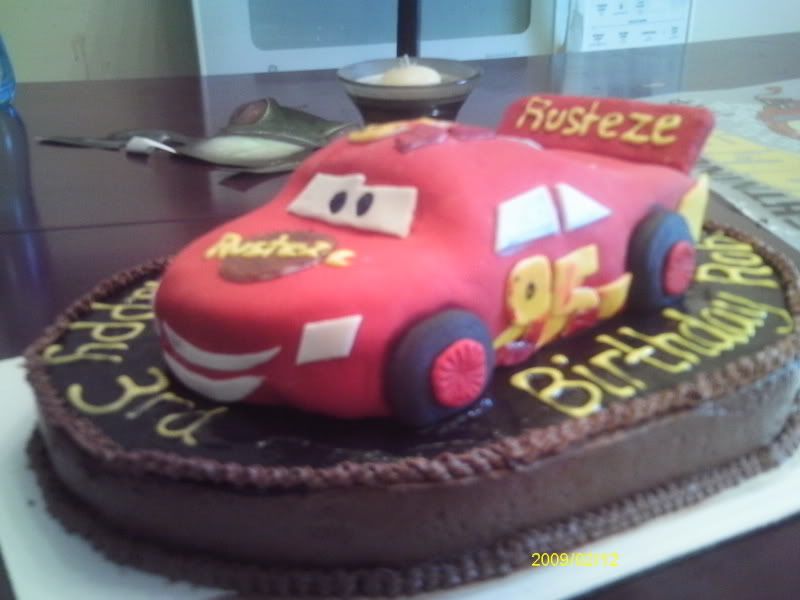
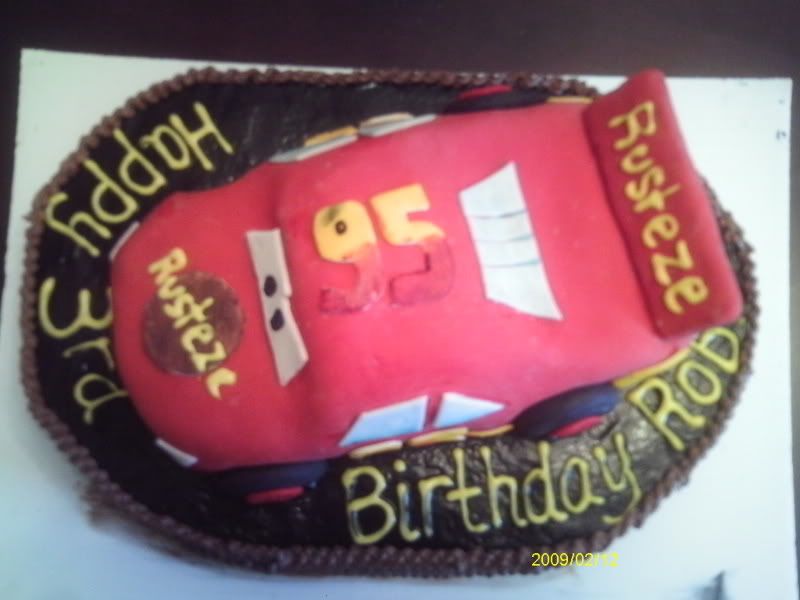
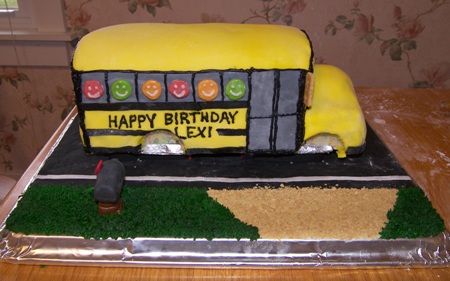 The wheels aren’t on yet (chocolate covered mini donuts). The black and gray are fondant. The letters are frosting piped on. The ‘people’ are flavored tootsie rolls cut into 4ths, then smashed, then stuck on with frosting and a face piped on. The ‘mirrors’ are pieces of graham crackers.
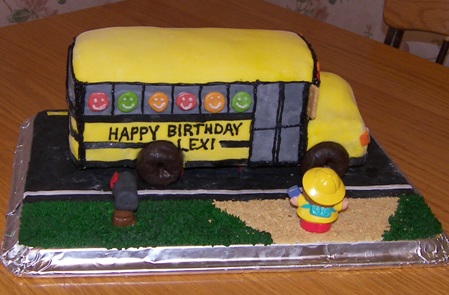
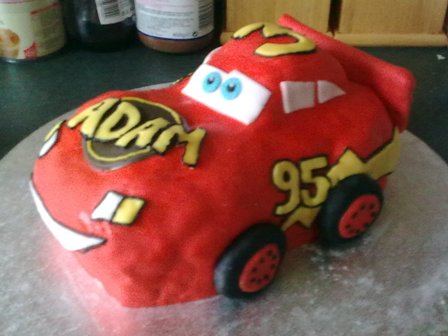
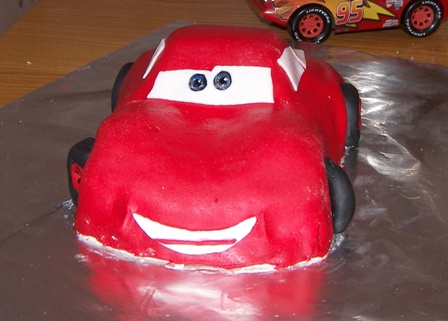
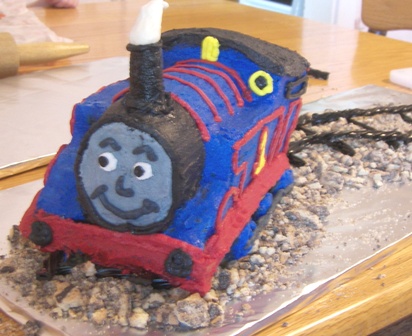
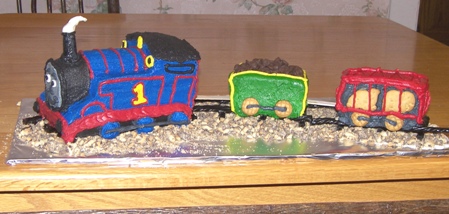
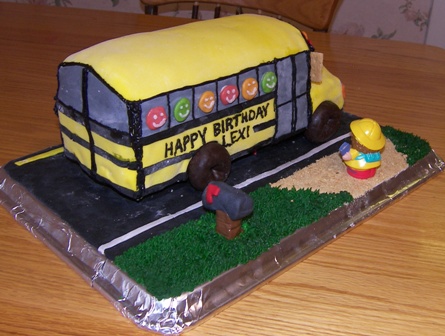 Yeah, so I forgot the lights on the back!
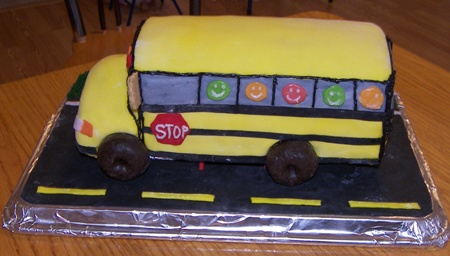

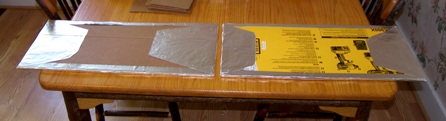
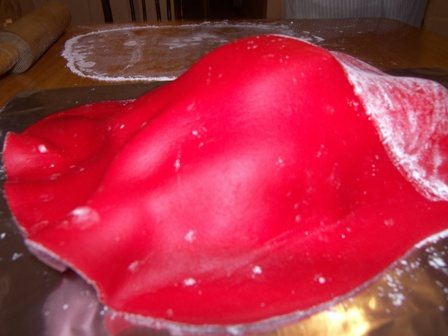 Kinda blurry, but you get the idea. There was a powdered sugar issue because it was really sugary on the bottom and then when I rolled it up onto the rolling pin, it got sugary on part of the top. I thought, “Oh no! Now what?!” because when I tried to brush it off, it didn’t want to come off!
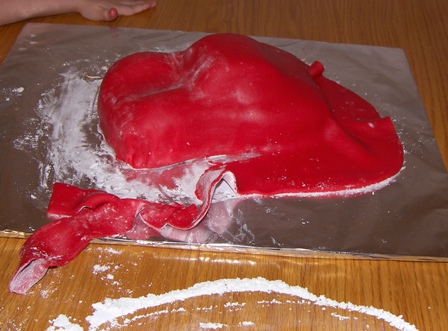

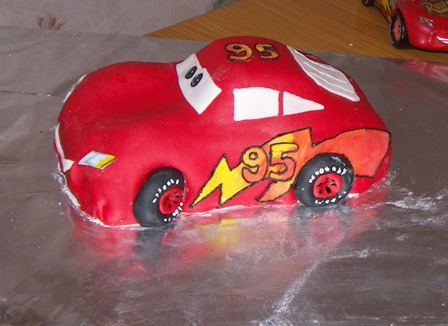

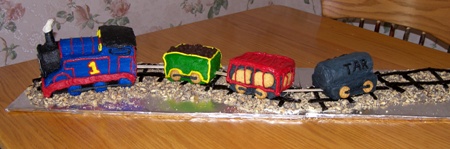
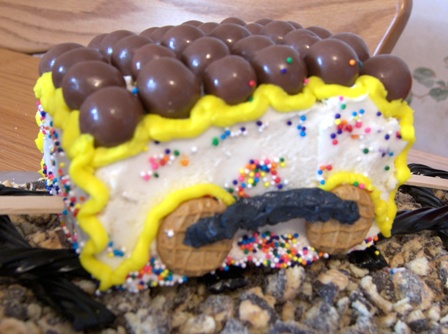
 (Hopefully, the upside-down Whoppers don’t bug any perfectionists out there… just noticed it now and I don’t feel like taking another picture.)
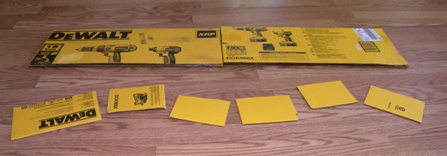


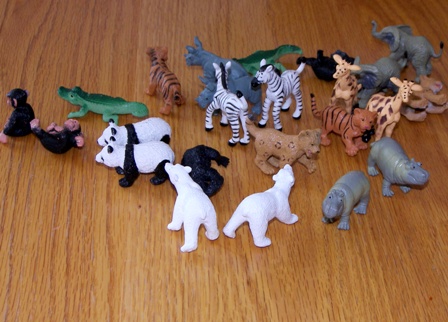

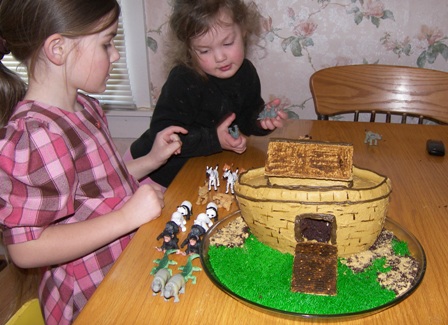
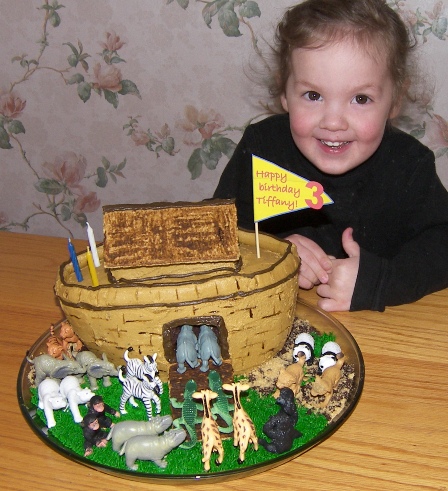
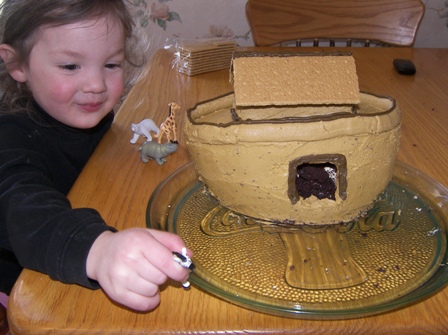 The animals are chompin’ on the bit to get in their ark.
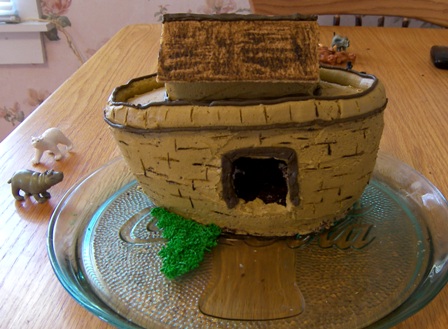
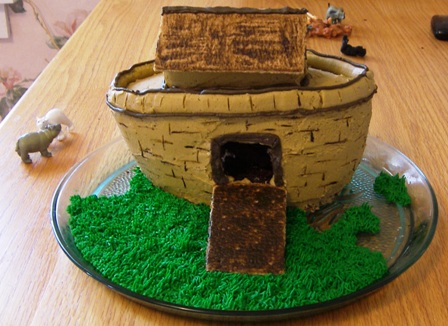
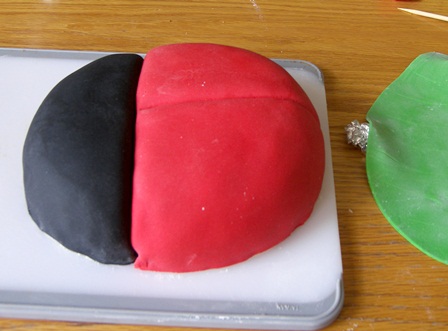
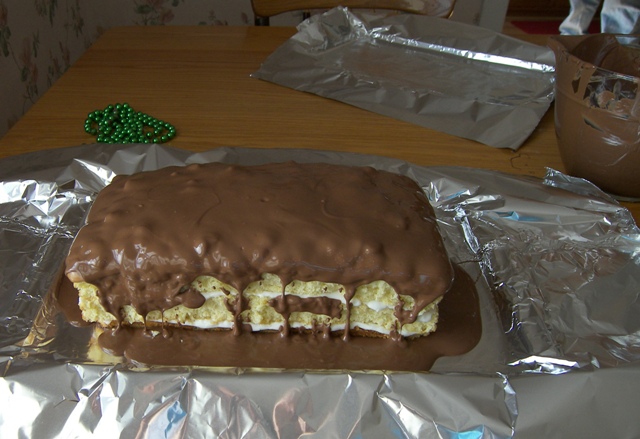
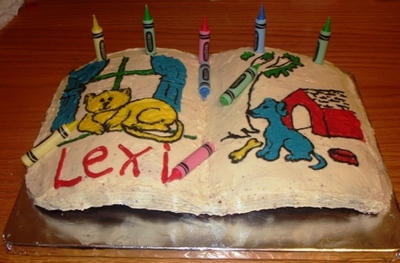
 The fondant is soft and pliable, but dries out pretty fast, so it was pretty easy to get a the-scarf-was-just-thrown-over-there look by lifting up one edge and putting a ball of tin foil under it and then flipping the other end over. Then, instead of covering it, I let it out to dry and it hardened in that shape. The fringes were piped on later.
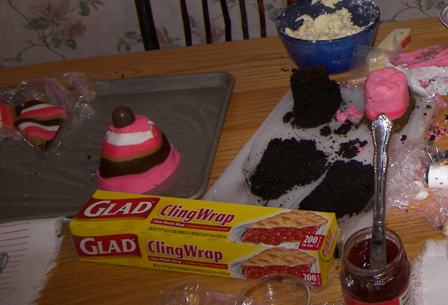 If you see that jar of jelly in the foreground, they say fondant holds to the cake better if you spread jelly on the cake first.
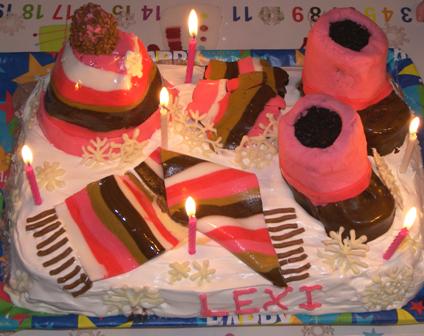
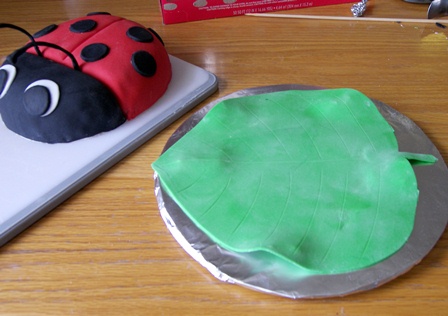
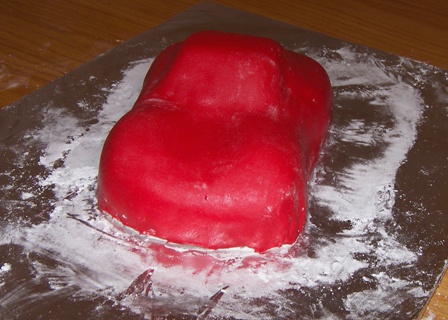
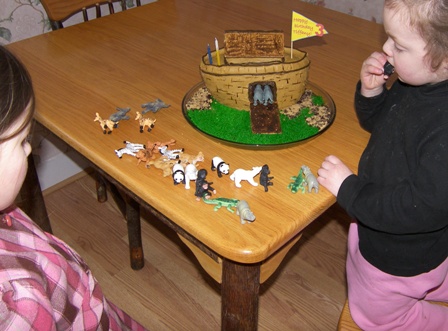
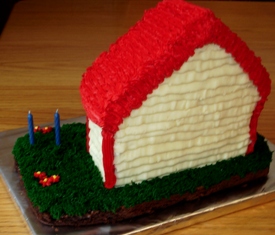
 And we have a roof.
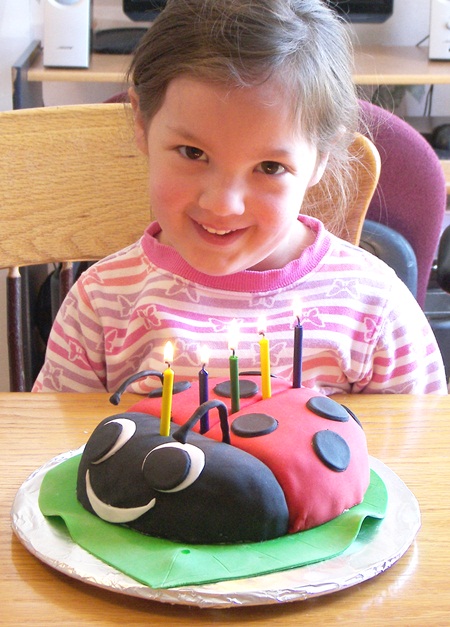
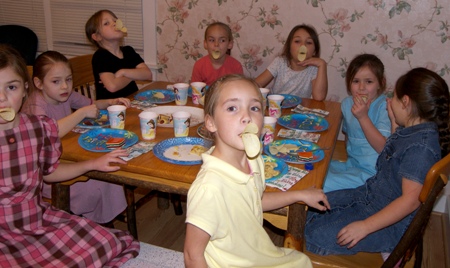
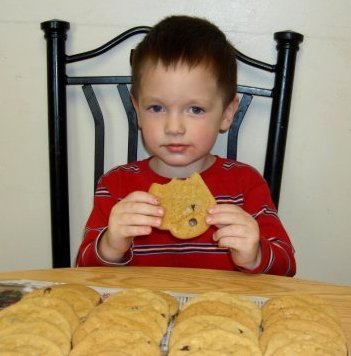
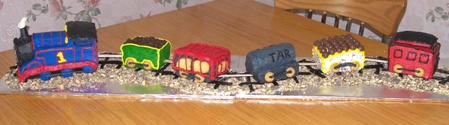
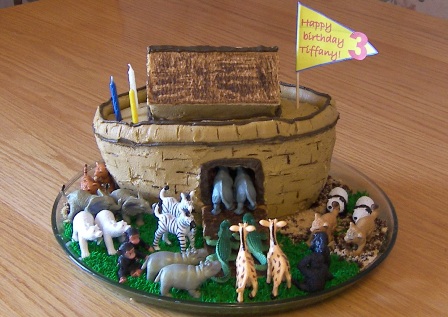
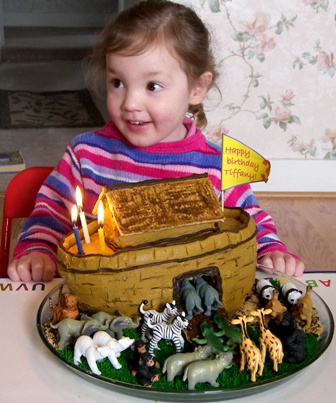
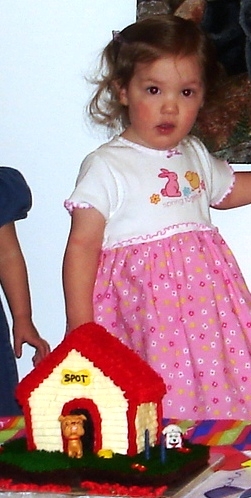 And here’s the birthday girl!
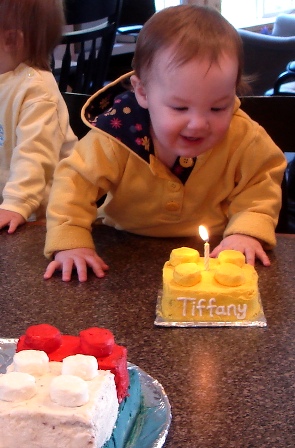


 And here is our top notch 1st grade teacher.

Great job, absolutely impressive!
Did you every work with modeling chocolate? That might be what you need for figurines.
Beautiful cake! This must be a young girl’s dream cake!
My girls are oohing and ahhing. “She is the BEST at making cakes!”
Rosanne, thanks, esp coming from you, my cake-decorating hero! Yeah, I’ve worked with modeling chocolate and I should more! I like how you can join parts together and rub out the seam where it’s joined.
Rosalyn, I know you have some American Girl Dolls around there… *hint hint*… you oughta try it! I know you could do it!
Kay, I can’t believe this cake! Looks great.
I met your aunt Ruthie and Uncle Dan in Haiti. They were at church with us Sunday morning.
Wow, you are amazing. My girls couldn’t get over this.
You ARE AMAZING! “Tiffany left for school. I got busy baking. This is what was waiting for her when she got home.” WOW! You make it sound so easy. And the 3 yr old ‘helping’ makes it even more remarkable. My 2 yr old would be the demolition crew all in one. Kristen and Shaina both have just like you AG dolls, and they would love it. Maybe til Aug I can work up my courage. Hey, its’ great to see you here again. It’s been awhile since I browsed. Miss you!
This is totally incredible. I am send in to American Girl Stores Manger in Houston and one in Chicago. You are the best!!!!! God bless. I did want to find someone I can trust to do this for my daughter on her 5th Birthday.
That is incredible. I won’t even show it to Kiana because she would demand one just like it and I don’t have the talent for cake decorating
thats adorable thats a really good idea good job