Posted on December 10, 2009
Filed Under Birthday cakes
Some of you may have already seen this on my Facebook, so excuse the repeat!
When Lexi started Kindergarten last Spring, she decided that she wanted a school bus cake for her next birthday. She had also made a bunch of new friends and wanted them all to come for a REAL party instead of the low key family parties she’s had so far. So, unlike all her other birthdays, this one was planned well in advance. That doesn’t mean I didn’t go party shopping earlier than the day before or finish the cake earlier than an hour before the guests arrived!  Sigh. Oh well, it all worked out great and the party was a success and was a lot of fun for all involved… well, maybe my husband wants to speak for himself on that one.
Anyway, the birthday cake. There was a bit of an issue getting started. I decided I wanted the bus elevated a bit to look more realistic and my problem was HOW to do that! So, I looked around the house for something to use. I found these 2 square lids and put them down first. Tiffany saw this and said, “So, you’re using my candy box lid, huh?” I confidently said, “Yup.” and she didn’t protest. Whew!
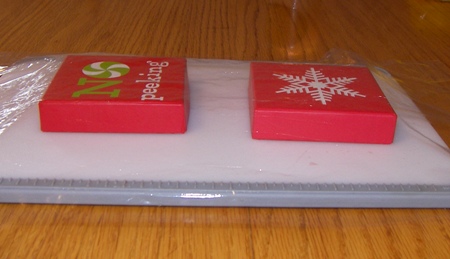
They were red though, so I taped strips of black paper around the edges. Then I cut a piece of cardboard the size I wanted the bus to be, cut notches for the wheels and put it on top of the lids. I know, not professional, but it worked great!
Then, I took the lids off again and made part of the bus on ‘ground level’ (on the foil-covered cardboard though).
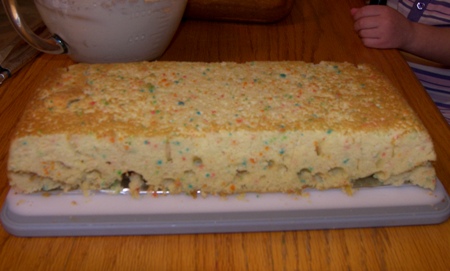
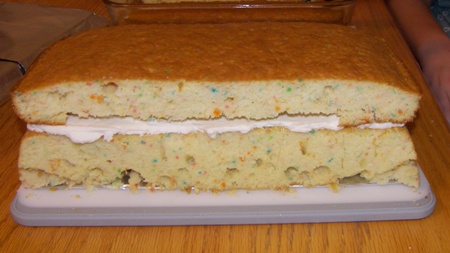
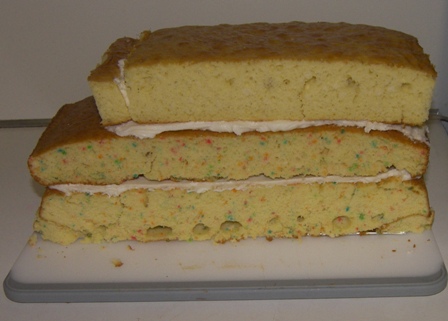
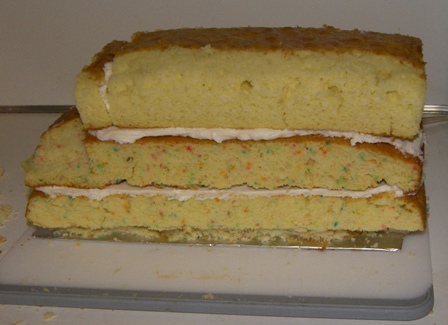
The first 2 layers are the full length of a 9×13 cake. It’s 5 or 6 inches wide. I used 3 cake mixes for this. The top layer… there’s no reason for that extra little piece on there except that after I cut and stacked it, it looked like the nose of the bus (is ‘nose’ what that part is called?) would be a little too long. Also, it looked a little too tall, so I ended up cutting about a half inch off of the bottom (shown on the next picture). I was glad to get rid of those crazy big holes down there too! Not sure why that happened!
The ‘nose’ is carved (maybe that called a ‘hood’?), and the top of the bus is slightly rounded. Doesn’t look too promising, huh? This is where I felt like dumping it in the trash and running to the local bakery.
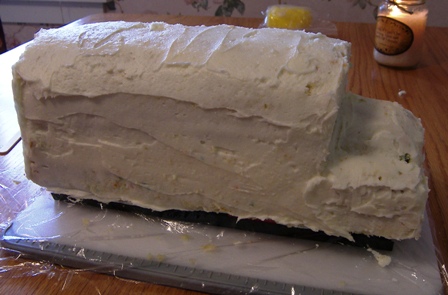
It’s times like this when I love frosting! Now it’s looking more promising!
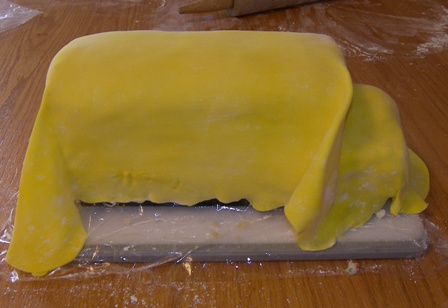
Now the yellow fondant gets rolled out… think that’s big enough?
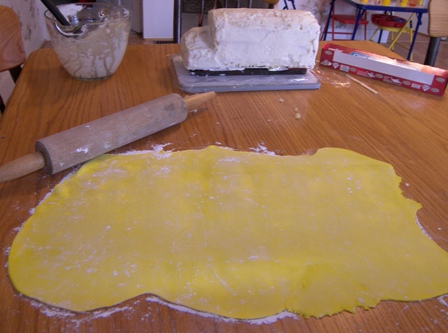 Sprinkle plenty of powdered sugar on the table/counter and on top of the fondant. Roll it out. Then roll it up around the rolling pin, take it over to the cake and starting at one end, unroll it off of the rolling pin onto the cake. By the way, to get yellow fondant, I bought white ready-to-use fondant and put yellow paste (NOT liquid food coloring) on it, then mixed it in by hand… you’ll see the messy process of doing the black soon.
Ah, it IS big enough! Tuck it in and cut off the excess.
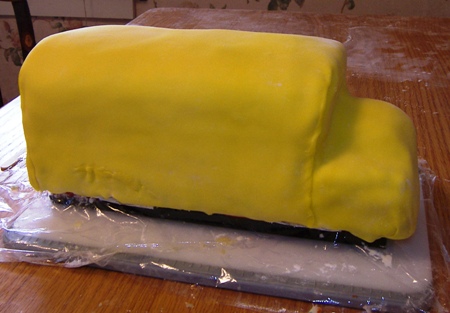
Now, I’m going to leave you hanging with this picture and flip to something else… the setting for the bus, which is, of course either a highway or a school. I chose the highway. And it’s stopping to pick up Lexi.
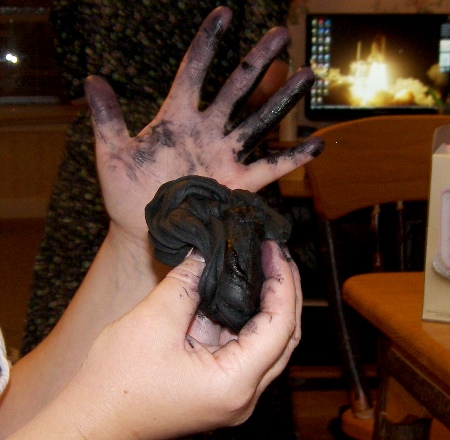
First step was to make the road. Here’s the tar. I know, gag. But this technically is edible. Nobody tasted the road though. That stuff actually does wash off, but I think next time, I’ll put plastic gloves on my birthday party shopping list!
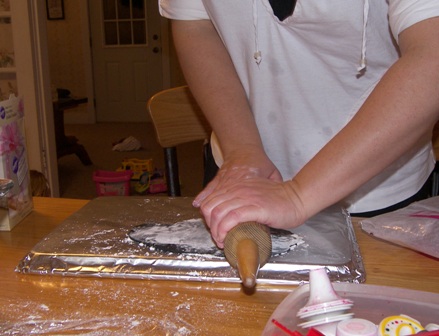
Next I rolled it out onto the ‘cake board’, which was actually an upside down baking sheet with tin foil on it.
And now, we have a BIG jump in the progress because I either I was so entralled with my project that I forgot to take pictures or I didn’t feel like stopping to wash up to photograph each little step. And the setting is done.
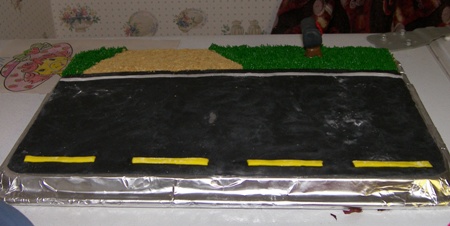
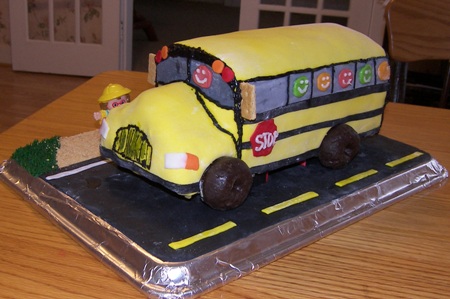
It’s all made out of fondant (road and white & yellow lines and mailbox), graham crackers (driveway), frosting (grass, plus some under the driveway to hold the graham crumbs in place), and a tootsie roll (mailbox post).
And now back to the bus again, which is another big jump in progress. The reason for the big jump here is because the clock was galloping and party time was drawing near and I was in a hurry.
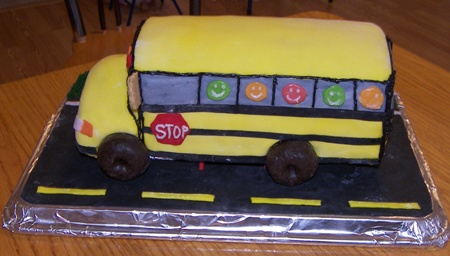
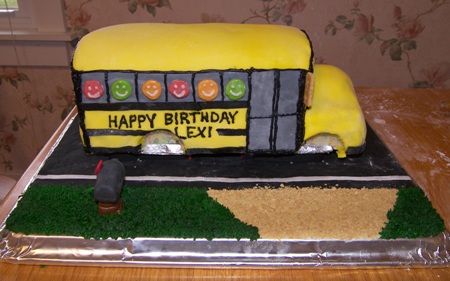 The wheels aren’t on yet (chocolate covered mini donuts). The black and gray are fondant. The letters are frosting piped on. The ‘people’ are flavored tootsie rolls cut into 4ths, then smashed, then stuck on with frosting and a face piped on. The ‘mirrors’ are pieces of graham crackers.
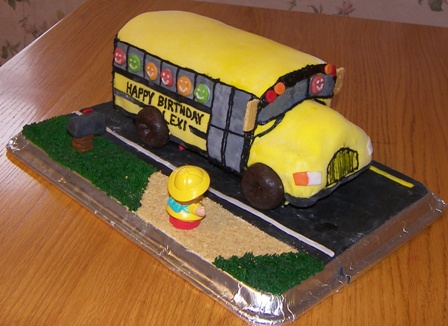
And the cake is now DONE! 45 minutes till party time and my kitchen looks like a tornado hit! Don’t even ask questions like what I’d have done if it would’ve totally flopped because the answer is that I don’t know and that I’m just SO thankful it turned out ok.
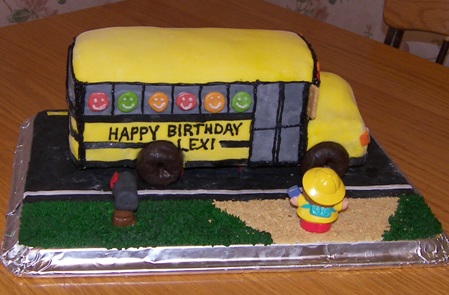
 Yeah, so I forgot the lights on the back!
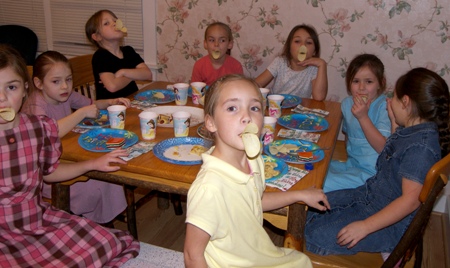
Lexi had her seven 1st grade friends over. Supper was pigs in blankets, Pringles, cheese slices, and layered finger jello. I was in the kitchen and heard a bunch of quacking coming from the dining room. Here, they were making duck bills with their Pringles!
And here they all are with the cake.
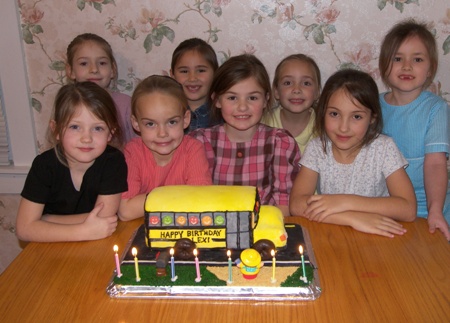
Back row, left to right: Emily, Victoria, Kaitlyn, Samara
Front row, left to right: Alexis, Candace, Lexi, Sarah
And here’s the aftermath:
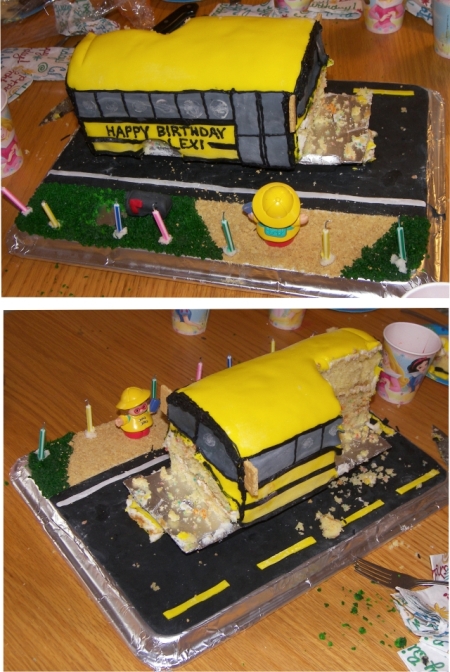
First thing to go was the donut wheels, then they picked off the people in the windows and ate them, then had cake and ice cream.
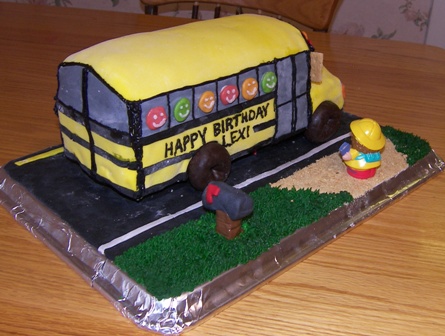
This bus was pretty easy… very little carving. It was just rounding the top a little and shaping the nose/hood/whatever it is. I only bought one box of fondant (I forget the oz, but it was the smallest of the 2 sizes that were there). Oh, and by the way, the girls standing there is just a toy… not edible! Let me know if you try this!
Comments
11 Responses to “School Bus Birthday Cake – Happy 7th Birthday, Lexi!”
Wow! I am so extremely impressed. Something like that would NEVER turn out for me. You have quite a talent and make it look so easy!
Fabulous cake bus!
I just told my 7 y.o. son whose birthday is coming up soon that he should not ask me to make one like this because I could NOT do it! It’s SO cute!!!
Nice Job, I made a bus for my oldest 7th birthday, but it didn’t look that nice,
My children had fun picking out the girls they knew on the picture!
Great job, Kay! Hard to believe you had your doubts if it would turn out ok. You are so good and creative at making cakes. I’m sure your girls love you for it.
You make some amazing cakes! loved your recent updates
You cake turned out great. I’ve never worked with fondant, but would like to try sometime. Congratulations on your pregnancy. Hope everything goes well.
I put Alexis’ pic of the girls & bus cake on our refrigerator & Trevor saw it this morning. He pointed at the picture & said “that’s the cake I want for my birthday”.
I LOVE THIS CAKE! I would like to make it for my husband, a school bus mechanic, for his birthday. I’m confused about this part of the instructions, and they seem important. Could you clarify?
“Then I cut a piece of cardboard the size I wanted the bus to be, cut notches for the wheels and put it on top of the lids. I know, not professional, but it worked great!
Then, I took the lids off again and made part of the bus on ‘ground level’
The notches are for the donuts to go in?
Why did you take the lids OFF?
Yeah, the notches were for the donuts to go in… otherwise they (the wheels/donuts) would’ve been on the outside of the bus instead of flush with the side of the bus. And I’ll bet your bus mechanic husband would know that’s not right! The reason I cut notches instead of making the whole cardbord piece narrower is because I thought the extra stability would be good if the cardboard would come all the way out to the edge of the bus.
About taking the lids off was just a rambly useless piece of info. I think i thought it would slide around on them while I was working on the cake and end up tipping the bus over, so I did the stacking and icing before putting it back up on the lids. Hopefully, you can find something better than odd things around the house (like my lids)! I’ll bet a piece of 1×4 board cut to the right length would be perfect.
Let me know how it turns out!
I cannot thank you anywhere near enough for posting this!!!! My sister and i are in the process of creating a short bus for my daughter’s 13th birthday and so far are winging it and had pretty much the same thought of doing it the way you have laid out here. You have given me hope that my cake will turn out as beautiful as yours. Thank you for the step by step pictures.