There. I did 2 posts with meat in, so let’s get back to the fun stuff!  No, really, I am planning to keep it a little more balanced… I think anyway. Sometimes I think I should’ve named this site something like ”Chocolate Dipped Tidbits” or “Living for Chocolate, Dying for Some More” and do sweets only, what with that being my passion and all.
Speaking of which, I totally get Tiffany (my 5-yr-old) in this little conversation that happened one day last week:
Her: “May I have an ice cream cone?”
Me: “No, you already had one today.”
Her: “Pleeeeeeeeeeeeease? I REALLY need one.”
Me, feeling sorry for her, but sticking to my guns: “No.”
Her, pulling out the trump card in desperation: “I’ll give you all my money if you let me have one.”
If we run out of cones and ice cream around here, my girls think it’s a real crisis. Currently, we have sugar cones (the pointy ones that sorta look like waffle cones) and regular cones in 2 sizes (the ones that are flat on the bottom and taste like newspaper just plain). These cone cake pops use the mini size of the regular cones.
Awwww, aren’t they adorable?
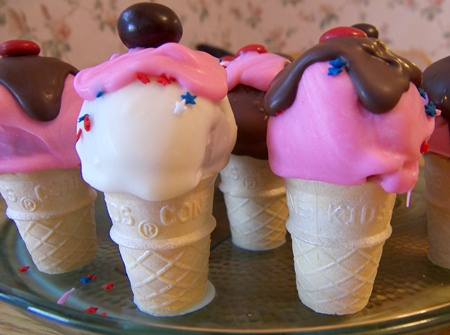
You really do need to see these in real life. The cuteness factor doubles from a picture to real life.
I know you can’t really tell the exact size because there’s nothing to compare it to. So, here’s one in a 13-month-old pudgy hand, if you know what size they are in real life. This is a real ice cream cone, but the same size cone.
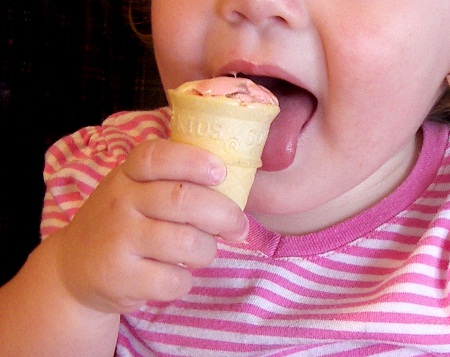
Yeah, we’re getting Megan hooked on ice cream cones already. This size is so perfect for her because she’s done eating it by the time it starts melting and dripping.
I got this Ice Cream Cone Cake Pops idea from Bakerella’s website and her Cake Pops cookbook (which my friend Ruthie gave to me for my birthday last year… it was on my wish list, and I never told her, how cool is that?!) Bakerella used sawed-off sugar cones, but I decided to just use mini regular cones so I wouldn’t have to do all that cutting.
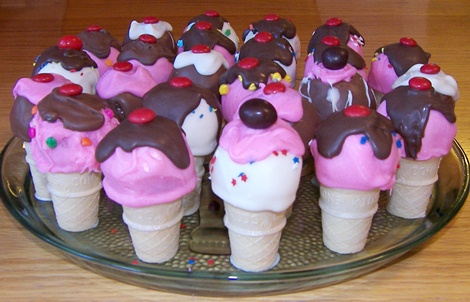
So here’s what you do. Take a baked cake and crumble it up and add a bought can of frosting and mix it together.
Or…
Get the leftover cake out of the freezer from a graduation cake you made earlier, thaw it, crumble it, mix up some frosting and mix a few dollops into the cake crumbs. That’s what I did. So, these cake pops were white cake mixed with cinnamon cake.
By the way, next time you’re buying cake mixes and you’re undecided on the kind, please buy a cinnamon one. This is the first time I tried it and it was SO good! You’d think I would’ve already thought to try that, what with having married into a we-love-cinnamon family. I want to make one sometime with cream cheese frosting. Mmmm mmmm mmm!!! You can use cream cheese frosting in these cake pops, but then you should refrigerate them, which is why I used regular frosting.
Here are the cake crumbs and dollops of frosting. I forgot to take a picture after it was mixed…
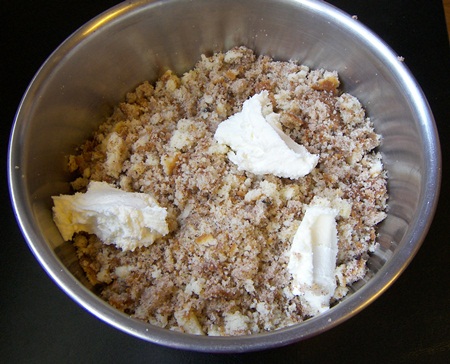
Roll the cake mixture into balls about the size of a golf ball, maybe a little smaller. Don’t make all those little dents in it like a golf ball has, though. Put the cake balls in the freezer for 15 minutes, then transfer them to the fridge if you’re not ready to dip yet. They should be chilled, but not frozen.
Here is when I was just ready to start. Those bowls are both melted white chocolate, but the one has pink food coloring in it. The melted milk chocolate is missed on the picture. I put some M&Ms in the bottom of the cones just for a fun surprise.
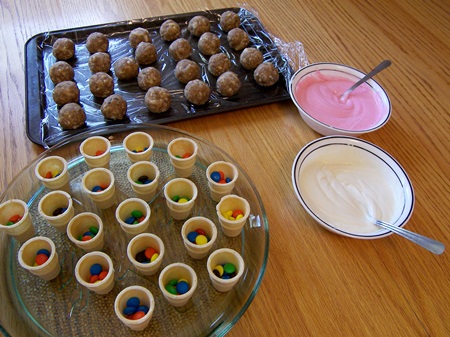
Dip a skewer in the melted chocolate, then into a cake ball. You can take a spoon and spoon some chocolate over to get it fully covered if the chocolate isn’t deep enough to fully immerse the cake ball, but don’t spin or stir or twist it around in the chocolate because crumbs may fall off or it might come apart. Then, put the drippy chocolate covered cake ball on one of these mini cones and pull the skewer out. It will kind of start to drip over the sides to make a melty look. That is a good thing.
This is after the process is underway…
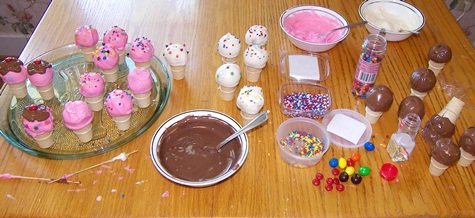
After the cake pops are dipped and put on the cones, take another color of melted chocolate and put on top, letting it start going down the sides a bit. Put on sprinkles if you want to. Put a red M&M or peanut M&M on top for a cherry.
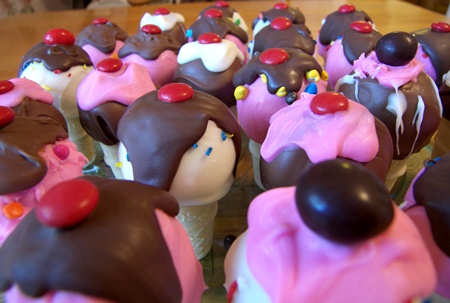
To make tipped over ones, put the cake ball on a flat surface instead of on a cone, then put the cone slanted on top of it. Bakerella calls this a “happy accident on purpose”. I love that term! 🙂
Now, we leave Bakerella and go on to an extra tip and idea for these from me:
1. These little things are top-heavy. So if you’re taking them somewhere, put a little bit of melted white chocolate on the bottom of the cone, then set it on the plate. In no time, it is hardened and you can move the plate around at will… without ice cream cones landing on the floor.
2. Pipe thick chocolate letters on plastic wrap or wax paper, put them in the fridge till they’re hard, and stick them to the top with a dollop or two of melted chocolate… and you’ve just personalized your cake pops to the season/event/occasion!
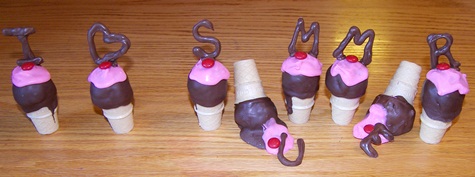
Here are some specific ideas:
– Write “Welcome Home” on them and put them on the counter, ready for someone coming home. That’s actually the very thing that made me think of putting letters on top of these… around the time I was making these for a church picnic, some friends of ours were coming home from a trip and I had intentions of doing that with the extra ones, but with a combo of a change of plans in my day and procrastination, they got home before I got it done. But at least I’m glad for the idea now, to use in other ways.
– Use them for the cake at a birthday party and write “Happy Birthday (insert birthday person’s name)”
– Write your kids’ names.
– Make the entire alphabet, with extra A’s, E’s, T’s, M’s, S’s, and whatever other letters are used more often. Then, let your kids play with them, writing words and phrases or even complete sentences.
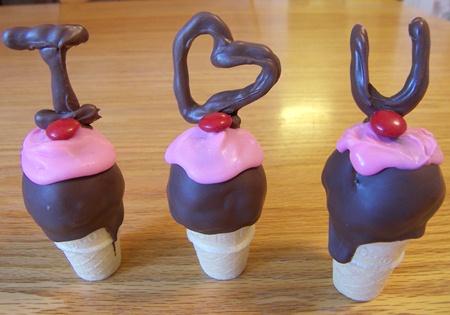
And last but not least, if you love someone, do this…
Comments







 Yield: 6 servings.
 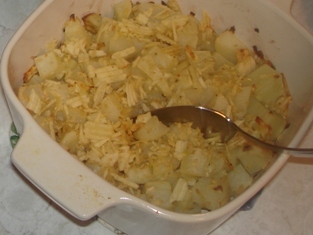 Yield: 6 – 8 servings.
 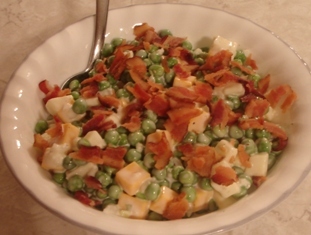 Yield: 6 – 8 servings.
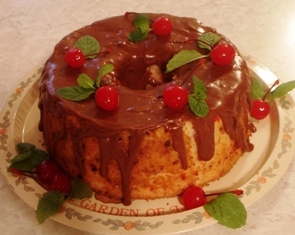
 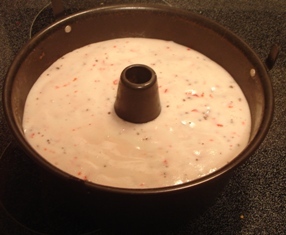 Bake at 350 for 40 – 45 minutes or until cake springs back when lightly touched. Immediately invert pan; cool completely. Run a knife around sides of cake and remove from pan. In a saucepan, combine butter, chocolate, and corn syrup. Cook and stir over low heat until chocolate is melted. Stir in confectioners’ sugar and cherry juice until glaze reaches desired consistency. Drizzle over cake.
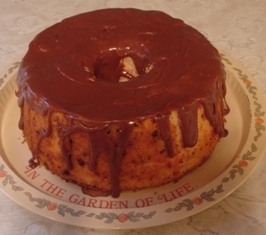
 Yield: 12 servings.
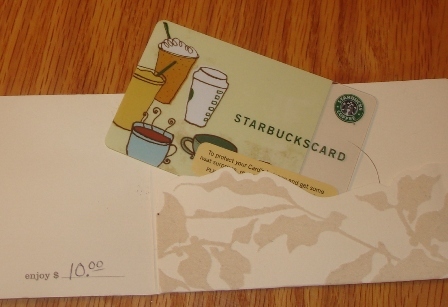 A $10 Starbucks gift certificate.
 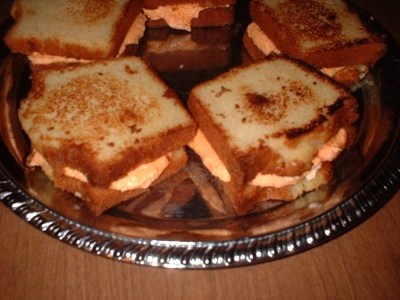 They really do look real!
 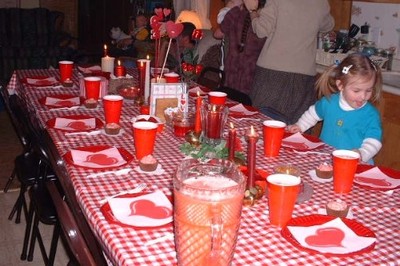 2005
2005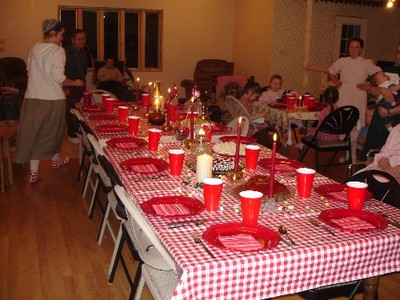 2006
2006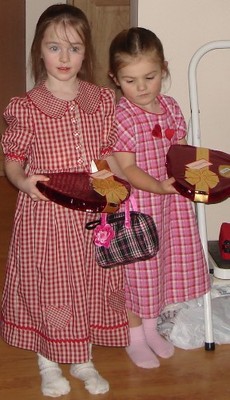
You know, for being a “non chocolate” person, I will eat one of these, if I must. I haven’t ever made them as cupcakes tho, I always pour a choc cake batter into a cookie sheet and the swirl the cream cheese thru it. They are much daintier this way.
Wow, good for you, Shannon, eating a CHOCOLATE something! I like your cookie sheet tip for a time saver. Going to try that sometime!
Oh la la. I love love love these cupcakes. They were my all-time favorite growing up and they still are. I don’t make them often because they are not safe in this house. Or maybe I should say I am not safe with them in the house. ????
Yeah, Freida, me too… not safe with them in the house! That cream cheese chocolate chip center just continuously calls to me!
These speak “Pennsylvania” all the way through the filling! Don’t PA cooks always have some kind of stuffing/swirl to their dishes? Anyway, it takes me back to our church’s first meals together with the PA influence. And good for you to serve to working men! They always perform better when you feed them – I periodically give to our mailman, and sometimes he brings the mail right to our door!
Mom, whatever language these cupcakes speak, I am quite fluent in!