Basic Meatballs, then fit them to any meal
Posted on December 14, 2013
Filed Under Beef
I have found my meatball recipe. Inside, I’m saying that with a bunch of excited exclamation points at the end. The reasons I wrote it so calmly instead are: because I don’t want to look too excited about meatballs (how weird would that be?!) and because I have friends who get annoyed at people who use a bunch of exclamation points. The reason I’m so happy about it is because meatballs is now officially on my serve-confidently-to-company food list, and the more things I can get on that list, the better.

Here are the Baked Potatoes. We love them like this! They are featured here.

Ok, now for the meatballs. I found this recipe in one of my newest cookbooks. I have used this cookbook ALOT! It is called Simple & Satisfying. It’s extra special because 3 of my friends play a big part in it… Berneice helped head it up, Shannon was the photographer for it, and Freida submitted the most awesome recipe in the entire book (at least in the Main Dishes section… it’s Chipotle in a Bowl and it is SO amazing). Another thing I like about this cookbook is that it has a red coiled binder. I have a bunch of cookbooks that are bound with those and they’re pretty much all black or white, so when I go to the shelf to pick one of those cookbooks, I have to look a bit for the one I want. This one, I can spot the red right away and go to it. It’s the simple things.
Ok, NOW for the meatballs. 
I’m going to post the recipe here just as Mattie has it in the cookbook, then I’ll add my variations at the end.
Barbecued Meatballs
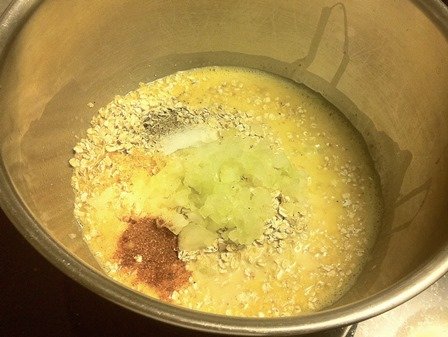
MEAT MIXTURE
3 lbs. hamburger
1 can evaporated milk
2 c. quick oatmeal
2 eggs
1 c. onion, chopped
1/2 tsp. garlic powder
2 tsp. salt
1/2 tsp. pepper
2 tsp. chili powder
BARBECUE SAUCE
2 c. ketchup
1 1/2 c. brown sugar
1/2 tsp. garlic powder
1/2 c. onion, chopped
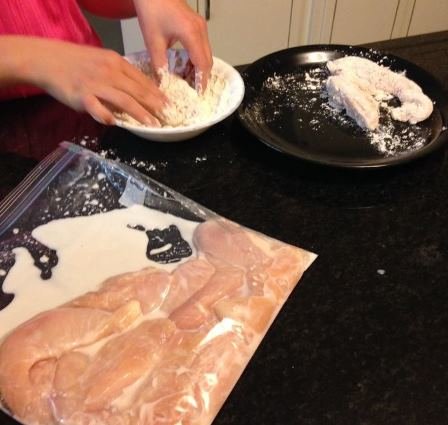
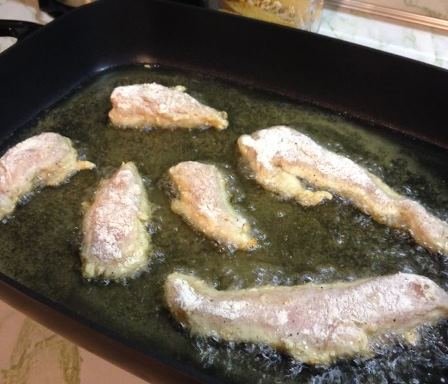
Mix meat mixture and shape into balls.
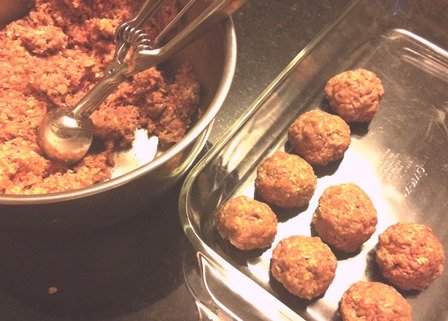
I used a medium Pampered Chef cookie scoop, then popped them out and finished rounding them.
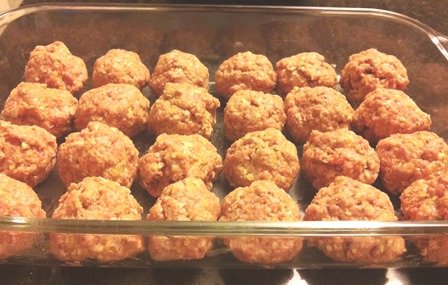
Place single layer in pan.
Mix barbeque sauce in a saucepan and bring to a boil. Pour barbeque sauce over meatballs and bake uncovered. I’ve skipped the boiling step… works great and saves time.
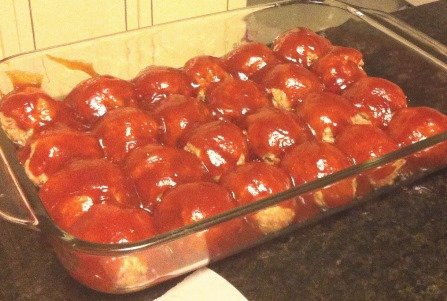
Bake at 350 for 1 hour. They looked done at 45 minutes, so I jabbed a thermometer into a couple of them and yep, they were done. And no, the oven wasn’t on convection. Maybe I made them smaller than Mattie does.
Also, I’m not saying I’m ever last minute or in a hurry or anything, BUT I did somehow discover one of the times that I was making these that if I use convection bake instead of regular and turn the oven to 375 instead of 350, they get done in 20 minutes flat. ????
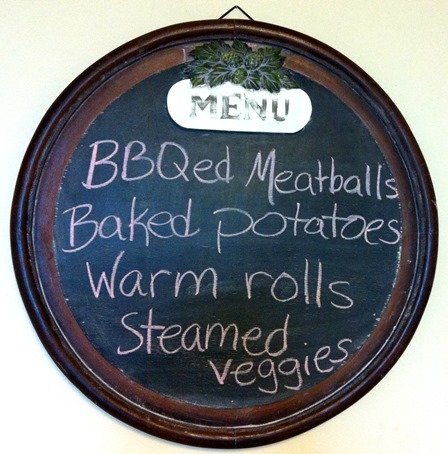
Just for your serving information, I made a half batch here and with the medium cookie scoop, it made 2 dozen meatballs. We have a family of 5, the 3 kids are all girls (ages 11, 7, and 3), the rest of the meal was baked potatoes, dinner rolls, and veggies, and we ate exactly half the pan of meatballs. So, if you got lost there, 1/4 of this recipe fed our family of 5 with the meal on the chalkboard above.
VARIATIONS:
— Save time by skipping mixing up barbeque sauce and just pop open a bottle of your favorite BBQ sauce and pour over the meatballs. This changes the flavor significantly because the sauce above is sweeter and less tangy than regular BBQ sauce. Still really good, though!
— Spaghetti and meatballs. Trade the chili powder for Italian seasoning and skip the BBQ sauce. Just bake them un-sauced. Heat up pasta sauce and add meatballs to it when they come out of the oven. Serve over hot cooked spaghetti.
I, by the way, am not saying these variations are better than the original recipe. The original recipe is what I made first and is what made me decide “ok finally I found my meatball recipe”. It’s kind of a candied meatball and oh so good! I’ll still make them the original way for company and most of the time just for us, unless it’s an Italian meal or I’m in a hurry.
You might be seeing more from this cookbook… I just quickly flipped thro it and saw 12 recipes that I have reviews written beside and I could’ve easily missed some.
Comments


Eric loves the crispy salty skins of restaurant potatoes. I’m gonna try them like this next time. First I need to invest in some of your Light Olive Oil.
It works with any oil, Shannon. Light Olive Oil is just the best! Ok, that might be an opinion, but it seems like a fact. ????