My contribution to it…
I want to open a bakery! I’m only half kidding. I would do the night shift of baking, then sleep during the day while someone else sells the stuff. Anyone want to fill out a job application? …Either for baking with me during the night or selling stuff during the day. Ah, would be so fun! Everyone was in bed by 11:00 last night and I started in the kitchen. The house was quiet (well, quiet except when I’d accidently BOING!BONG! a pan and cringe for the sleeping people!) and I had no interruptions and I dumped the ingredients in the mixing bowl by myself and there was nobody standing beside me hollering, “Up! Up!”. I could just bake to my heart’s content! It was very therapeudic! At 4:30, the birds started singing. It’s been awhile since I’ve seen the crack of dawn! At 5:30, I went to bed for a couple hours. Then, took the stuff to the garage sale/bake sale, then came home and took a 2-hr nap. I might do that more often because I’d like to put out some baked stuff at the end of the driveway this summer. Some of it, I’ll bake ahead and put in the freezer, but being able to tag stuff with “Fresh-baked this morning” has its advantages!
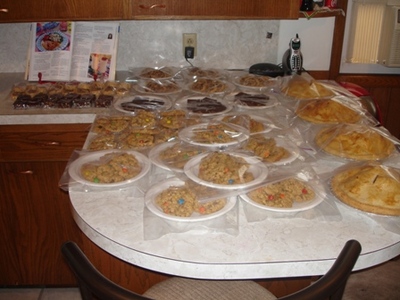
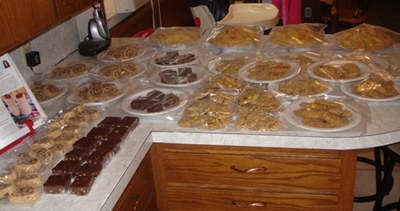
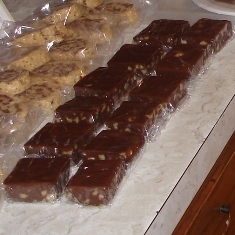
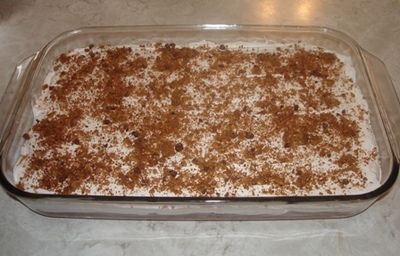
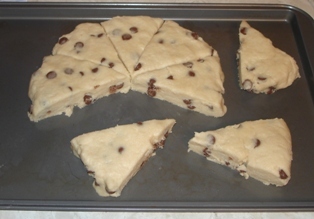
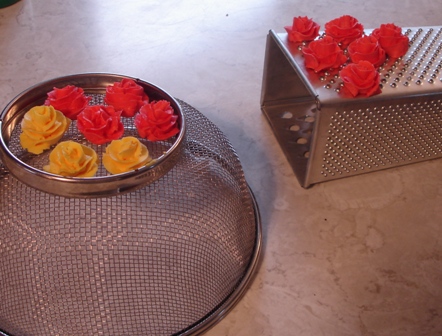
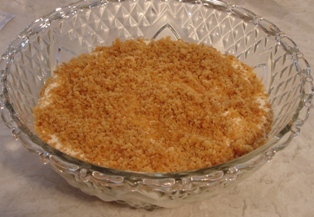
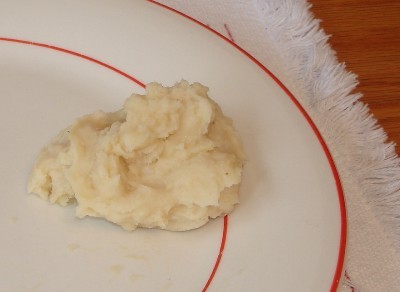
The 4 different things pictured above are:
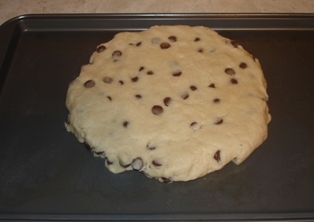
Monster cookies… featured here
Rice crispie roll… featured here
And last, but not least, FUDGE …recipe invented by yours truly

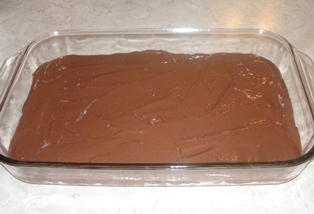
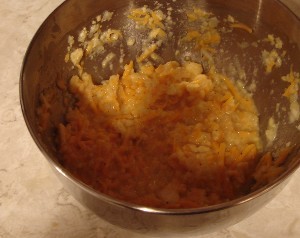
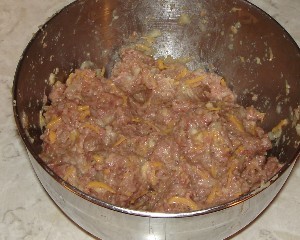
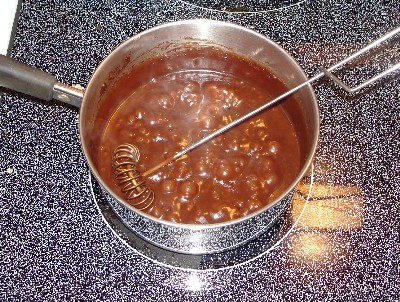
Melt 4 T. butter, 2 12 oz bags milk chocolate chips, and 1/2 c. peanut butter.
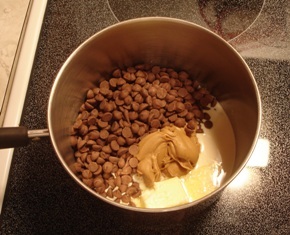 You could use the microwave, too.
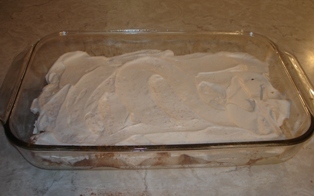
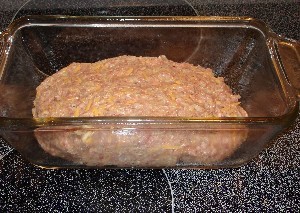
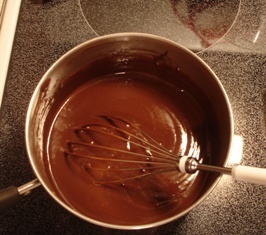 Stir in half a 16 oz bag of marshmallows until melted, then stir in some walnuts (I used a little over a cup). If you want a swirled effect, stir in the mmallows and nuts at the same time, but stop stirring when the mmallows are melting and streaked through, but not totally mixed in. Lightly grease a 9×13 pan and pour in.
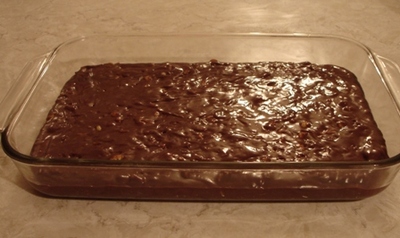
Refrigerate until firm. Cut into squares.
 It’s easy, creamy, and delicious!!!
Now, back to the bake sale… Everything sold very well!!!!! Didn’t have anything to bring home.  …on second thought…
Comments
One Response to “Bake sale!”

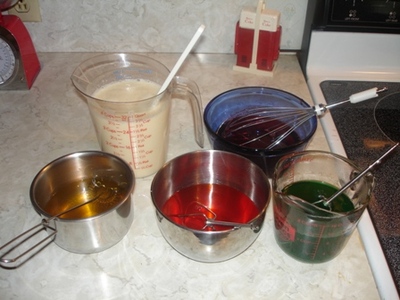
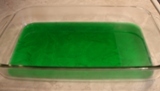
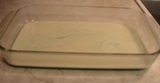

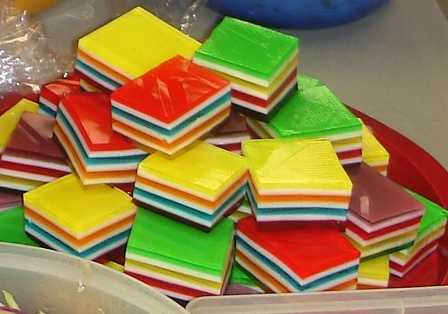
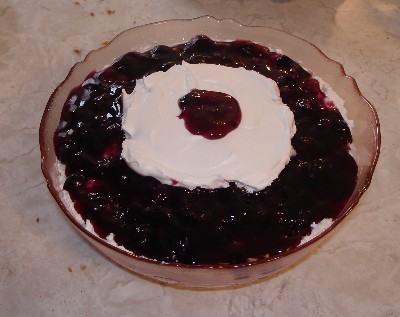
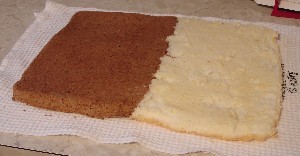
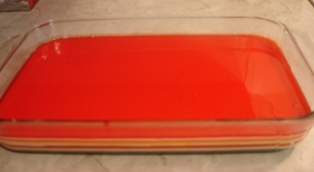 When all mixtures are at room temp, it takes about 7 minutes till it’s firm enough to put the next layer on. As you can see below, I didn’t let the green get quite hard enough before putting the white on, or the white was still too warm, or both.
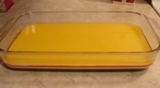
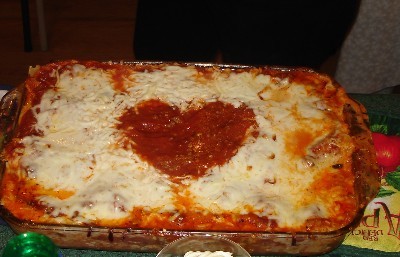
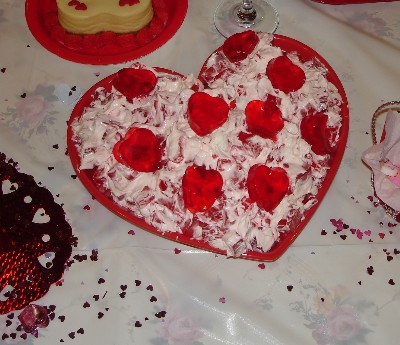
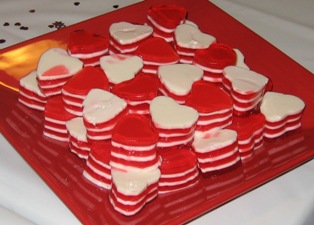 Valentine’s Day: red and white. You can even cut it out with a heart-shaped cookie cutter.
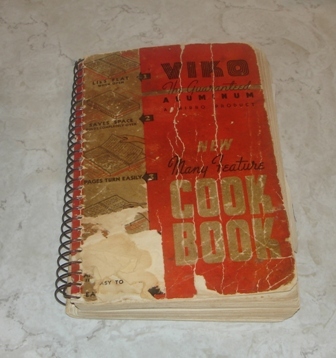 …it is my most prized possession in my entire cookbook collection. It was given to me by my grandma (the one who makes the brown sugar pie) and she got it from her mother, so it was my great-grandmother’s cookbook! It was given to Great Grandma in 1943. I feel extremely privileged to now own it and it’s on my list of top 10 things to quick grab if there would be a fire. There is hand-writing in it… like notes written beside recipes, variations on things like strawberry shortcake and split pea soup and check marks written beside some recipes, probably her favorite ones. Also, tucked in hit-n-miss are a bunch of loose recipes, mostly written on regular scratch paper, but there’s a tapioca recipe written on a deposit slip that has my great grandma and grandpa’s names on it and a chop suey pickles recipe written on a piece of old wallpaper.
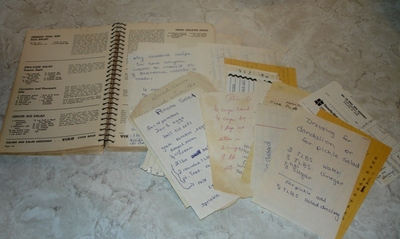


 And here is our top notch 1st grade teacher.
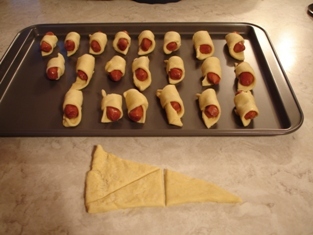

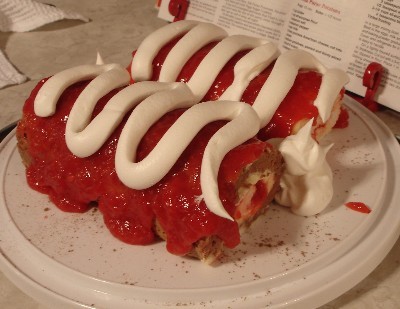
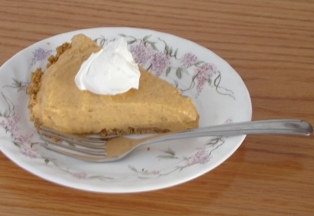 (That color change is the difference between no flash and flash… it doesn’t change colors once it’s refrigerated! LOL) I couldn’t have told this was a diet pie. Could probably be made though with non-diet ingredients. It was really good! Nicely spiced. Will definitely make again!
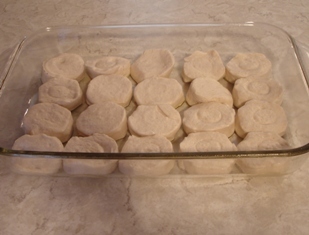
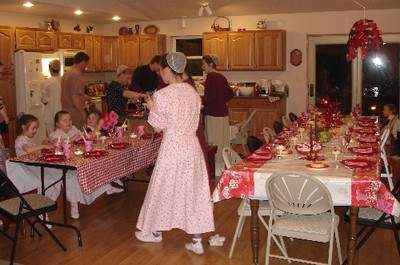


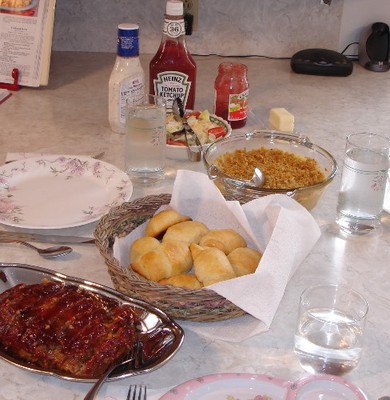
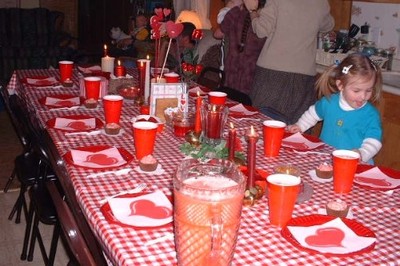
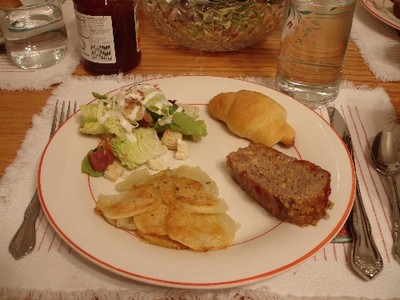
 We ate by candlelight. Partway thro’ the meal, Sheila put more candles on.
  (Bird’s eye view because the others were already sitting down.) That’s iced tea in the glasses.
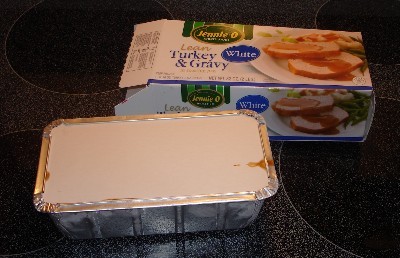
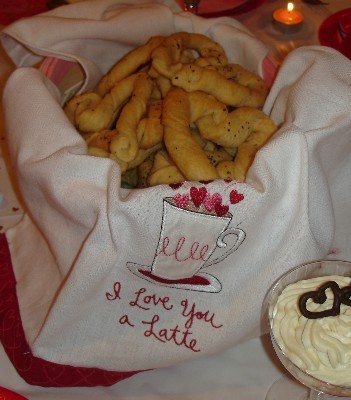
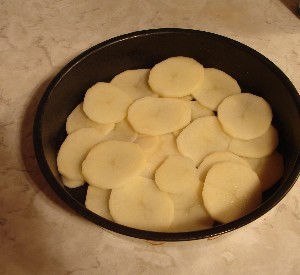
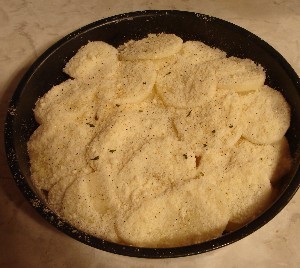
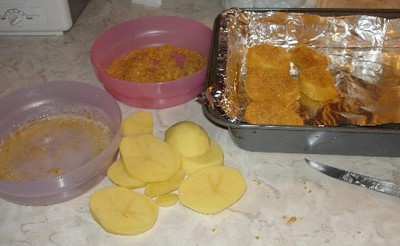
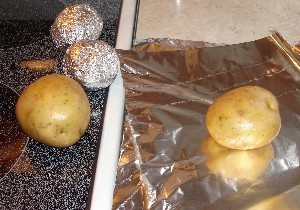 and put them in the oven.
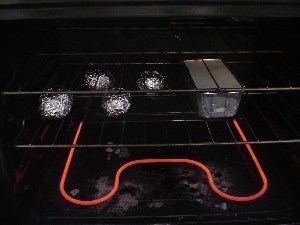
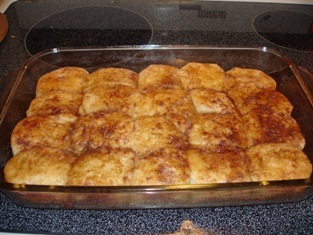
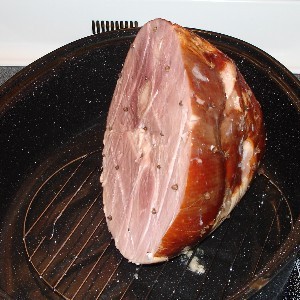
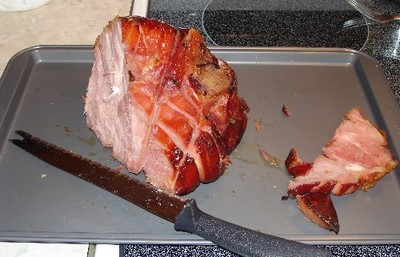
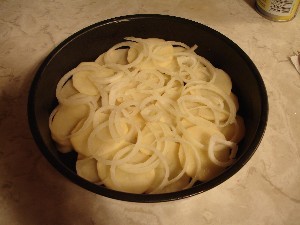
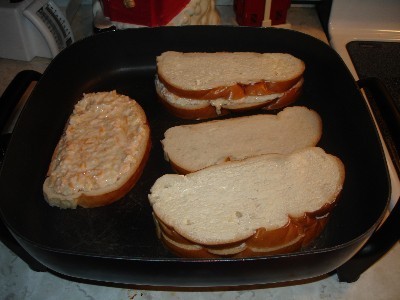
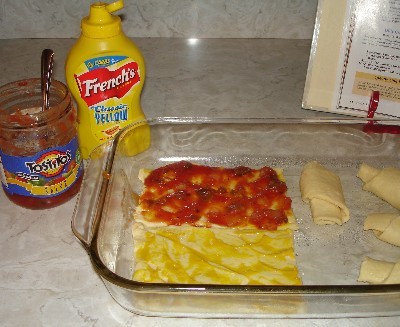
 Turn the oven up to 425. Get a bag of frozen veggies out of the freezer and get them to cooking. Take the potatoes and meat out of the oven
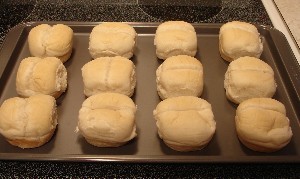
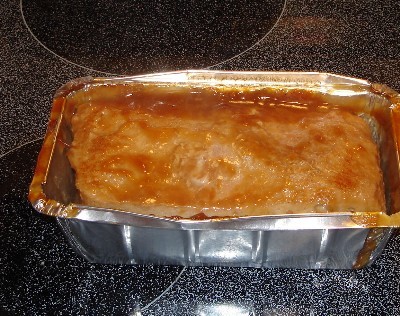 and put the rolls in. Get the kids to set the table (that’s why the silverware is set wrong).While the rolls are baking for 8-10 min, get out the tea, butter, jelly, ketchup, sour cream, and serving dishes. Dish up the potatoes, meat, and veggies. Call everyone to the table while you get the rolls out. And there’s your supper!
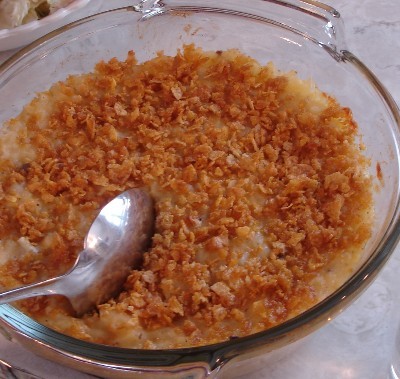

 2005
2005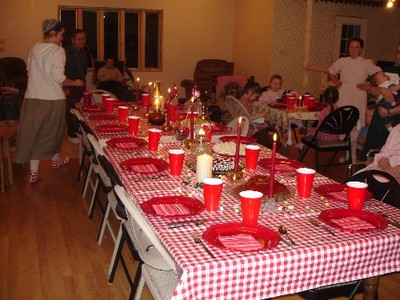 2006
2006


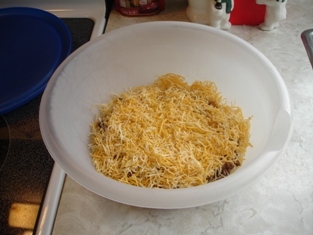
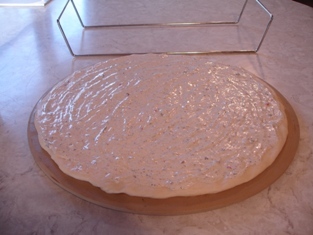
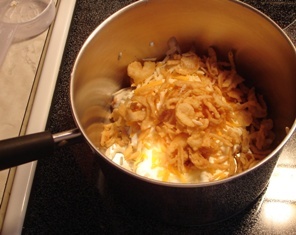
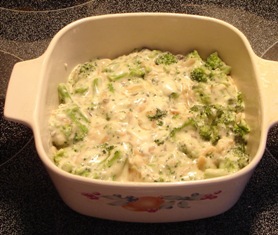
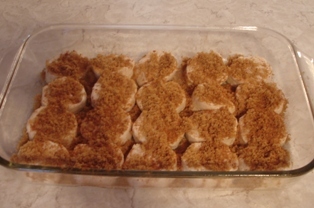
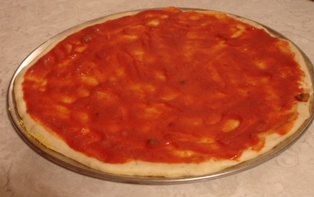
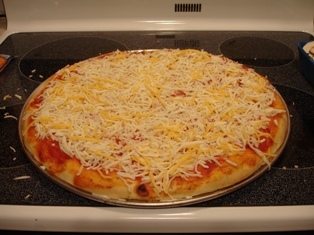
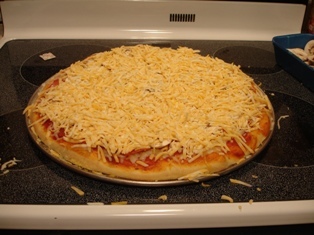
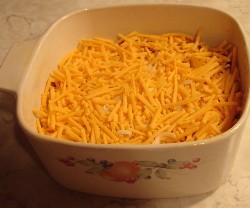
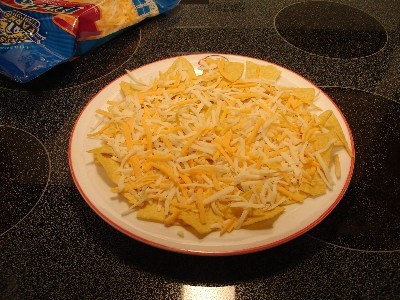 Then cover the chips with a layer of cheese (we use pizza cheese or mozzarella cheese).
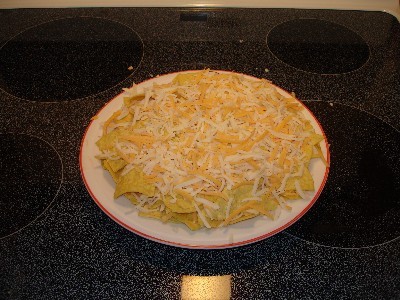 Repeat the layers.
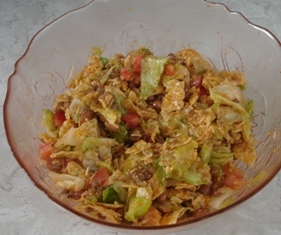
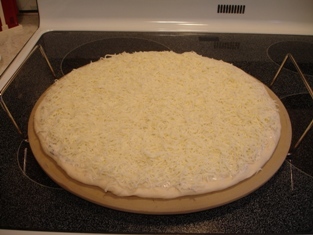
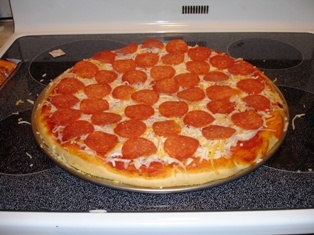
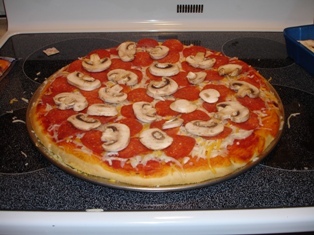
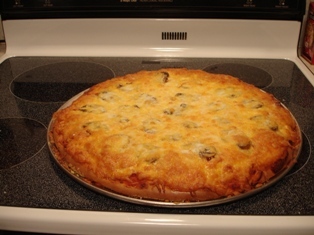
 Whether the oven is preheated or not, put the nachos in the oven. Leave in till cheese is melted to your liking. This is how it looks after about 7 minutes.
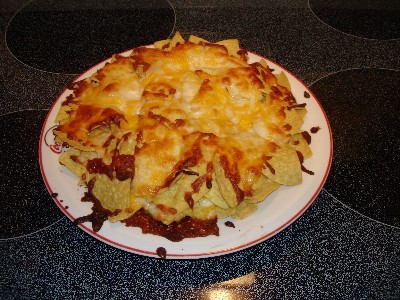

 Top with remaining bread. Butter the outsides of sandwiches; cook in a large skillet over medium heat until golden brown on both sides. Yield: 5 servings.
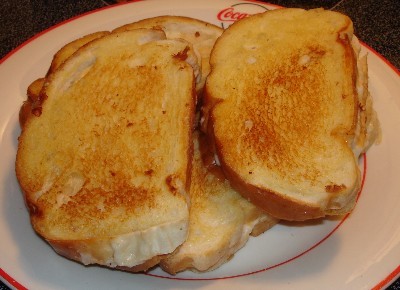
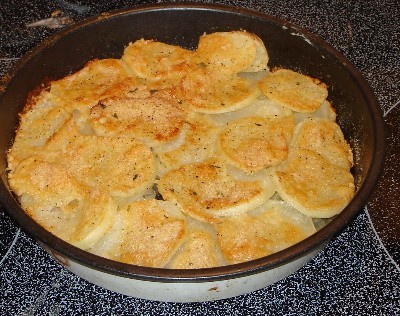
 Bake at 350 for 55-60 min or until tender. Yield: 6 servings.
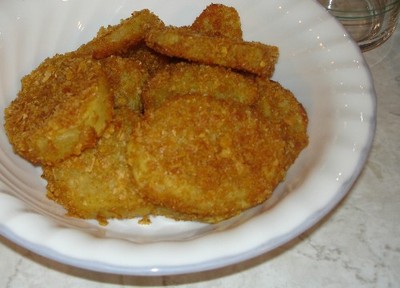
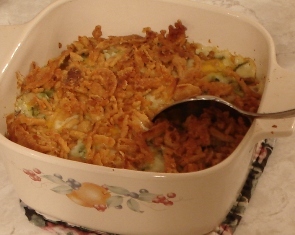
 Bake, uncovered, at 350 for 25-30 min or until bubbly. Sprinkle with the remaining chips. Bake 3 min longer or until chips are lightly toasted. Yield: 6 servings.
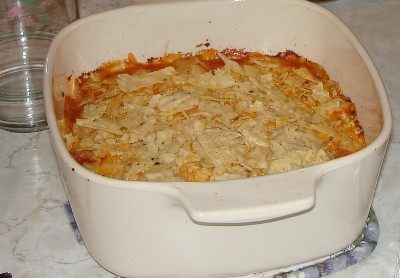

 Serve warm over ice cream. Refrigerate leftovers. Yield: 2 1/2 cups.
 Editor’s note: If desired, add 1 tsp vanilla extract or 1/2 tsp orange or peppermint extract. Stir into syrup after removing from the heat.
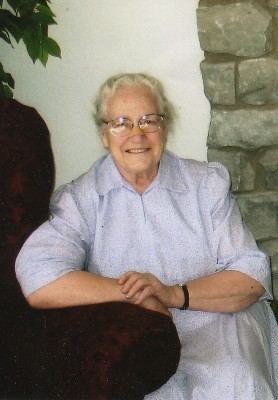
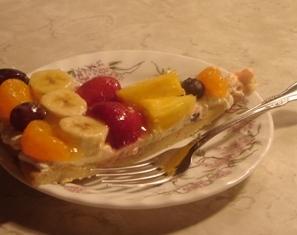
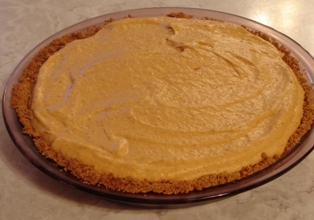
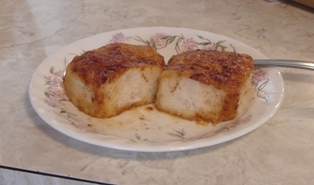
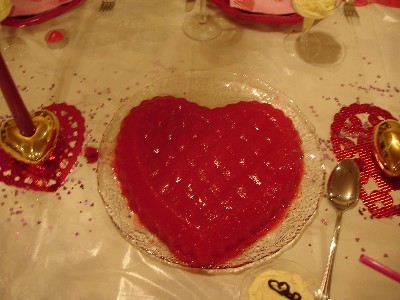
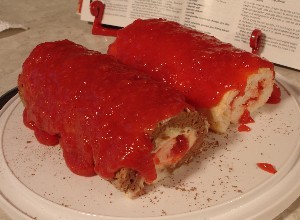
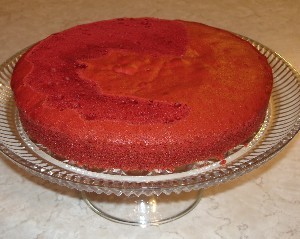
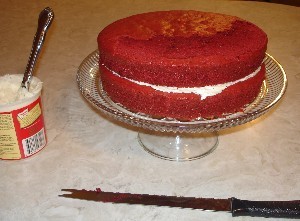
 Bake at 350 until set, about 45 min -1 hour. Middle will be shaky.
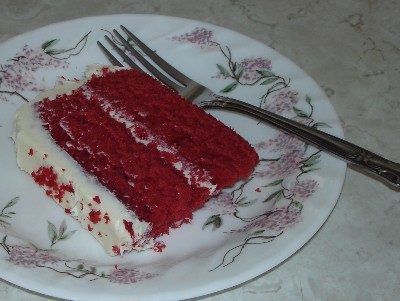
 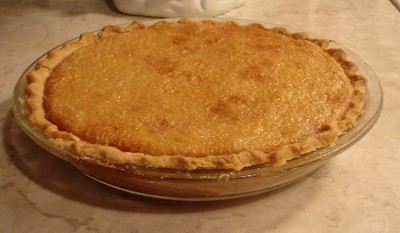 Grandma’s brown sugar pies always seem so much better, just the fact that she made them and they came from her kitchen. This pie actually turned out pretty good though. It’s supposed to turn into 2 layers like you see in the piece below, that’s not a mistake! The top lighter layer melts in your mouth and the bottom darker layer is about the consistency of fudge.
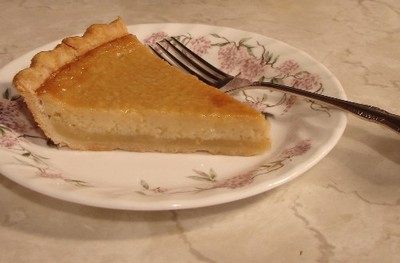
Oh, Kay, I just had to tell you that I go through these same feelings of wanting to open a bakery!!! My daughter has been begging me to do it too. For now, I’m content to just be the official baker for all of the family functions. I just don’t like the idea of HAVING to bake every day a whole lot, even if I don’t feel like it. I’m thinking that eventually I would lose my love of baking and it would become a chore!!
I don’t know about in Wisconsin, but could you make desserts to sell to diners/shops or something? I think that would be ideal, but I can’t do it in NY because of health department regulations (would have to have a whole separate kitchen that passes inspection.) I’m always looking for ways to share my baking. It always makes me feel good!