Posted on August 24, 2009
Filed Under Birthday cakes
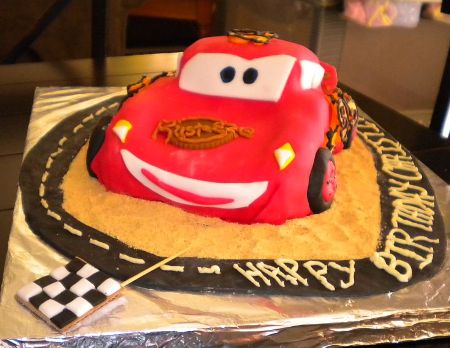
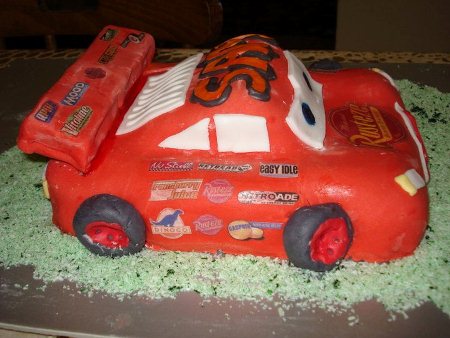
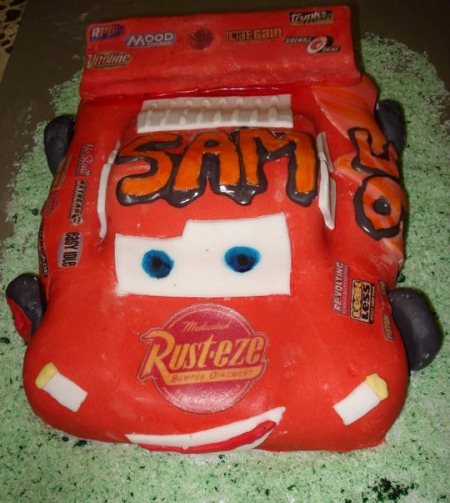
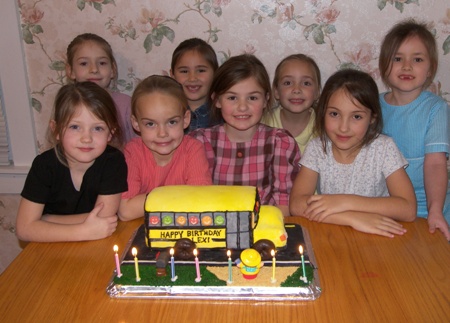
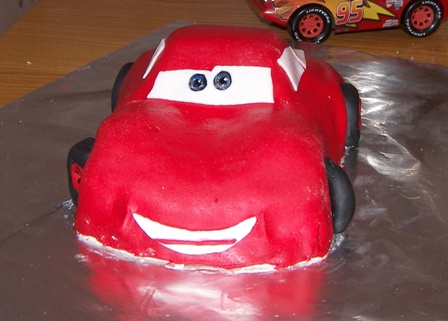
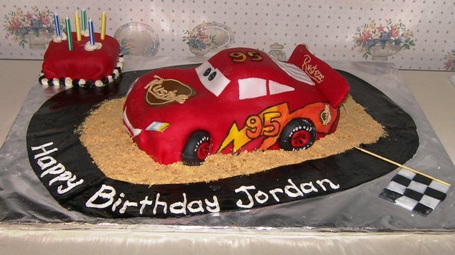
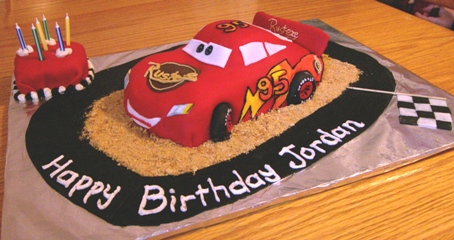
Look at this cake! Does it look familiar?
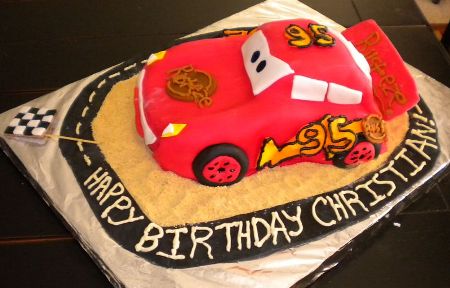
But… the one I made says Happy Birthday Jordan and this one says Happy Birthday Christian.
It totally made my day over the weekend when I got an email from Theresa with pictures attached. This is the very reason that I like to post birthday cakes from start to finish, including the pictures where it looks hopeless of ever turning into something recognizable: so you all can see there are no tricks and you can see how to do it yourself! I don’t personally know Theresa, and it was just so refreshing to hear a confident ‘I could do that.” And it turned out GREAT!!!
Here are a few things about Theresa:
— She is a mom of 3.
— She has never made a birthday cake (before last week).
— She has an 8-wk-old baby.
— She saw the Lightning McQueen cake post and instead of thinking “I’ve never made a cake. I couldn’t do this.”, she thought, “My little guy has a birthday soon. I’m gonna try this.”
Did I mention she has an 8-wk-old?! She didn’t say, but I’ll just bet that some of this was done one-handed while holding a baby! ???? And if not that, then imagine all the interruptions!
And another thing I wanted to stress is that this was Theresa’s first cake ever! Talk about a crash course in fondant and cake decorating! In her email, Theresa said, “Trust me, while I was sculpting the cake, I said to myself (and my husband) …”I can’t do this!” I just had to laugh when I read that because I know the feeling! I don’t think there’s been a cake yet that I haven’t thought, “What did I get myself into here?!”
I think we should give Theresa a round of applause for her awesome cake! What do you say?…
____________________________________________________________________
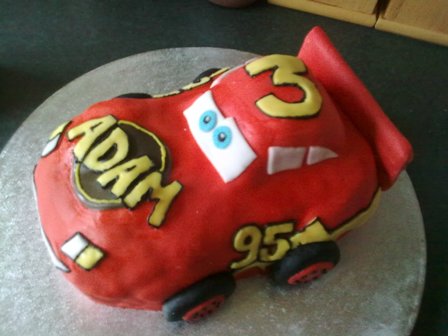
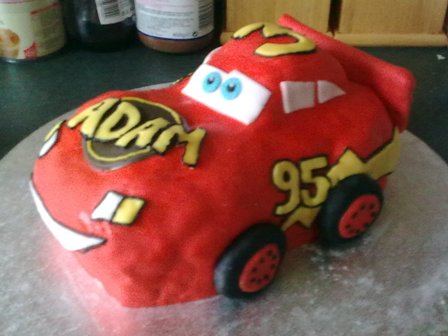
Editted Sept 28 to add another cake! Yvonne made this cake.
You did an awesome job, Yvonne! Turned out great!
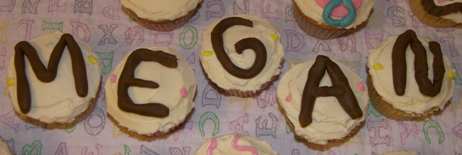
Look how she personalized it! I think Adam is turning 3, what do you think? ????
—————————————————————————————————
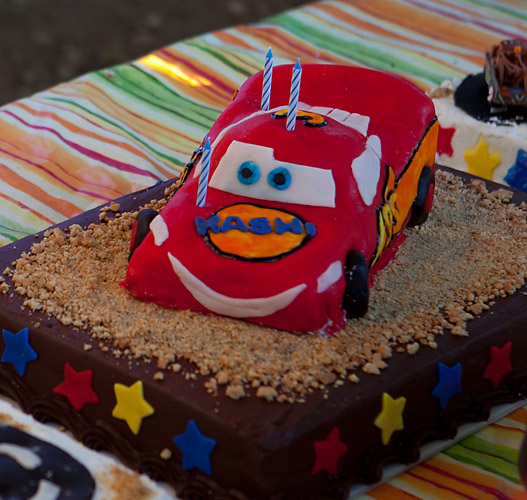
August 9, 2010… This is Jen’s cake for her son’s 3rd birthday!
Jen has a couple good tips for us… she bought pre-colored fondant (with her Michaels 40% off coupon, hooray for those! ???? ) and pre-cut letters and shapes and a squeeze tube of black icing. That all would really cut down on time!
Here are the pictures she sent. GREAT job, Jen!!!!
——————————————————————————————————-
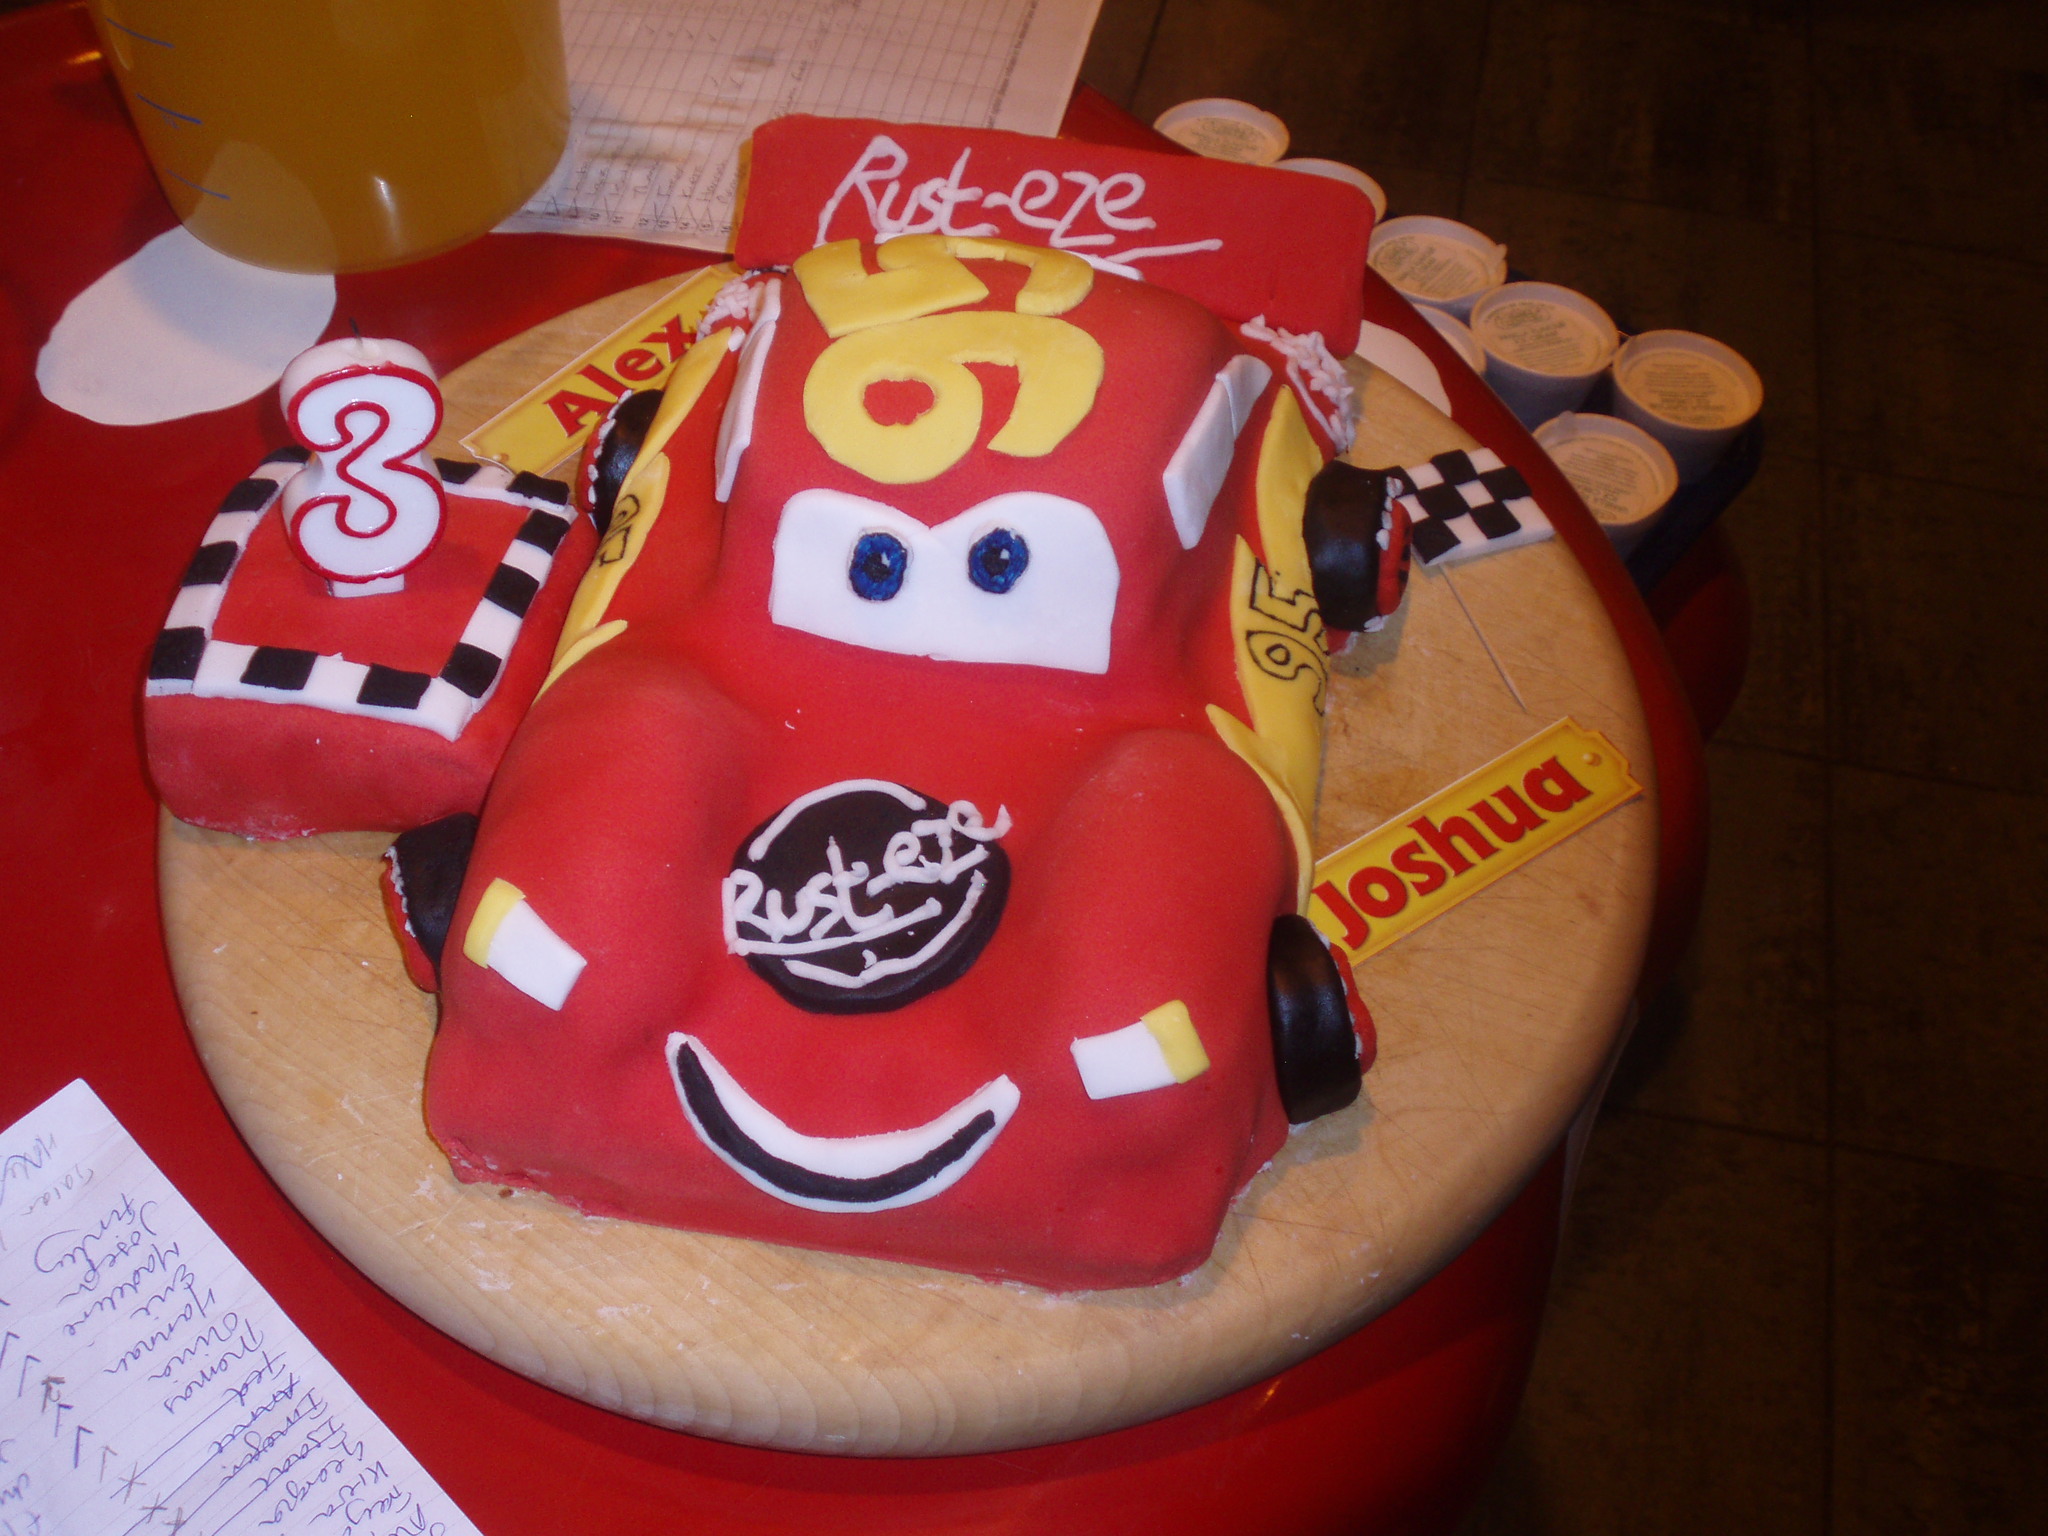
December 6, 2010 …this cake was made by Jo from England for her twin boys turning 3.
Well, actually, she said it was a joint effort. Grandma and her daughter and the neighbor and her daughter helped out. Sounds like fun! You guys did super!!!
Here is the cake…
—————————————————————————————————————
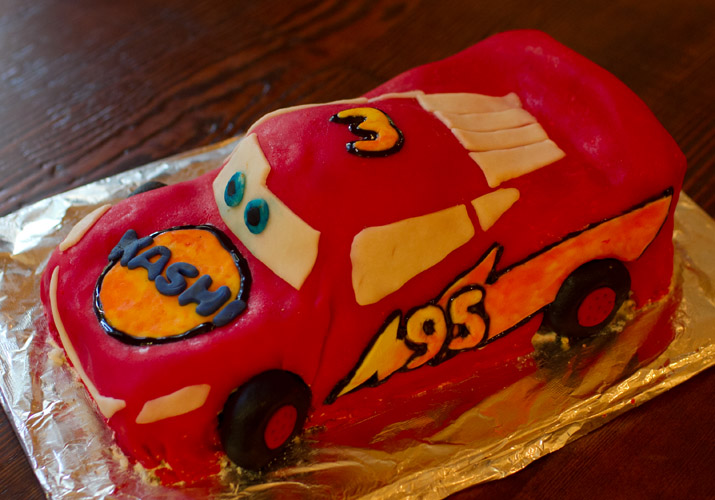
March 31, 2011 …this is Nazy’s cake she made for her 4-yr-old son. He loved it and wanted to eat it right away. 
Nazy never did anything like this before and she didn’t have many tools. But she tackled it anyway! You did a great job, Nazy!!!
—————————————————————————————————————–
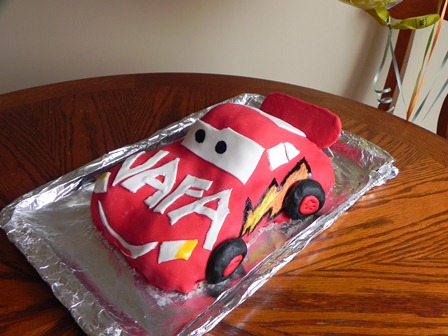
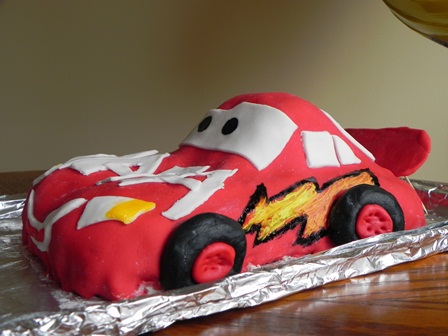
April 21, 2011 …Fiona from Malta (Europe) made this cake for her 2-yr-old son.
There are 3 things that Fiona mentioned in her email that I could SO identify with… she wasn’t sure about making a cake with an active 2-yr-old running around (yep, I know all about that, little fingers trying to get at the cake or Mom’s hands messy from mixing fondant when the 2-yr-old decides to spread powdered sugar on the floor or getting bumped during a delicate part of the decorating).
And another thing was that after spending all that time on the cake, she couldn’t cut it, so her dad did it for her (do I ever know what that’s like! Cutting is THE worst! I wince every time and sometimes I hold the knife over the cake, then start chatting with the kids a little so I can put it off a leeeeeetle bit longer.).
And the other thing is that it looked difficult, but she decided to give it a try anyway, thinking oh well if it doesn’t turn out, she’ll make something else. Love that attitude! And look what it got her… a cute Lightning McQueen cake, exactly what she set out to do! Nice job, Fiona!
—————————————————————————————————————
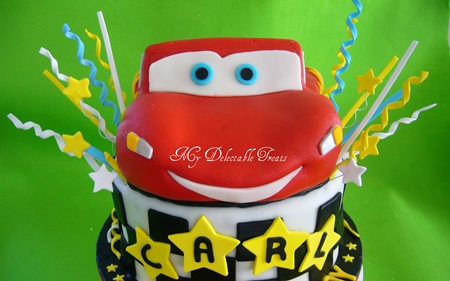
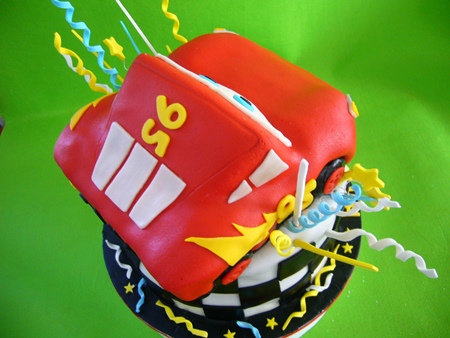
June 5, 2011 …Donna made this cake for her sister-in-law’s sister’s son’s 1st birthday. Donna is probably being modest by not saying this, but I’ll bet she rocks cake decorating because if SIL’s sisters are coming to her, well, that doesn’t just happen out of the blue. ???? Another clue might be because this cake looks a.w.e.s.o.m.e!!!!! And I love all the bling around it. *tucking away the ‘celebration spirals’ idea for the future*
—————————————————————————————————————
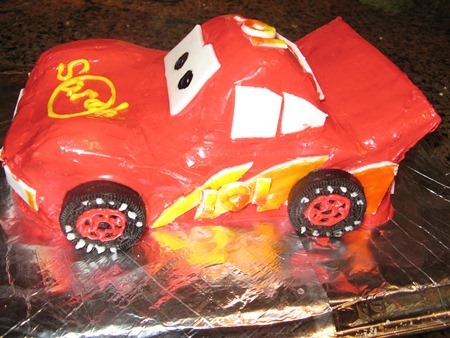
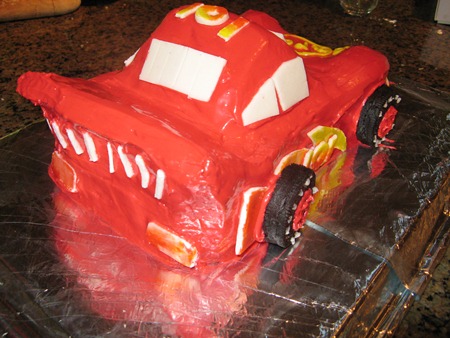
June 20, 2011 …Niccy from Canada made this cake for her daughter. She used frosting instead of fondant and it is absolutely amazing how smooth it got. Her secret? Hot wet knives. Very creative, Niccy! And I’m lovin’ the tire idea… she took Oreos and iced over the white cream filling with black frosting! She also personalized it, instead of the regular logo and #. Thanks for the great ideas, Niccy, and you did great on the cake!!!!
—————————————————————————————————————
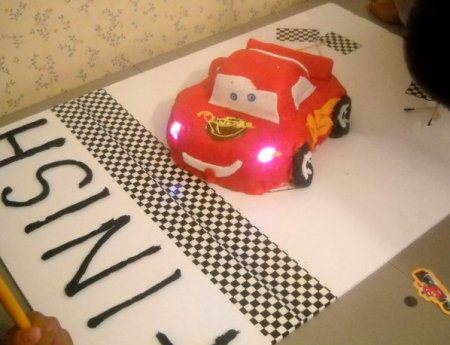
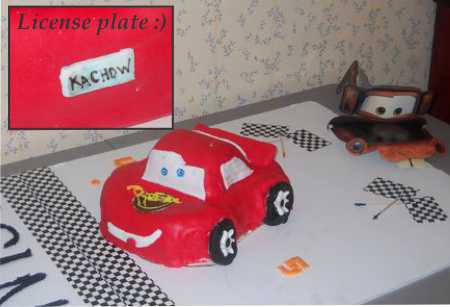
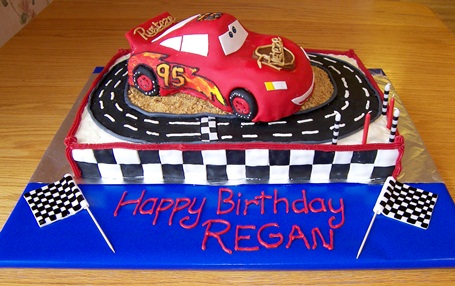
June 29, 2011 …Tanisha made this cake for a Cars 2 party, complete with watching the movie. Does it have real working LIGHTS, Tanisha?! Wow!! That really ups it a notch! Super job on the cake! I love the license plate… great idea! And the cake board is just way too cool!
—————————————————————————————————————
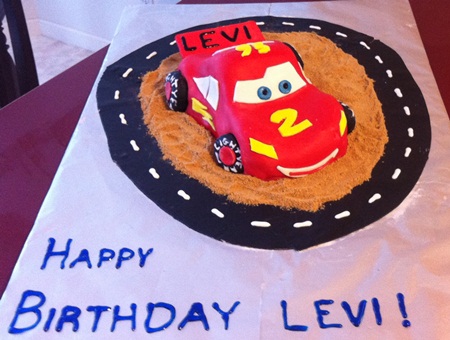
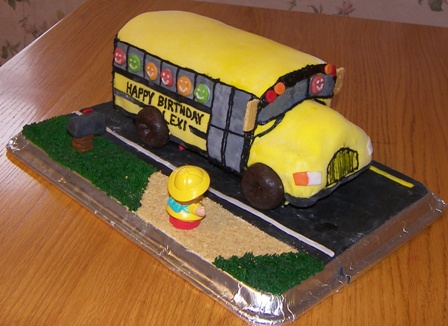
January 20,2012 … Kate and her sister made this cake for Kate’s son Levi’s 2nd birthday. This is my favorite kind of reader who looks at the tutorial and says, “I could rock that cake”, which is what these girls thought… and then they did just that! Kate told me a couple little tidbits that I could relate to… they didn’t have a clue what they were doing and there were little kids running around eating cake crumbs and fondant pieces in the middle of it all and it was so fun. Yep, that’s pretty much me when I’m making a cake too. ???? Oh! And I forgot to mention along with that “we could rock this” thought… they had not worked with fondant or made a 3-D cake before! Kate, you guys did an AMAZING job!! And I like how you personalized it to Levi and wrote actual readable letters on the tires!
—————————————————————————————————————
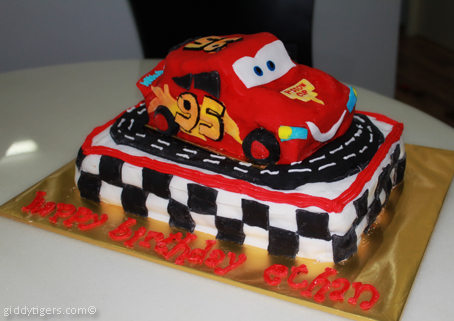
February 1, 2012 …Joyce made this cake for her son Ethan’s 6th birthday. She made it a Cars 2 Lightning McQueen. I totally get what she said about what the hardest part is… it’s NOT the baking, decorating & details, or the sacrificed sleep… it’s the ‘wrecking’ it… like throwing it away or cutting it up. Yep, that’s me too, very much! Awesome job on the cake, Joyce! And I like how you put cake under the racetrack, too!
Visit Joyce’s blog… she blogged the making of this cake! Read more details and see her progress pictures: Joyce’s Lightning Mcqueen Cake
—————————————————————————————————————
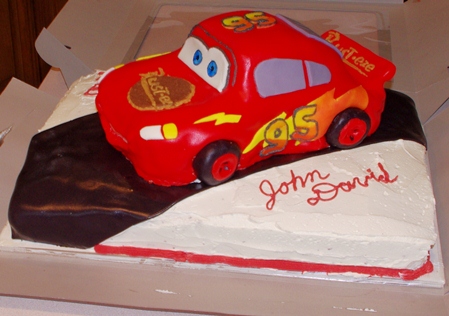
February 6, 2012 …Diana made this cake for her son’s 4th birthday last year. I like how she made the racetrack… just a partial one under it, not getting the whole racetrack on. She also sent me a darling little tidbit: After the party, she asked her son what his favorite part of his birthday was and he said “the back”. The back?! She asked more questions and figured out he was talking about the cake and his piece of the cake was the spoiler. Then, a couple months later, as they were driving, just out of the blue he said, “Mommy, thank you for making me my Lightning McQueen cake.”…what a sweetie. You did a GREAT job, Diana! It’s looks like a real toy!
—————————————————————————————————————
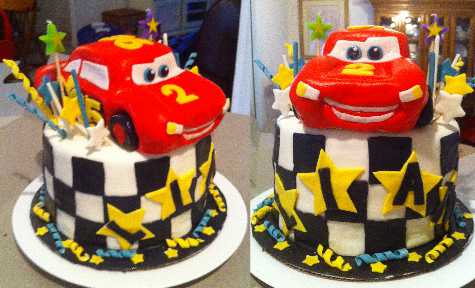
April 27, 2012 …Deborah from FL sent me this cake that she made for her Cars-lovin’ son’s birthday. She never decorated a 3D cake before! And wow! It turned out amazing! My favorite part is the smile… looks like he actually has cheeks. She got some of her inspiration from Donna’s cake above. I still want to try that party bling sometime. So festive! Good work, Deborah, and thanks for sending me pictures!
—————————————————————————————————————-
Anybody else make a Lightning McQueen cake from the step-by-step instructions? Email me a picture (kay@kitchenscrapbook.com)! I’ll add it here! And please let me know if you emailed a picture and I missed putting it on here! Or if you blogged about it, I’d love to put your link on here.
Comments
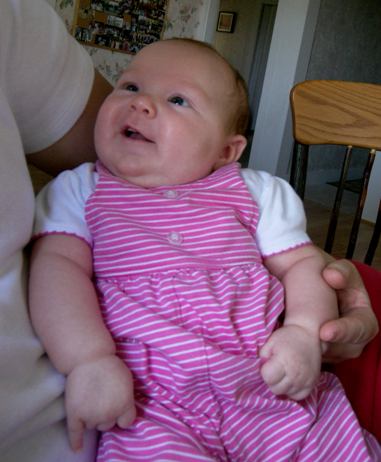
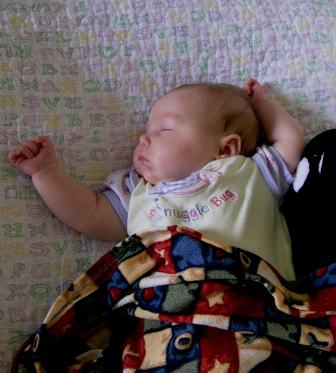 Sleeping… she goes 5-hour stretches at night and a few times has slept ALL night! Not bad for 2 1/2 months! I’m quite proud of her!


 Sigh. Oh well, it all worked out great and the party was a success and was a lot of fun for all involved… well, maybe my husband wants to speak for himself on that one.
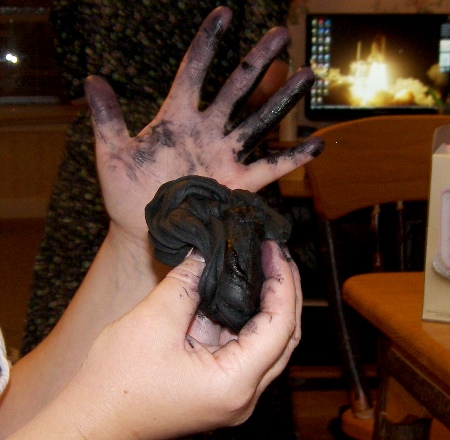
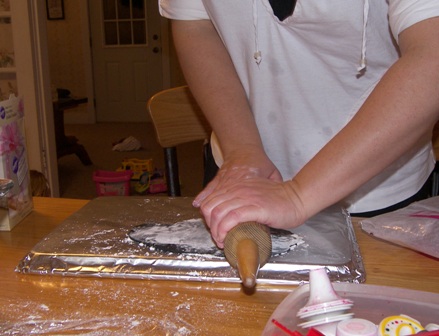
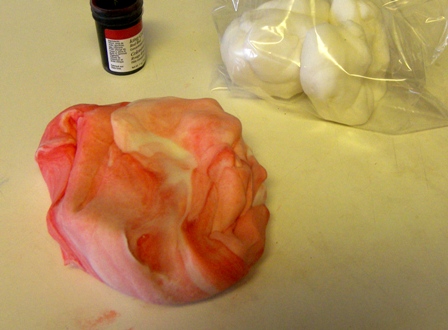
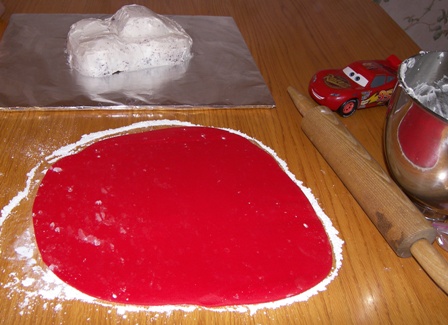
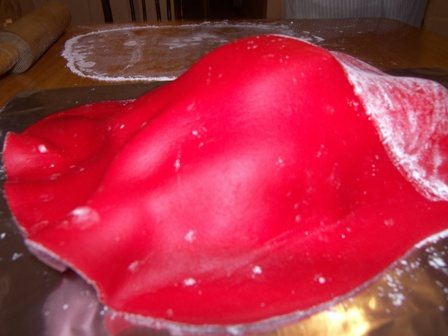
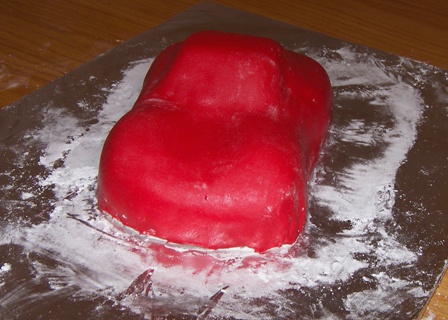
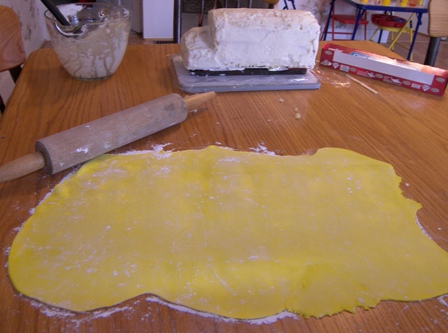 Sprinkle plenty of powdered sugar on the table/counter and on top of the fondant. Roll it out. Then roll it up around the rolling pin, take it over to the cake and starting at one end, unroll it off of the rolling pin onto the cake. By the way, to get yellow fondant, I bought white ready-to-use fondant and put yellow paste (NOT liquid food coloring) on it, then mixed it in by hand… you’ll see the messy process of doing the black soon.
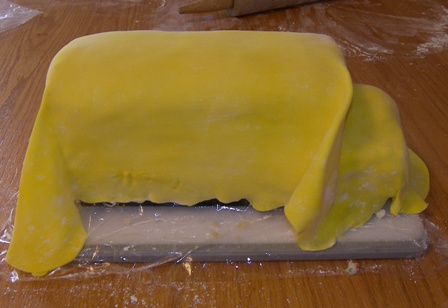
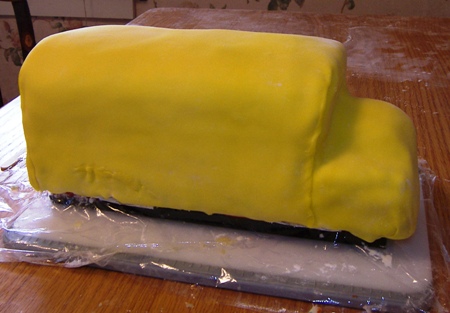
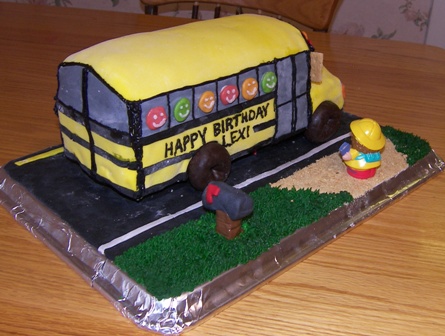
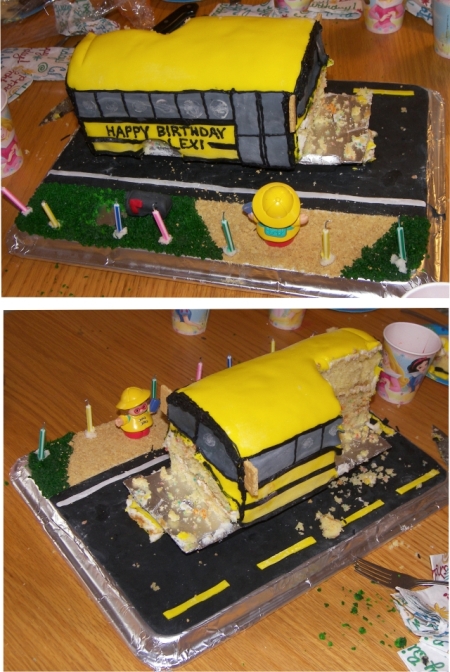
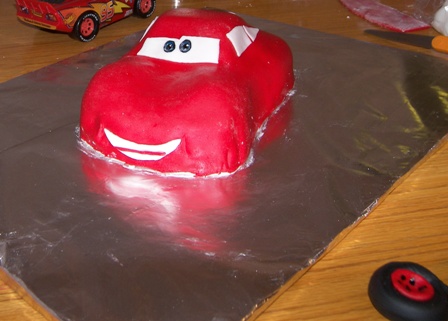
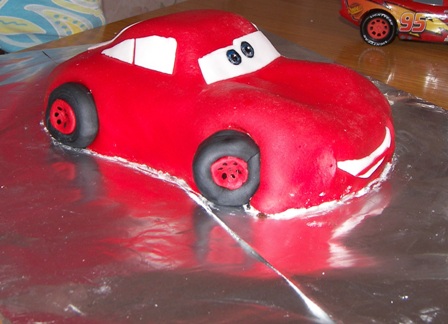
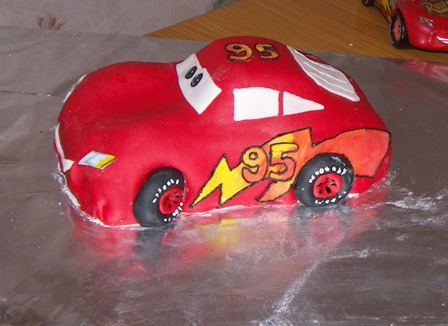
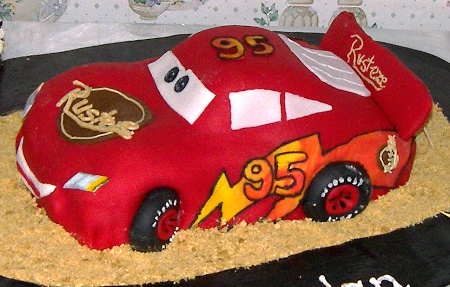
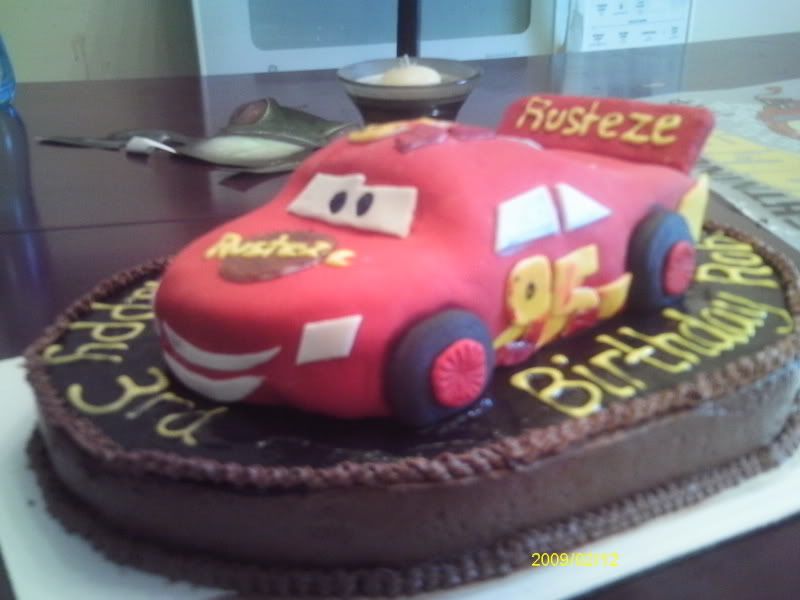
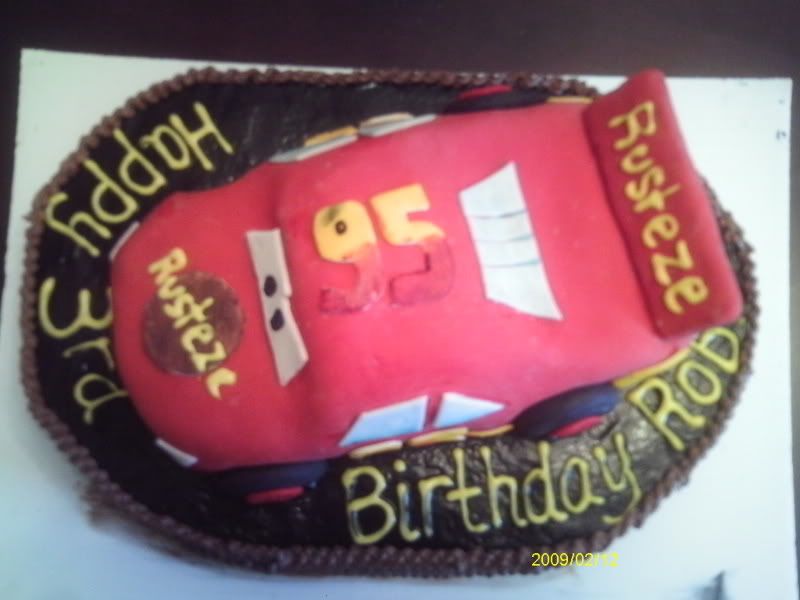
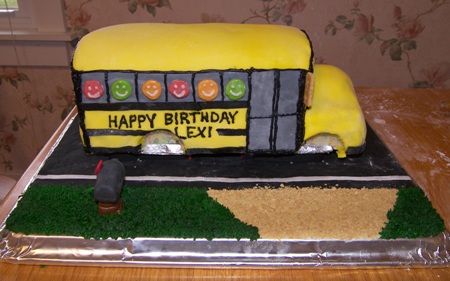 The wheels aren’t on yet (chocolate covered mini donuts). The black and gray are fondant. The letters are frosting piped on. The ‘people’ are flavored tootsie rolls cut into 4ths, then smashed, then stuck on with frosting and a face piped on. The ‘mirrors’ are pieces of graham crackers.
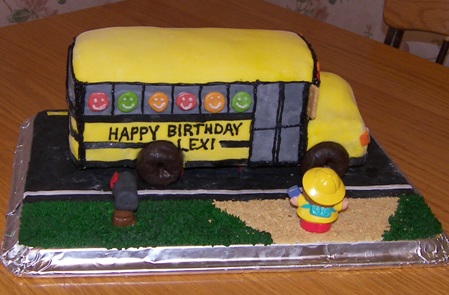
 Yeah, so I forgot the lights on the back!
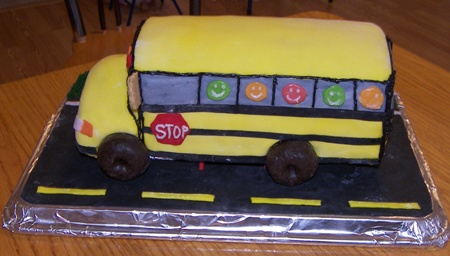
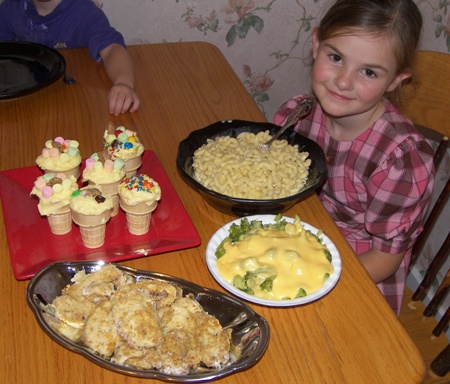

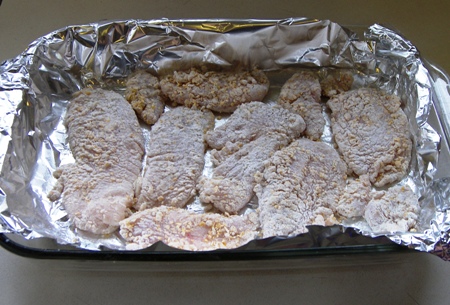
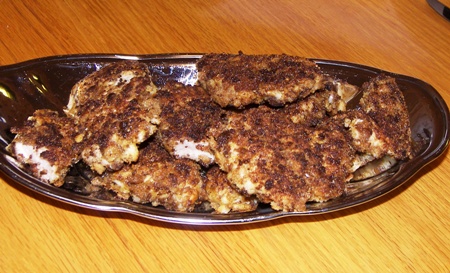
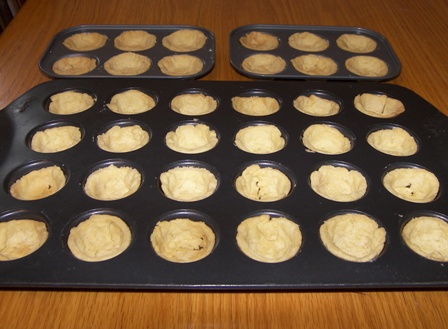
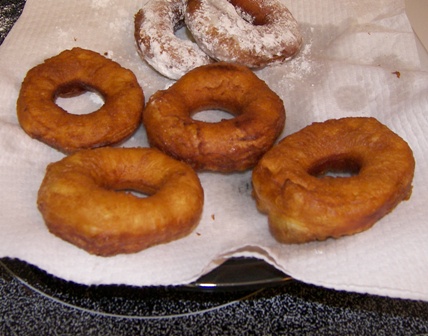
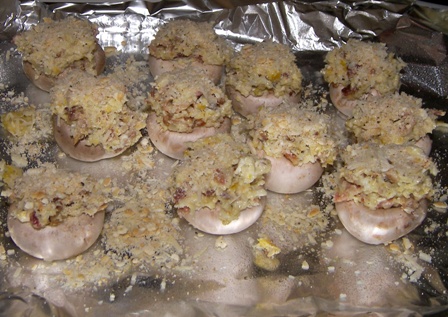
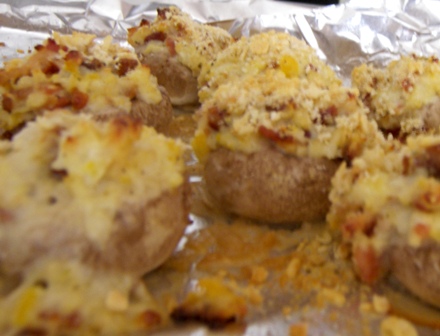
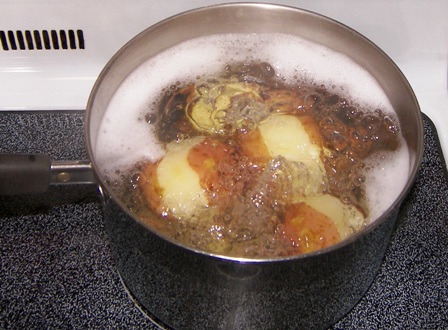
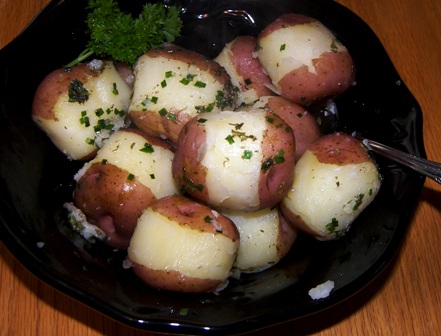
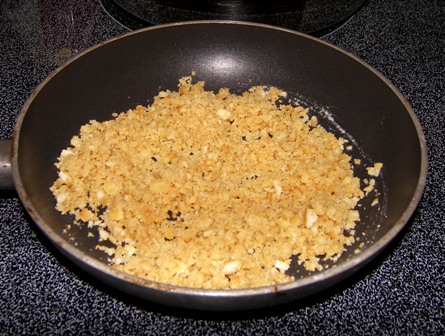
 Good stuff! We ate them with bbq sauce. I realize I didn’t get a picture of the rolling pin part… they had great fun with that!

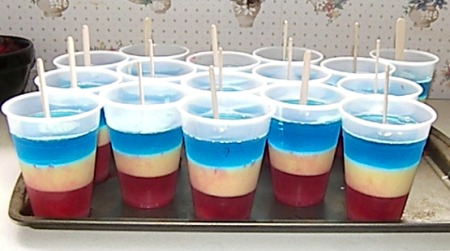
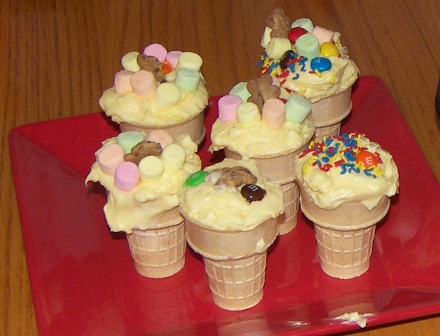 These were good, altho’ not as good as real ice cream. She made them right before she dished up the food and till we got done eating and were ready for dessert, the cones were starting to get a little soft already. So, they should not be made too much in advance!
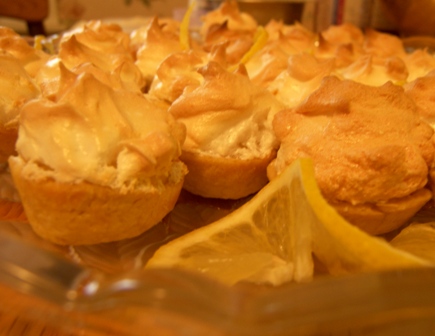
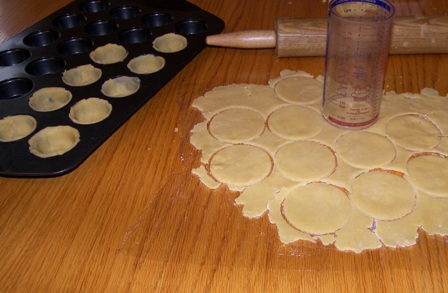
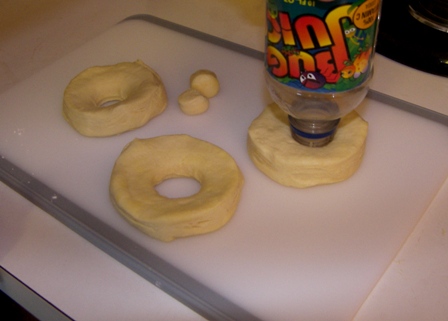


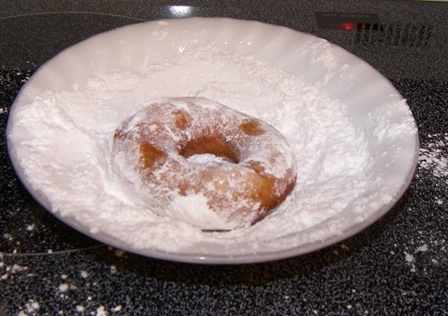

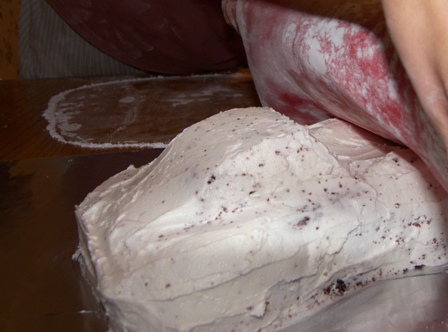
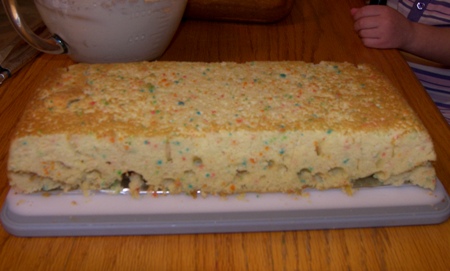
 Kinda blurry, but you get the idea. There was a powdered sugar issue because it was really sugary on the bottom and then when I rolled it up onto the rolling pin, it got sugary on part of the top. I thought, “Oh no! Now what?!” because when I tried to brush it off, it didn’t want to come off!
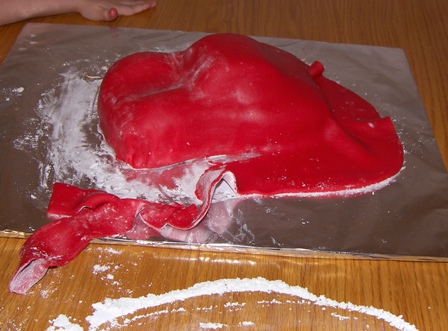


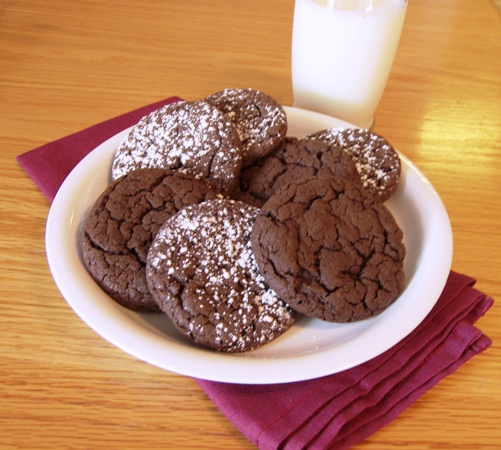
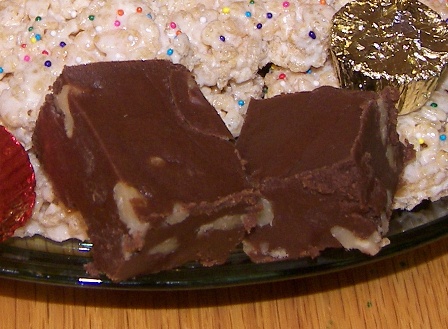
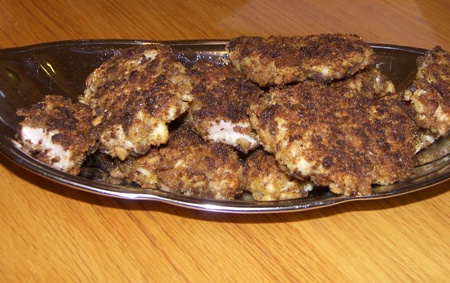
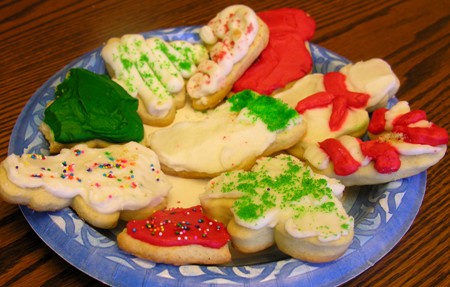
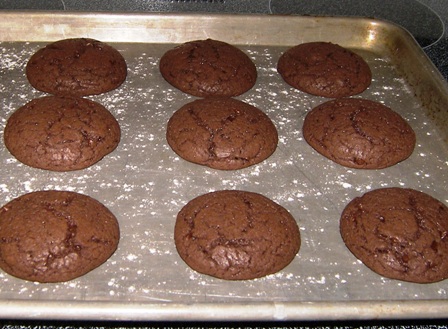 Yum. They have cracks in them. I like when cookies have cracks like that. Makes them look soft and chewy.
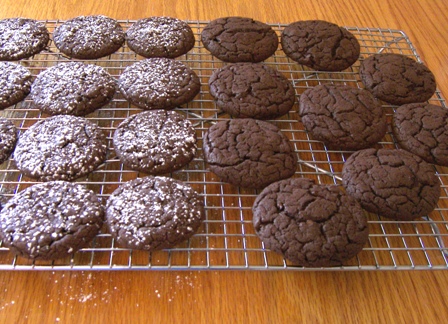


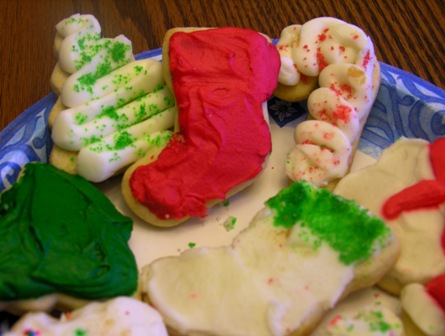
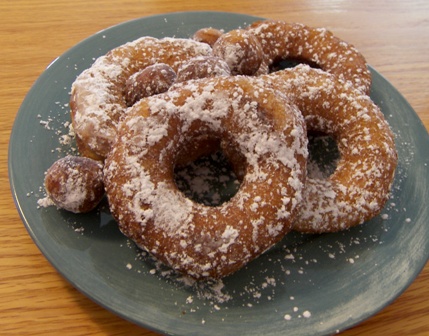
 Mmmmmmmm! Yum.


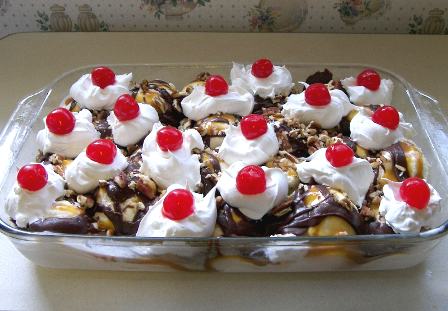
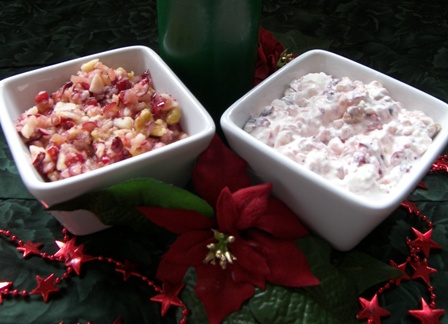
Hi Kay, It passes all the tests, I’d say. I think the individual sundae goblets is the best. Gotta try that one of these days.
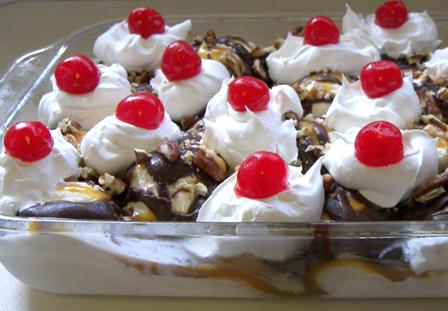
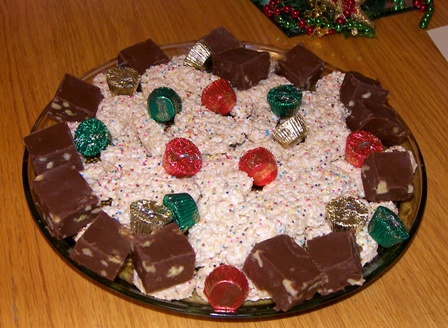
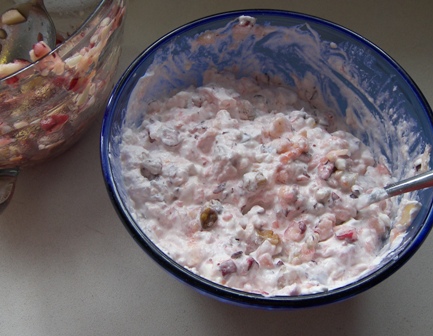
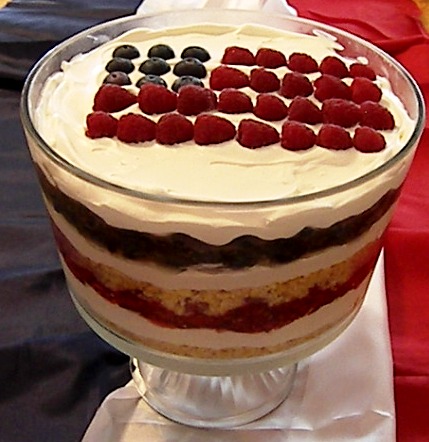
Looks good. Except for the cherries. I’ll pass on those.
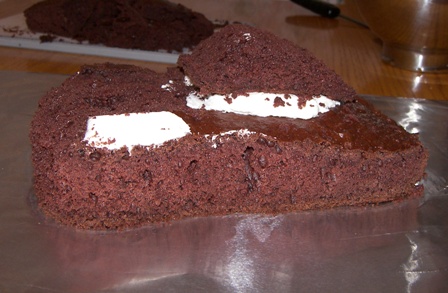
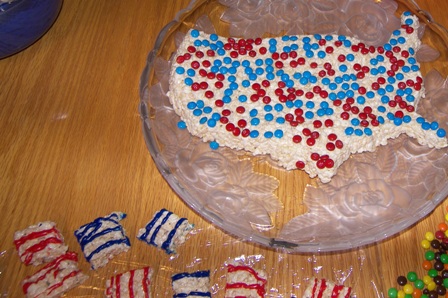
I love this post. Great idea and it does look awesome. I really like the idea of putting it all on top of brownies!
You had me when I could see the cherry on top:)